Assembling a pre-made greenhouse kit is straightforward if you prepare properly. Start by choosing a sunny, level spot and clear the ground. Sort all components and build a stable base. You’ll connect the frame, insert panels, and ensure everything’s weatherproof. Don’t forget to add ventilation and electrical options for convenience. Regular maintenance is key to longevity, so keep an eye out for any issues. There’s plenty more to discover about enhancing your greenhouse experience!
Key Takeaways
- Choose a sunny, level location and prepare a stable foundation with concrete, wood, or gravel for your greenhouse kit assembly.
- Sort all components, ensuring you have extruded aluminum frames, brackets, and glazing options ready for setup.
- Level the site, then attach the base and corner uprights to establish a solid foundation before connecting the roof frame.
- Insert polycarbonate panels securely into the channels and ensure proper weatherproofing to maintain temperature control.
- Regularly inspect and maintain the greenhouse, addressing any cracks or leaks and cleaning every three to six months for optimal performance.
Pre-Assembly Preparation

Before you dive into assembling your greenhouse kit, it’s essential to take some time for pre-assembly preparation.
Start by selecting a sunny, level, and well-drained location to ensure optimal growth. Decide on a suitable foundation—concrete, wood, or gravel—based on your budget and greenhouse type.
Make sure there’s enough space for the greenhouse and any additional features, like paths or irrigation systems. Verify the exact dimensions to avoid surprises later.
Clear the area of debris and level the ground to prevent water pooling. Gather the necessary tools and inventory all parts of the kit.
Finally, track your delivery to plan your assembly day effectively. Proper preparation sets the stage for a smooth assembly process.
Greenhouse Kit Components

As you embark on assembling your greenhouse kit, understanding its components is crucial for a successful build. Your kit will typically include extruded aluminum frames for durability, featuring welded truss designs for strength against wind and snow.
Understanding your greenhouse kit’s components, like durable aluminum frames and welded truss designs, is essential for a successful assembly.
Corner brackets and side support brackets enhance stability.
For glazing, you might choose between single-pane glass and various polycarbonate options, like triple-wall for insulation.
Don’t forget the doors and ventilation features—premium quality doors and automatic ventilation systems help regulate temperature.
Fastening components, such as stainless steel hardware and snap clamps, ensure everything stays secure.
Finally, consider additional accessories like irrigation and heating systems to create a thriving environment for your plants.
Each component plays a vital role in your greenhouse’s functionality.
Assembly Process

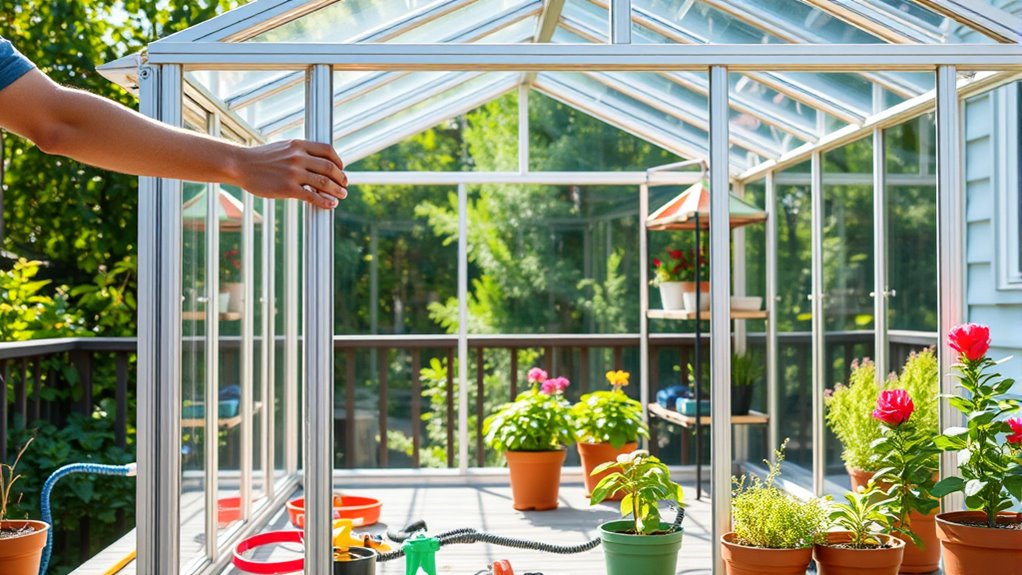
To successfully assemble your greenhouse kit, start by ensuring you have all the components sorted and ready to go. Check the inventory list to confirm you have everything.
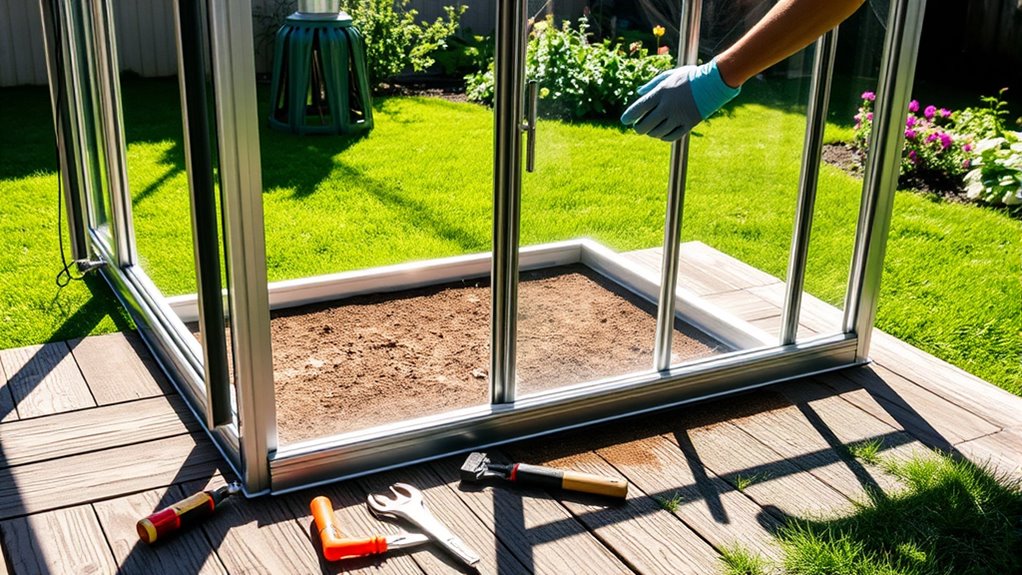
Next, level the site and build a stable base using materials like concrete or gravel.
Begin the assembly by attaching the base and corner uprights to establish the foundation. Then, connect the roof frame using the provided snap or lock connectors.
Install wall uprights and roof rafters for added support. Once the frame is secure, insert the polycarbonate panels into the channels on the uprights and slide roof panels into the tracks.
Ensure everything fits snugly for weatherproofing. With these steps, your greenhouse structure will be ready for the next phase.
Additional Features and Enhancements

While assembling your greenhouse kit, consider incorporating additional features and enhancements that can significantly improve its functionality and aesthetics.
Adding a ventilation system with temperature-activated exhaust fans and automated roof vent openers can optimize airflow and temperature control. You might also choose durable materials like cedar wood or polycarbonate panels for longevity. Portable camping toilets can also be a convenient addition for long gardening sessions. Additionally, proper greenhouse maintenance can extend the life of your structure and ensure optimal growing conditions. It’s important to monitor water sources nearby to maintain humidity levels for your plants. Implementing a consistent routine for plant care can also enhance growth and yield.
Integrating Electrical PowerPorts allows easy connections for fans and lights. Customization options, such as decorative ridge scallops and different door styles, can enhance visual appeal.
For better year-round cultivation, think about insulation options like twin-wall polycarbonate. Growing your own food in a greenhouse can lead to fresher produce and a more sustainable lifestyle.
Lastly, built-in workstations and staging shelves can maximize your interior space, making your greenhouse as efficient as it’s beautiful.
Safety and Maintenance

Enhancing your greenhouse with features like ventilation systems and durable materials sets the stage for a productive gardening experience, but maintaining safety and upkeep is just as important.
Always wear protective gear, like gloves and goggles, to prevent injuries and chemical exposure during maintenance. Organize your cleaning tasks from top to bottom to minimize accidents.
Wearing protective gear and organizing cleaning tasks can significantly reduce the risk of accidents during greenhouse maintenance.
Regularly inspect your greenhouse for cracks or leaks and check equipment like heaters and irrigation systems to ensure they function properly. Clean every three to six months and use eco-friendly cleaners to protect your plants. Implementing the four-box method can also help in keeping the space organized.
Stay prepared for emergencies by having a plan in place for leaks or equipment failures. Routine inspections can help you catch issues before they escalate, ensuring a safe and healthy environment for your plants.
Frequently Asked Questions
How Long Does It Take to Assemble a Greenhouse Kit?
The time it takes to assemble a greenhouse kit varies based on size and complexity.
You can expect smaller kits to come together in just a few hours, while larger ones might take several days to a week.
If you’ve got help, you can speed up the process.
Your skill level and the tools available will also influence how quickly you can get everything set up and ready for use.
Can I Customize My Greenhouse Kit After Purchase?
You can absolutely transform your greenhouse kit into a personalized paradise!
After purchase, you’ve got plenty of customization options. You can add shelves for your prized plants, upgrade insulation for better climate control, or install an automated irrigation system to make watering a breeze.
Plus, enhancing ventilation or adding heating and cooling systems can take your greenhouse experience to the next level.
The possibilities to tailor it to your needs are nearly endless!
What Tools Are Needed for Assembly?
To assemble your project, you’ll need a variety of tools.
Grab a set of wrenches for tightening bolts and both Phillips and flat head screwdrivers for fasteners.
Needle nose pliers will help with small parts, while a level ensures everything’s straight.
Don’t forget a tape measure for dimensions.
For power tools, a ladder and drill are essential.
Lastly, have a rubber mallet handy for gentle adjustments without damage.
Are Greenhouse Kits Suitable for All Climates?
Greenhouse kits aren’t universally suitable for all climates.
You need to consider local weather conditions like temperature extremes, wind patterns, and rainfall levels.
In hot climates, look for kits with effective cooling and ventilation systems, while cold regions require insulation and heating options.
For windy areas, choose reinforced structures.
Always check material quality, as durable options like polycarbonate panels can enhance performance across varying environments, ensuring your plants thrive regardless of the conditions.
Where Can I Find Replacement Parts for My Greenhouse?
Did you know that nearly 30% of greenhouse owners need replacement parts each year?
To find the right ones for your greenhouse, start by contacting the manufacturer; they often have specific advice and compatibility info.
Check online retailers like Greenhouse Megastore or specialized stores like Eagle Peak.
Don’t forget to explore community forums for insights and tips.
Lastly, always verify warranty coverage to save on costs when sourcing those essential parts.
Conclusion
As you stand before your assembled greenhouse, imagine it as a cozy home for your plants, a sanctuary where they’ll thrive under your care. Just like nurturing a friendship, the effort you put into building this space will blossom into vibrant blooms and bountiful harvests. Embrace the journey of growth, both for your plants and yourself. With each new season, you’ll cultivate not just vegetables, but a deeper connection to nature’s wonders. Happy gardening!


