
Before building your greenhouse, perform a simple 10-minute drainage test to assess how well your site handles water. Dig test holes about 12 inches deep, fill them with water, and observe how quickly the water drains. Slow drainage or standing water indicates potential issues that might require soil amendments or proper grading. Understanding your site’s drainage helps prevent future problems—keep exploring to learn more about fixing and improving your soil.
Key Takeaways
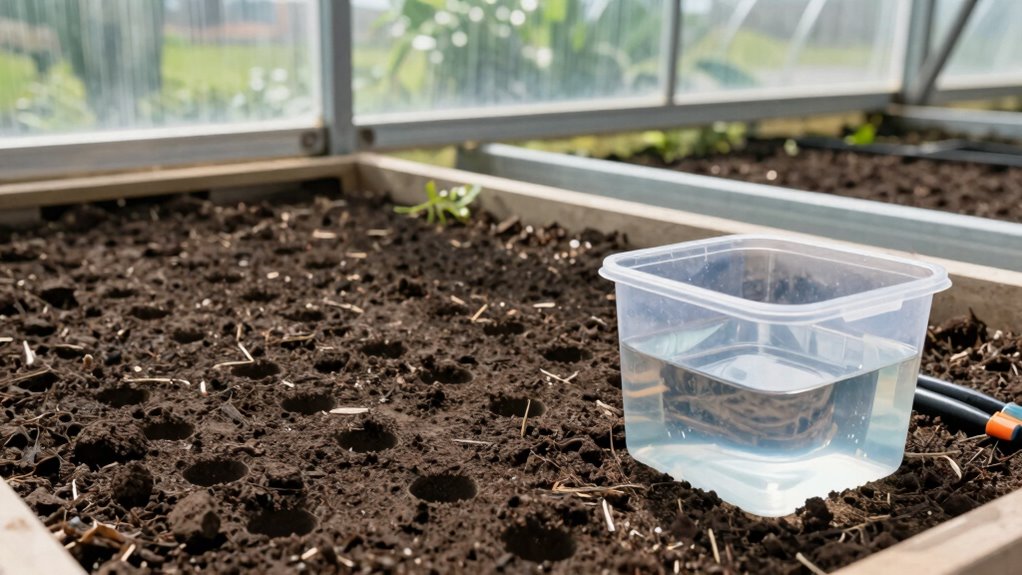
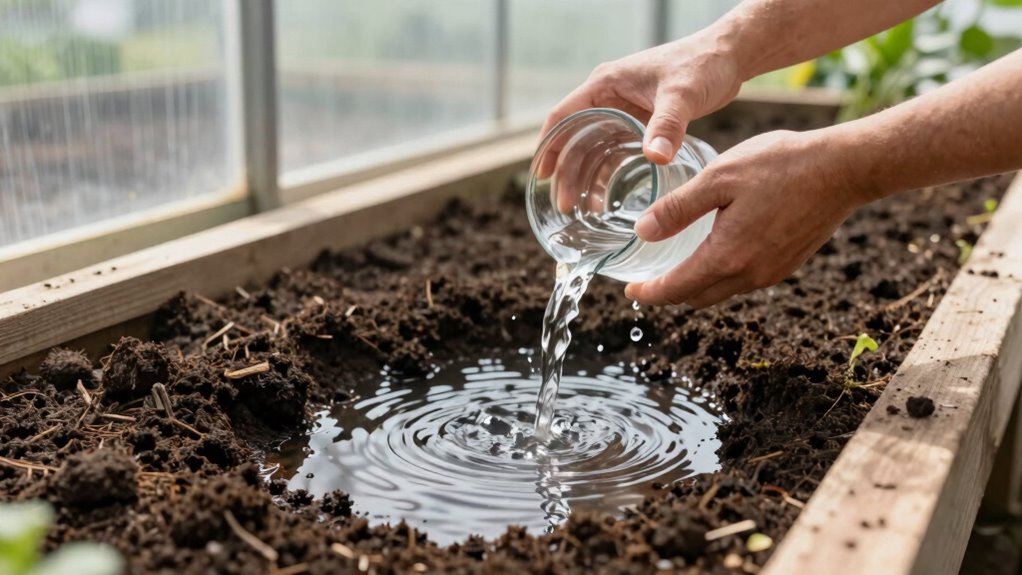
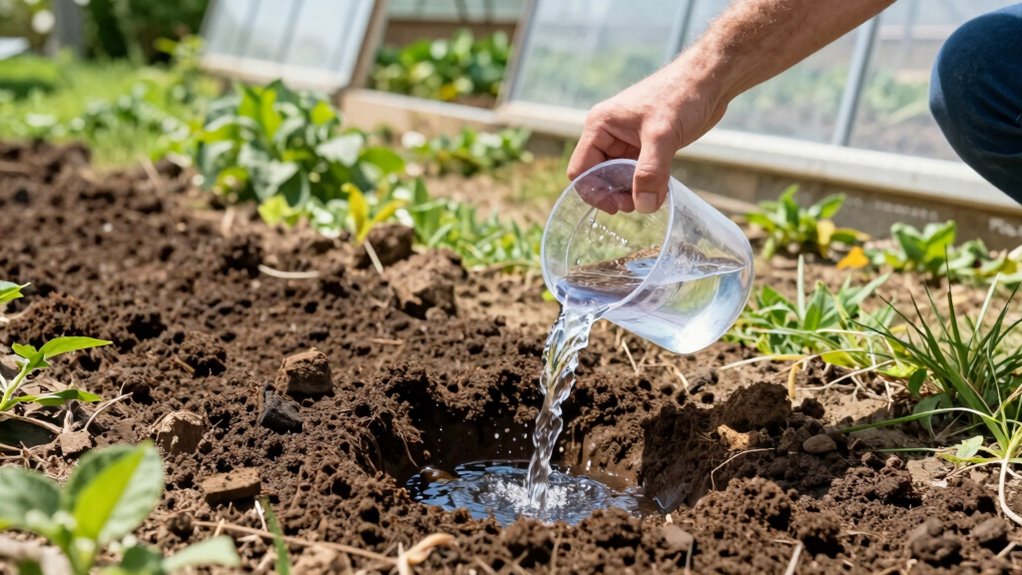
- Dig test holes about 12 inches deep at multiple site locations to evaluate soil drainage.
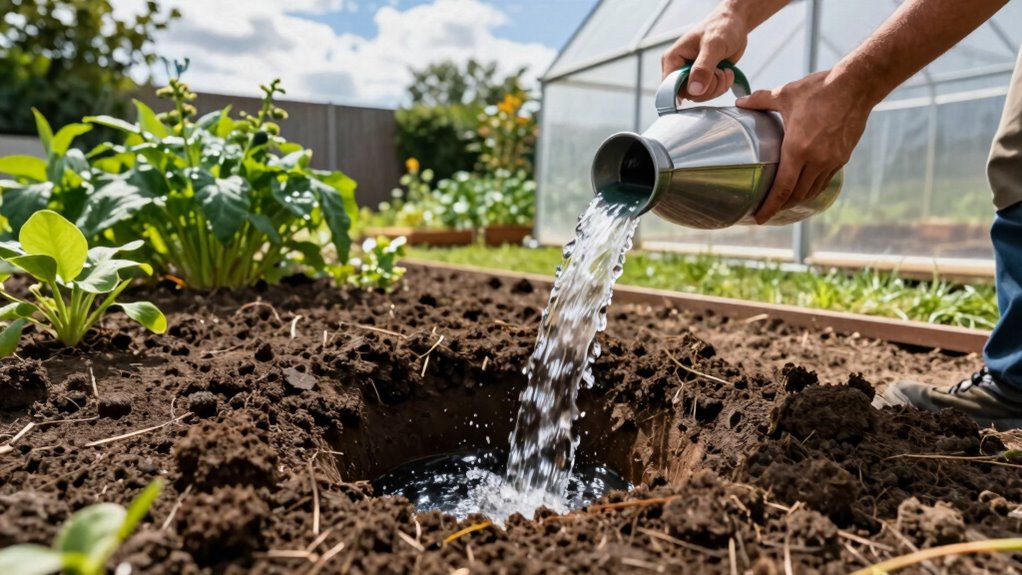
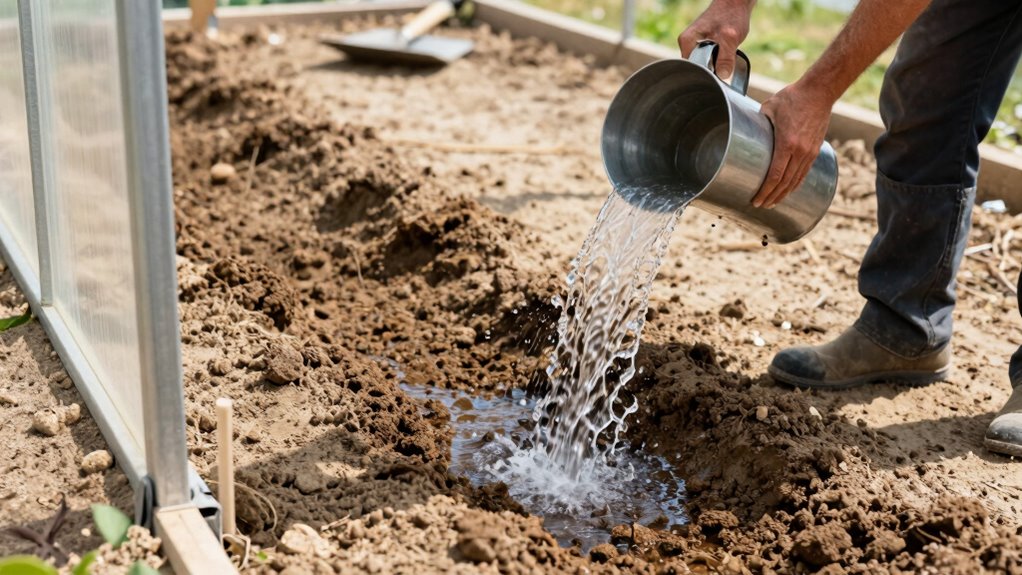
- Fill each hole with water and monitor how quickly it drains within 10 minutes.
- Observe if water remains standing or drains slowly, indicating poor drainage or soil compaction.
- Check for signs like pooling or soggy patches after rainfall to identify drainage issues.
- Use test results to decide on soil amendments or drainage solutions before installing your greenhouse.
Why You Need a Drainage Test Before Building Your Greenhouse
Before building your greenhouse, make certain to conduct a drainage test to guarantee your site can handle water runoff effectively. Understanding your soil composition is vital because it determines how water moves through the ground. If your soil has high clay content, water may drain slowly, causing pooling and potential damage. Conversely, sandy soils drain quickly but might not retain enough moisture for plants. Analyzing water flow helps you identify areas prone to standing water or erosion. Proper drainage ensures your greenhouse foundation stays stable and prevents root rot or waterlogging in your plants. Conducting this test early allows you to make necessary adjustments, such as improving soil drainage or selecting a better site, saving you time and money during construction. Incorporating European cloud solutions into your planning can also help monitor moisture levels remotely, ensuring optimal conditions for your greenhouse. Additionally, understanding soil permeability is essential for selecting the right drainage solutions and preventing long-term issues. Recognizing how water interacts with soil can guide you in choosing appropriate drainage systems and amendments to enhance water movement.
How to Perform a 10-Minute Drainage Check on Your Site
Start by gathering the necessary equipment, like a stopwatch, a shovel, and a level, to guarantee accurate results. Then, conduct the drainage test by watering a specific area and observing how quickly the water drains away within ten minutes. This quick check will help you identify any potential drainage issues before building your greenhouse.
Gather Necessary Equipment
To perform a quick 10-minute drainage check on your site, gather the essential tools and equipment you’ll need. Start with a sturdy shovel or trowel to dig small test holes. You’ll also want a level or a straight piece of wood to assess slope, ensuring proper drainage. Prepare a measuring tape to monitor water flow and retention. Don’t forget to have some clean water on hand for testing, along with a container to hold soil samples. Understanding your soil composition is vital, so consider bringing a small jar or sample bag to examine drainage materials like clay, silt, or sand. These materials influence how quickly water moves through your site, helping you determine if your drainage is adequate before proceeding with your greenhouse installation. Conducting a free floating drainage test can help identify potential issues with water runoff and pooling, ensuring your greenhouse remains stable and well-drained. Additionally, reviewing your security zone information can be beneficial in understanding the environmental factors that might affect drainage and site stability. Knowing your soil type can also guide you in selecting appropriate drainage solutions and amendments to optimize water management. Performing a simple permeability test can provide further insights into how your soil responds to water movement and aid in planning your drainage strategy. Taking the time to understand your site’s soil properties can save you time and effort during the actual greenhouse setup.
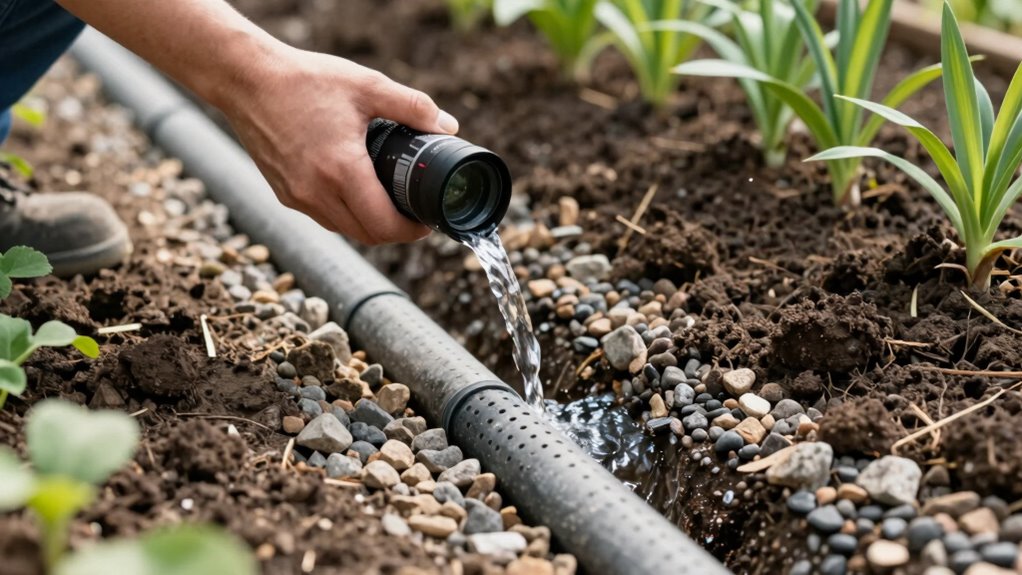
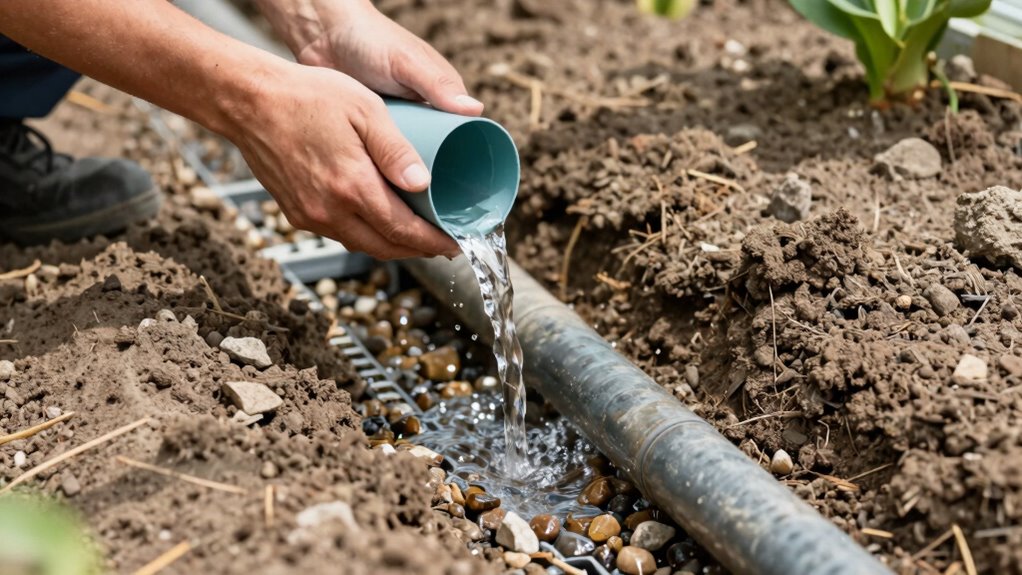
Conduct the Drainage Test
Begin by selecting a few representative spots across your site to test drainage. Dig holes about 12 inches deep and fill them with water. Observe how quickly the water drains. If water remains after 10 minutes, your soil composition may hinder proper drainage, especially if the water table is high. Well-draining soil typically absorbs water within a few minutes. Pay attention to the water table level; if it’s close to the surface, excess water won’t drain effectively, risking waterlogging. If drainage is slow, consider amendments like sand or organic matter to improve soil structure. Conducting this quick test helps identify potential issues early, ensuring your greenhouse sits on well-drained soil, preventing future waterlogging problems and promoting healthy plant growth.
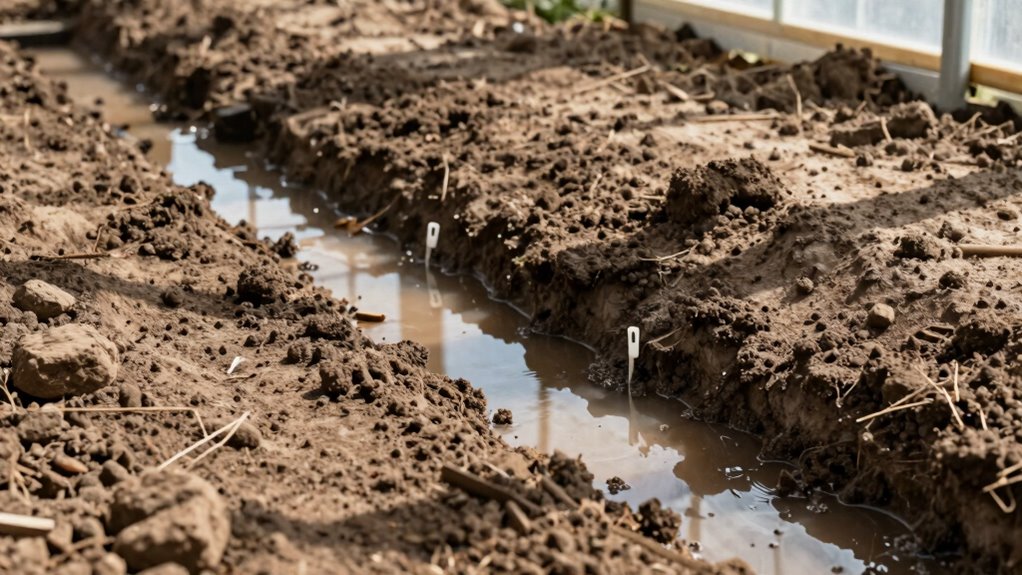
Signs Your Site Has Poor Drainage
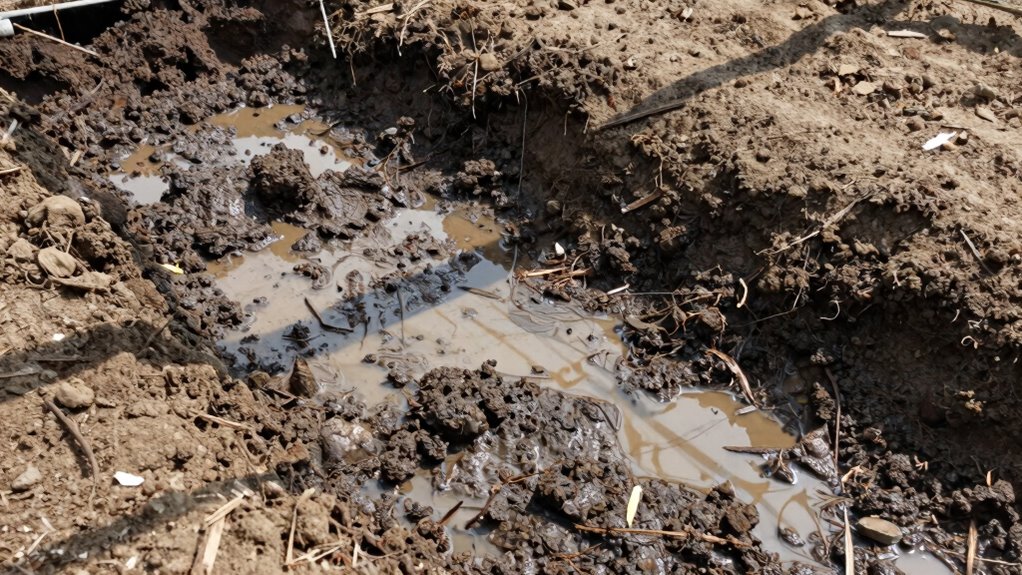
Have you noticed persistent puddles or soggy patches around your site after a rain? These are clear signs your soil composition and drainage patterns aren’t ideal. Poor drainage often results from clay-heavy soil that drains slowly or uneven terrain that causes water to pool. If water remains standing long after heavy rain, it indicates your site struggles to channel excess moisture away effectively. Look for areas where water collects or takes a long time to soak in, especially in low spots or along slopes. Consistently soggy soil can lead to root rot and other plant health issues. Recognizing these signs early helps you determine if your site needs drainage improvement before installing a greenhouse, saving you time and potential future headaches.
What Your Drainage Test Results Mean and Next Steps
Your drainage test results tell you whether your site can handle water effectively, highlighting areas needing improvement. If issues are identified, you’ll want to take specific steps to address them and improve drainage. Ensuring long-term drainage success means understanding these results and implementing the right solutions now. A thorough understanding of field‑of‑view and imaging‑scale examples can help you better assess how water moves across your site and plan appropriate drainage solutions. Additionally, understanding drainage capacity and flow rates can assist in designing systems that effectively manage water runoff and prevent future problems. Gaining knowledge about soil permeability and slope can further improve your ability to develop effective drainage strategies tailored to your site’s unique conditions. Recognizing the water movement patterns across your site can be crucial for optimizing drainage design and avoiding water pooling issues.
Interpreting Drainage Results
When analyzing drainage test results, understanding what the outcomes indicate about your soil’s properties is essential. If water drains quickly, your soil likely has good drainage and low water retention, suitable for most greenhouse plants. Slow drainage suggests your soil retains too much water, which can lead to root rot and poor plant health. Conversely, if water pools or takes a long time to seep in, your soil might be too dense or compacted, limiting oxygen flow. These results reveal your soil’s composition and water retention capacity, guiding you on necessary amendments. For example, heavy, clay-rich soils may require organic matter or sand to improve drainage, while sandy soils may need less intervention. Accurate interpretation helps assure your greenhouse environment supports healthy plant growth. Utilizing outdoor tech like moisture meters and soil sensors can further enhance your understanding of soil conditions. Knowing how to interpret drainage results is a key step in creating an optimal environment for your plants. Additionally, conducting periodic soil testing can provide ongoing insights into soil health and help you make informed adjustments over time. Regular monitoring with soil sensors can help you track changes in soil moisture levels and prevent overwatering or underwatering, ultimately leading to healthier plants and more successful greenhouse cultivation.
Addressing Drainage Issues
Understanding your drainage test results is essential for addressing soil issues effectively. If water stays on the surface or drains slowly, it could indicate soil compaction or poor structure, leading to excessive water retention. To improve drainage, consider aerating the soil to reduce compaction and increase pore space, which helps water move through more freely. You might also amend the soil with organic matter like compost to boost its structure and drainage capacity. Avoid overwatering your greenhouse, especially if your soil retains too much water. Proper adjustments will help prevent root rot and other moisture-related issues. Additionally, selecting supportive plant varieties that tolerate moisture can be beneficial while you work on improving your soil. Incorporating soil testing can help monitor progress and guide further improvements. Regularly monitoring soil moisture levels can also provide insight into how well your adjustments are working. Paying attention to soil structure is crucial for long-term drainage success, so evaluate it periodically to ensure your modifications are effective. Improving your soil’s drainage capacity over time will contribute to a healthier greenhouse environment.
Ensuring Long-Term Drainage
Interpreting your drainage test results provides valuable insights into how well your soil will perform over the long term. If water drains too quickly, it suggests poor water retention, which can harm plant roots. Conversely, slow drainage may indicate soil compaction, risking root rot and poor aeration. To guarantee long-term drainage:
- Check for signs of soil compaction and loosen compacted areas.
- Amend heavy clay soils with organic matter to improve water retention.
- Incorporate sand or grit if drainage is too rapid.
- Regularly monitor and adjust soil conditions based on ongoing drainage performance.
How to Fix Drainage Problems on Your Greenhouse Site
If you notice water pooling or soil erosion around your greenhouse, addressing drainage issues quickly is essential to protect your plants and foundation. To fix water pooling caused by soil compaction, start by aerating the soil to improve drainage. You can do this with a garden fork or aerator to loosen compacted areas. If necessary, add organic matter or coarse sand to increase permeability. For severe issues, consider creating a slight slope away from your greenhouse to direct water flow. Installing gravel or drainage tiles can also help divert excess water. Regularly inspect the site after heavy rain, and adjust your fixes as needed. These steps will help ensure proper drainage, preventing future pooling and soil erosion around your greenhouse. Understanding soil health can also help you maintain optimal drainage conditions over time. Additionally, monitoring soil moisture levels can assist in preventing over-saturation and promote healthy plant growth around your structure. Maintaining proper drainage solutions is key to long-term success in greenhouse gardening.
Essential Tools for Checking Site Drainage

To effectively evaluate your site’s drainage, you need the right tools to gather accurate information. These tools help you assess soil composition and water flow, ensuring proper drainage before building.
- Soil test kit – determines soil texture and drainage capacity.
- Rain gauge – measures water flow during storms to observe runoff patterns.
- Shovel or trowel – digs sample holes to inspect soil layers and compaction.
- Level or ruler – checks for slope and terrain grade, influencing water flow.
Using these tools, you’ll identify potential drainage issues and understand how water moves across your site. Proper assessment helps prevent future problems and creates a solid foundation for your greenhouse.
Common Mistakes When Testing Drainage (and How to Avoid Them)
Many homeowners make common mistakes when testing drainage that can lead to inaccurate results and costly issues later on. One mistake is overlooking soil compaction, which can prevent water from draining properly. Another is neglecting proper drainage grading; if the land isn’t sloped correctly, water may pool or flow away too quickly. Rushing the test without enough water or testing during unsuitable weather also skews results. To avoid these pitfalls, ensure the soil isn’t overly compacted and check the grading for proper slope. Here’s a quick guide:
| Mistake | Cause | Solution |
|---|---|---|
| Ignoring soil compaction | Heavy machinery or foot traffic | Loosen soil before testing |
| Poor drainage grading | Flat or uneven land | Re-grade for proper slope |
| Inadequate water testing | Too little water or wrong time | Use sufficient water and wait for rain or after rain |
Why Proper Drainage Is Key for Healthy Greenhouse Plants
Proper drainage is essential for maintaining healthy greenhouse plants because excess water can quickly lead to root rot, disease, and nutrient imbalances. Your soil composition and water table levels directly influence drainage effectiveness. To guarantee proper drainage, consider these key points:
- Choose soil with good structure, like sandy or loamy mixes, to prevent waterlogging.
- Monitor your water table; high water tables increase the risk of poor drainage.
- Avoid heavy clay soils, which retain too much water and hinder root health.
- Incorporate drainage layers or gravel to improve water flow and prevent standing water.
Understanding these factors helps you create a balanced environment where roots can breathe, nutrients stay available, and your greenhouse thrives. Proper drainage is the foundation for healthy, productive plants.
When to Re-Test Your Site Before Construction
Before starting construction, re-testing your site guarantees that initial soil assessments remain accurate and that conditions haven’t changed. Over time, soil compaction can increase due to natural settling or previous activity, affecting drainage and water retention. Changes in rainfall, nearby construction, or land use can also alter soil properties. It’s essential to re-test if more than a few months have passed or after significant weather events. This ensures your soil still drains properly and retains water as expected. Re-testing helps you identify any shifts in soil compaction or water retention capacity that could impact your greenhouse’s foundation and drainage system. Staying proactive guarantees your site remains suitable for building and prevents costly adjustments later.
Frequently Asked Questions
Can Drainage Issues Be Detected Without Digging or Heavy Equipment?
Yes, you can detect drainage issues without digging by observing surface moisture levels and underground flow signs. Look for persistent puddles, overly saturated soil, or uneven wetness around your site. Using a simple percolation test or a moisture meter helps assess underground flow, revealing drainage problems. These methods allow you to identify issues early, saving you from costly repairs and ensuring your greenhouse sits on well-drained soil.
How Often Should I Perform Drainage Tests After Initial Installation?
You should perform drainage tests regularly as part of your maintenance routines, ideally every few months and after heavy rains. Seasonal adjustments are essential—test more often in winter and spring when soil conditions change. By staying proactive, you’ll catch drainage issues early, preventing costly repairs. Consistent testing guarantees your greenhouse stays well-drained, promoting healthy plants and a stable environment year-round.
What Are the Environmental Factors That Affect Drainage During Testing?
Oh, the irony—your perfect drainage test can be thrown off by soil compaction and a high water table, making everything seem fine when it’s not. Heavy soil compaction impedes water flow, while a rising water table can falsely indicate poor drainage. To get accurate results, consider these factors beforehand, because ignoring them might lead you to build a greenhouse on shaky, overly saturated ground.
Is There a Specific Time of Year Best for Conducting a Drainage Test?
You should conduct your drainage test during dry, stable weather, typically in late spring or early summer, to minimize seasonal considerations and weather impact. Avoid testing during heavy rains or periods of high humidity, as these conditions can skew results. Clear, dry days guarantee accurate drainage assessment, helping you identify potential issues before building your greenhouse. Timing your test carefully guarantees reliable data and a smoother installation process.
How Does Soil Type Influence the Drainage Test Results?
Soil type substantially impacts your drainage test results because different soil compositions affect moisture retention and drainage speed. Sandy soils drain quickly, showing rapid water movement, while clay soils retain moisture longer, making drainage slower. Knowing your soil’s composition helps you interpret test results accurately. If your soil holds too much moisture, you might need to improve drainage, ensuring your greenhouse foundation remains stable and well-drained.
Conclusion
Performing a quick drainage test might seem simple, but it’s vital for your greenhouse’s success. By catching drainage issues early—just like a seasoned gardener tending their plot—you guarantee your plants thrive. Don’t forget, even the most venerable of scholars would advise diligence before laying the foundation. A swift 10-minute check now can save you from costly fixes later. So, roll up your sleeves and give your site the thorough assessment it deserves—your future harvest depends on it.