If your drip emitters are clogged, don’t worry—simple cleaning can restore their flow. First, check for mineral deposits or debris blocking the outlets. Use a mixture of vinegar and water to flush out mineral buildup, or gently insert a pin or needle to dislodge stubborn clogs. Regular maintenance, like flushing lines and replacing worn emitters, prevents future issues. To discover easy steps that keep your system running smoothly, keep exploring these tips.
Key Takeaways
- Use a vinegar and water solution to flush out mineral deposits and debris from clogged emitters.
- Gently insert a needle or pin to dislodge stubborn blockages in the emitter outlet.
- Remove and clean affected emitters regularly with a stiff brush or pipe cleaner for optimal flow.
- Flush entire system with clean water periodically to prevent buildup and maintain efficient watering.
- Replace emitters if cleaning doesn’t restore proper flow or if they show cracks or persistent clogging.
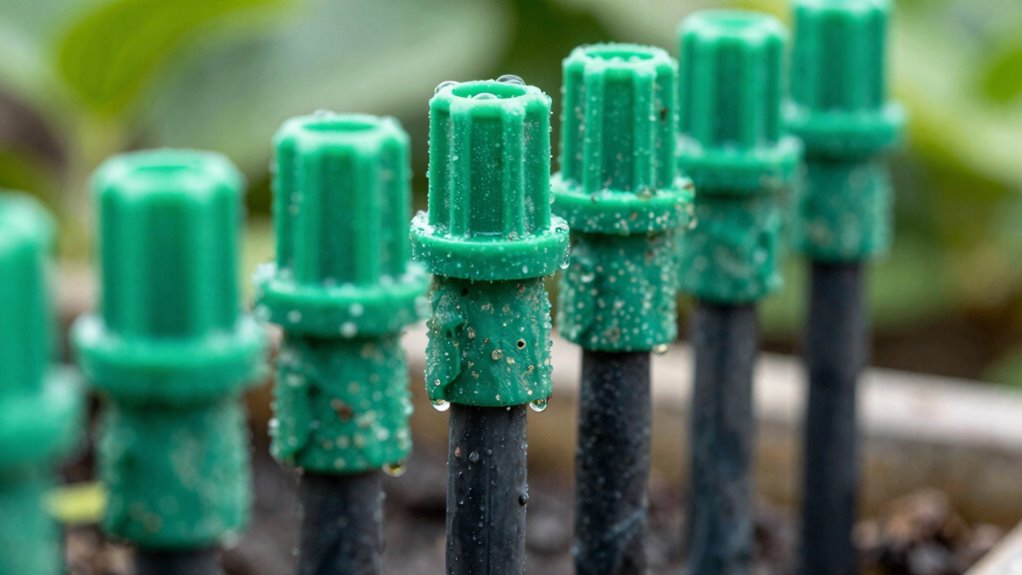
Why Do Drip Emitters Get Clogged and How Does It Affect Your Garden?
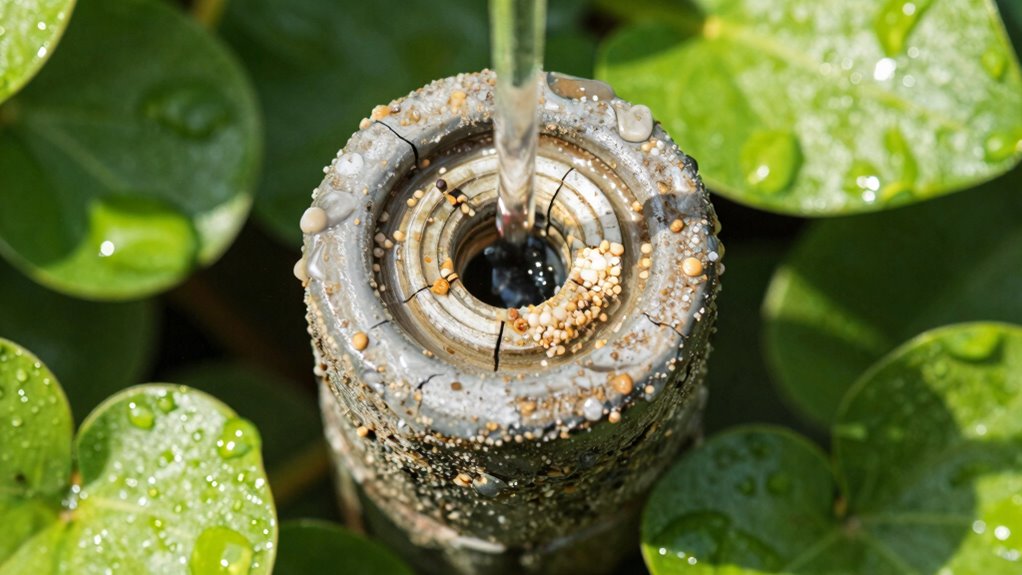
Drip emitters can become clogged for several reasons, and this directly impacts your garden’s health. One common cause is the buildup of debris or mineral deposits from your water source, which can block flow. Plant pests, like aphids or scale, may also contribute by contaminating the system or introducing particles that clog emitters. Additionally, soil amendments such as compost or organic matter can introduce particles or organic material that clog small outlets. When emitters clog, water delivery becomes uneven, leading to dry spots or overwatering in other areas. This imbalance stresses your plants, hampers nutrient uptake, and can cause root problems. Regularly checking for clogs and maintaining clean filters helps prevent these issues, ensuring your garden remains healthy and productive. Properly managing drip irrigation systems can also reduce buildup and improve water efficiency.
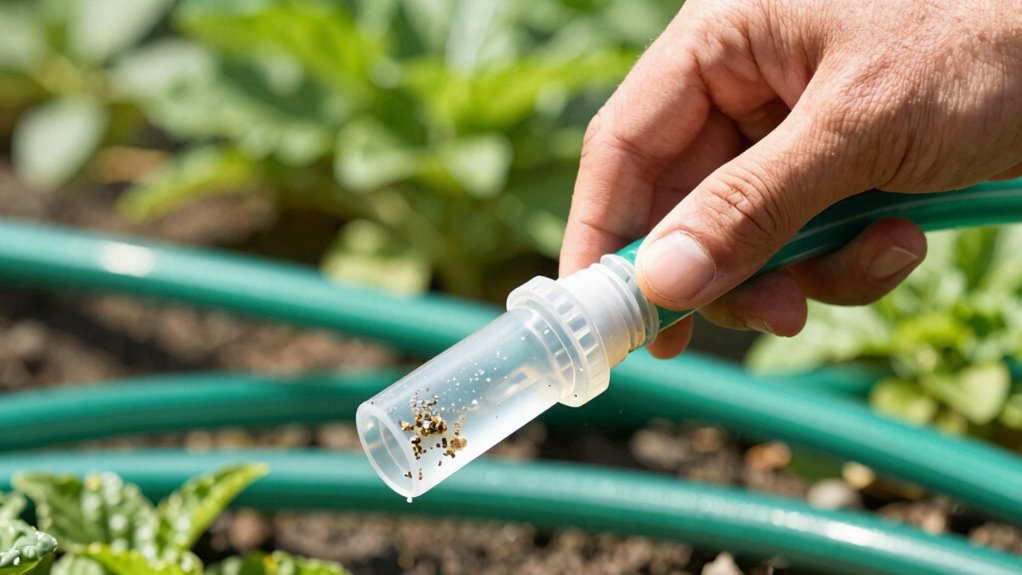
How to Recognize When Your Drip Emitters Are Clogged
When emitters become clogged, you’ll notice changes in your garden’s watering pattern. Water may drip unevenly or stop altogether, causing dry spots and inconsistent moisture. This not only wastes water but also impacts water conservation efforts, as more water gets wasted or overused to compensate. You might observe plants wilting or showing signs of stress because their roots aren’t getting enough consistent moisture, jeopardizing plant health. Sometimes, the flow from each emitter becomes noticeably weaker or stops entirely. Regularly check for these signs to catch clogs early. Recognizing these issues promptly helps you maintain efficient watering, conserve water, and keep your plants healthy. Routine maintenance and addressing clogs as soon as you notice changes guarantees your garden thrives and stays well-hydrated.
Tools and Supplies Needed to Clean Clogged Emitters

To effectively clean clogged emitters, gather the right tools and supplies beforehand. You’ll need a small, stiff brush or a pipe cleaner to remove debris without damaging the emitter. A supply of clean water or a vinegar solution can help flush out blockages. A gentle pin or needle is useful for dislodging stubborn clogs. Keep a pair of pliers handy in case you need to detach emitters. It’s also important to contemplate garden pests—they can contribute to clogging by introducing debris or pests that block flow. Monitoring soil moisture helps prevent over- or under-watering, reducing pressure on your drip system. Additionally, understanding sound vibrations can help you identify blockages through unusual noises or flow irregularities. Having these supplies ready ensures you can quickly address clogs, maintain proper watering, and keep your garden healthy.
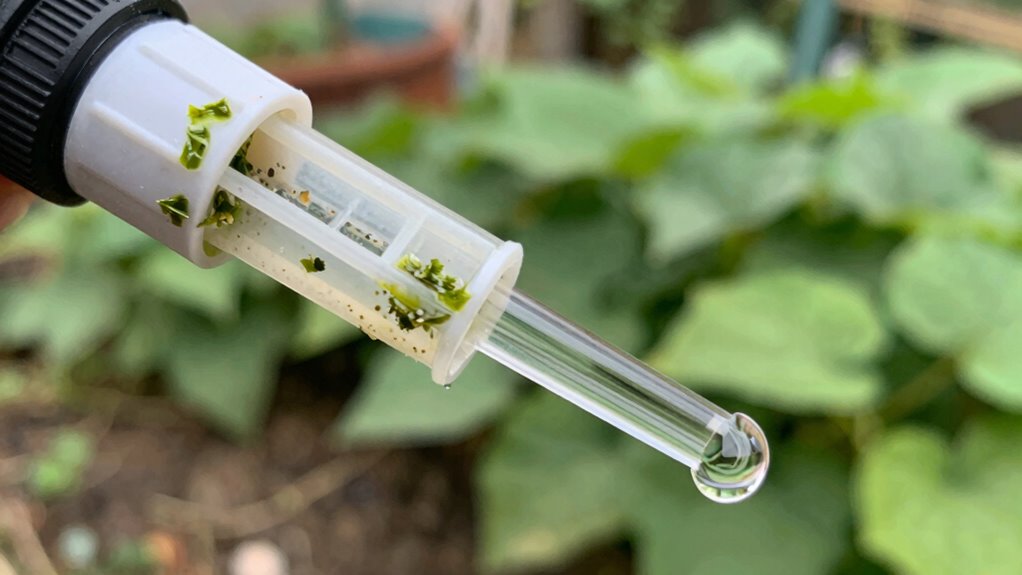
How to Clean Clogged Drip Emitters With Water and Vinegar
If your drip emitter is clogged, using water and vinegar offers an effective, gentle cleaning method. Mix equal parts white vinegar and water, then pour the solution into the emitter’s inlet. Let it sit for 15-30 minutes to loosen mineral buildup and debris that can restrict flow. This simple process helps improve soil aeration around your plants by ensuring consistent watering, which supports healthy root development. Properly functioning emitters deliver essential nutrients, enhancing plant nutrition. After soaking, flush the system with clean water to remove loosened deposits. Regularly cleaning with vinegar prevents future clogs, maintaining ideal watering efficiency and preventing uneven soil moisture. Additionally, using eco-friendly methods like vinegar aligns with sustainable gardening practices and promotes healthier soil health. This eco-friendly approach keeps your drip irrigation system working smoothly without harsh chemicals, promoting healthier plants and better soil health.
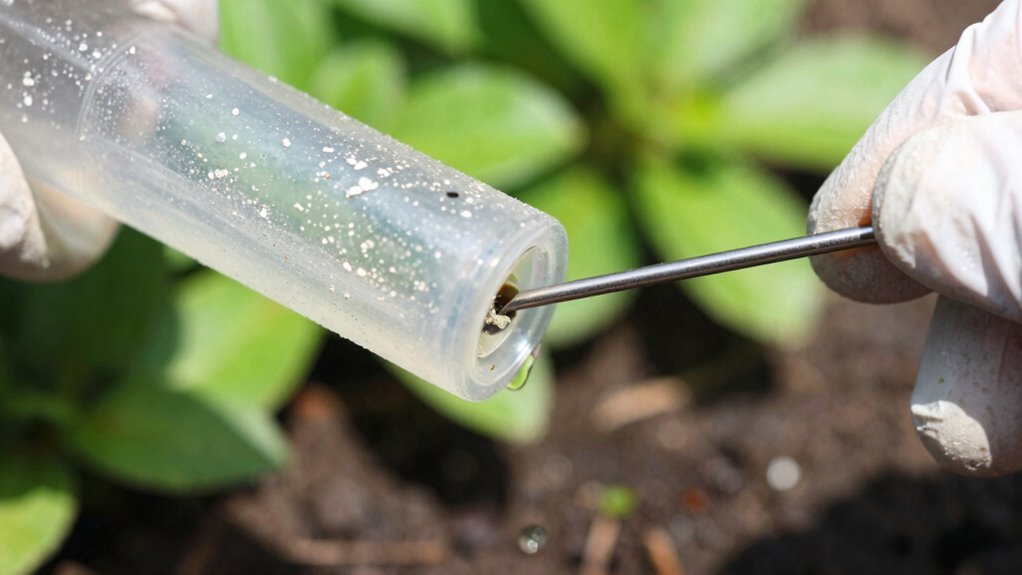
How to Use a Needle or Pin to Clear Blockages in Small Emitters
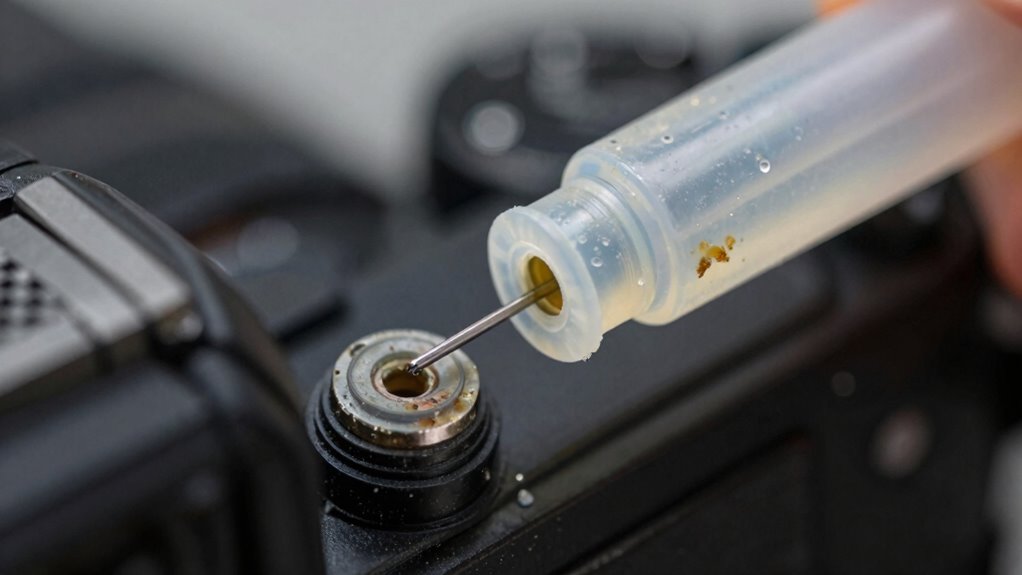
First, gather a fine needle or pin and a steady hand. Next, locate the blocked emitters on your system. Then, carefully insert the pin to dislodge the obstruction without damaging the emitter. Additionally, being aware of pinball machine weight can be useful if you need to move or replace your system for maintenance.
Gather Necessary Tools
Before you attempt to clear a clogged drip emitter, gather the right tools, such as a small sewing needle or a straight pin. These tools help dislodge blockages caused by fertilizer buildup or mineral deposits. Having the proper tools guarantees you won’t damage the emitter or push debris further inside. In addition, using precious metal investments as a comparison, proper maintenance ensures the longevity and optimal performance of your irrigation system. Here are four essential items to prepare: 1. A small sewing needle or straight pin 2. Tweezers (optional) 3. A container of clean water 4. Rubbing alcohol (for stubborn deposits) Using a needle or pin carefully breaks up mineral deposits or fertilizer buildup blocking the flow. Tweezers help remove loosened debris, while water and alcohol aid in flushing and disinfecting the emitter. Proper tools make cleaning straightforward and effective.
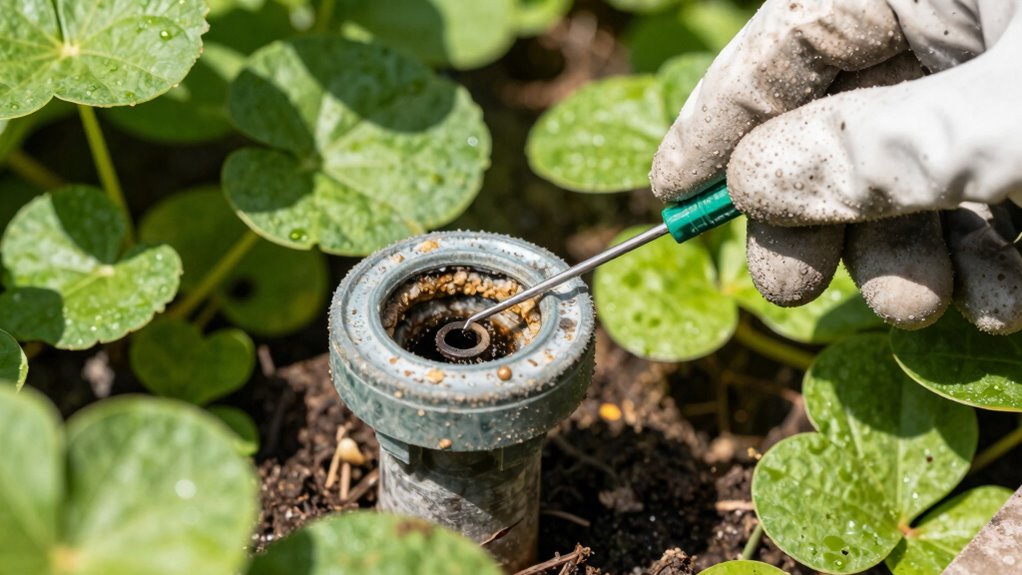
Locate Blocked Emitters
To identify which emitters are blocked, observe your system while it’s operating. Look for uneven or weak water flow in certain emitters, which indicates a clog. Soil testing can help determine if mineral buildup from soil contributes to blockages, guiding you on appropriate treatment. Additionally, consider plant compatibility; some plants may shed debris or roots into the emitters, causing clogs. Once you spot a suspect emitter, gently insert a needle or pin into its outlet. Be careful not to damage the emitter. If resistance is met, wiggle the needle slightly to dislodge the obstruction. This simple method effectively clears minor blockages, restoring proper flow. Regularly inspecting and addressing these issues keeps your drip system efficient and your plants well-watered, and preventative maintenance can reduce future clogs.
Carefully Clear Obstructions
When you notice a drop in water flow from a small emitter, carefully clearing the blockage with a needle or pin can often restore proper function. Soil compaction or debris can cause clogs, reducing water pressure. To clear the obstruction effectively:
- Gently insert a needle or pin into the emitter hole, avoiding damage.
- Wiggle it slightly to dislodge soil particles or mineral buildup.
- Rinse with water to flush out loosened debris.
- Check flow and repeat if necessary, ensuring the passage is clear.
Regular maintenance, such as flushing the system periodically, can help prevent clogged emitters from recurring. Be cautious not to push too hard, which could damage the emitter. Proper clearing restores water pressure, prevents future blockages, and keeps your garden watering efficient.
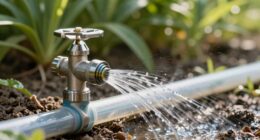
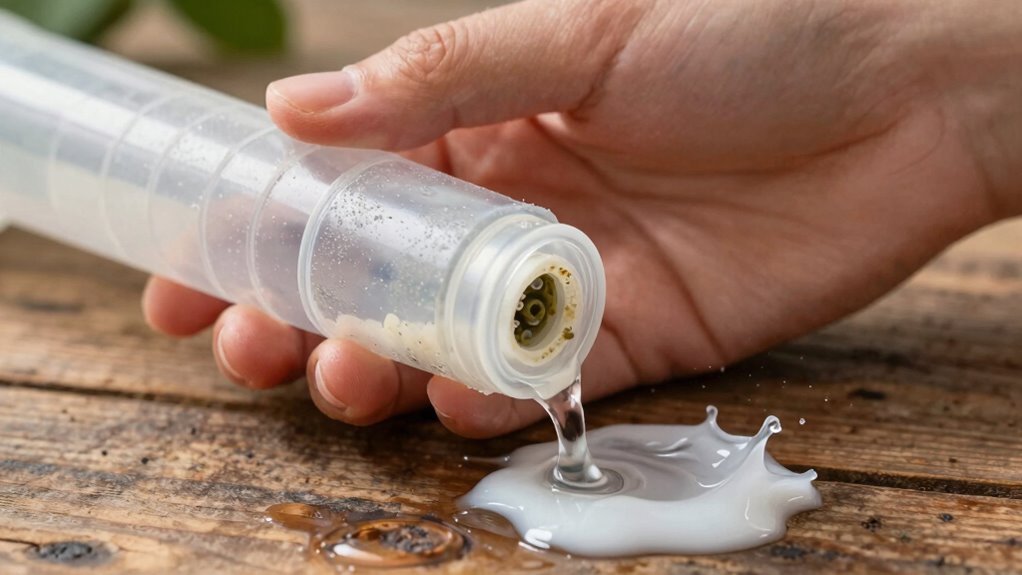
How to Flush Your Drip Line for Better Water Flow
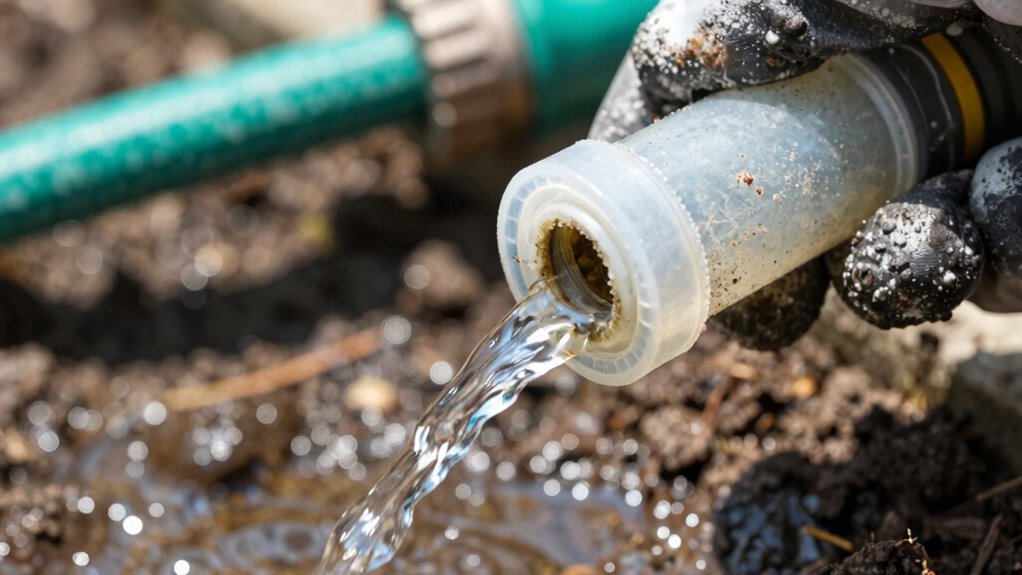
Are your drip emitters clogging more often than you’d like? If so, it might be time to flush your entire drip line. Start by shutting off the water supply and removing any filters. Next, disconnect the line and attach a hose to one end. Turn on the water to push out any debris and buildup inside the tubing. Flushing helps restore consistent water flow, ensuring soil moisture stays even and your plants remain healthy. Regular flushing is an easy way to maintain ideal water flow, promoting better soil moisture levels and supporting your plants’ overall health. Incorporating natural filtration systems can also help reduce debris and extend the time between flushes.
When Should You Replace Emitters Instead of Cleaning?

Sometimes, despite regular flushing and cleaning, emitters continue to clog or fail to deliver water evenly. When this happens, it’s time to think about replacement. Persistent clogging can disrupt plant nutrition, leading to uneven growth. Additionally, damaged emitters can create gaps in pest control efforts, inviting unwanted insects. Here are signs you should replace emitters instead of cleaning:
If emitters clog or break, replacing them ensures proper watering and pest control.
- They remain blocked after multiple cleanings.
- They leak or have visible cracks.
- Water flow remains inconsistent despite cleaning.
- The emitters are old or brittle, risking further damage.
- Using energy-efficient emitters can help reduce water waste and operational costs.
Replacing emitters ensures your system functions efficiently, maintaining proper plant nutrition and pest control. Sometimes, cleaning isn’t enough, and new emitters are the best way to keep your watering system reliable and effective.
Troubleshooting Common Problems With Your Drip System
When your drip system isn’t working properly, quickly identifying blockages can save you time and water. Look for uneven watering or reduced flow from emitters to spot problems early. To prevent future clogs, make regular maintenance a part of your routine and use filtration filters.
Identifying Blockages Quickly
Blocked drip emitters can quickly reduce your watering efficiency, so catching issues early is essential. To identify blockages, start by inspecting emitters for visible clogs or debris. Check if uneven watering suggests a clog or root intrusion. Use a simple flush of water through the emitter to see if flow improves. Remember, poor soil testing or imbalanced plant nutrition can cause inconsistent water absorption, hinting at hidden blockages.
Here are four quick tips:
- Visually examine emitters for dirt or mineral buildup.
- Test flow by opening and flushing each emitter.
- Look for dry patches indicating clogging.
- Monitor soil moisture levels to spot irregular watering patterns.
Preventing Future Clogs
Preventing future clogs starts with understanding how to keep your drip system functioning smoothly. Regular flushing of your lines helps prevent fertilizer buildup and mineral deposits from accumulating inside emitters. Use filtered water whenever possible, as impurities contribute to clogging. Applying appropriate fertilizer amounts reduces the risk of buildup that can block flow. Periodically flushing your system with clean water clears out debris, mineral deposits, and residual fertilizer. Installing filters or screens at the source prevents larger particles from entering your lines. Additionally, avoid over-fertilizing, which can lead to deposits that clog emitters over time. By maintaining a clean system and monitoring fertilizer use, you’ll reduce the chances of future clogs, ensuring your drip system continues to deliver water efficiently and reliably.
Preventative Tips to Keep Your Drip Emitters Working Smoothly
Regularly inspecting and cleaning your drip emitters is essential to keep them functioning properly. Preventative care minimizes clogs caused by fertilizer buildup and mineral deposits. To keep your system in top shape, consider these tips:
Regularly inspect and clean drip emitters to prevent clogs and ensure optimal garden health.
- Flush your system with clean water monthly to prevent buildup.
- Use filtered or softened water to reduce mineral deposits.
- Avoid over-fertilizing; apply nutrients carefully to prevent fertilizer residue from clogging emitters.
- Remove and clean emitters periodically to clear any accumulated debris and mineral deposits.
Following these simple steps helps ensure your drip emitters stay clear and efficient, saving you time and money in the long run. Proper maintenance is key to a healthy, productive garden.
Maintaining Your Drip System for Long-Term Garden Success
To guarantee your drip irrigation system remains effective over the long term, consistent maintenance is essential. Regularly flushing lines prevents buildup of fertilizer runoff, which can clog emitters and promote plant disease. Check filters and emitters monthly, and replace damaged parts promptly. Assure water pressure stays consistent to avoid uneven watering. Keep an eye on soil moisture to prevent overwatering, which can lead to plant disease. Properly storing hoses and tools during winter prevents cracking and damage. Consider scheduling annual system inspections. Here’s a quick overview:
| Task | Frequency | Benefits |
|---|---|---|
| Flushing lines | Monthly | Prevents fertilizer buildup |
| Inspecting emitters | Monthly | Stops clogs and leaks |
| Replacing worn parts | Annually | Ensures system efficiency |
| Monitoring soil moisture | Weekly during peak season | Reduces plant disease risk |
Frequently Asked Questions
Can Mineral Buildup Cause Emitter Clogging Over Time?
Yes, mineral buildup can cause emitter clogging over time. As water flows through your drip system, minerals like calcium and magnesium can accumulate, blocking the emitter’s small openings. To prevent clogging, you should regularly flush your system with water or a vinegar solution to dissolve mineral deposits. Consistent clog prevention helps keep your emitters functioning smoothly, ensuring your irrigation system delivers water efficiently and reduces the need for frequent cleaning.
Are There Eco-Friendly Cleaning Solutions for Drip Emitters?
Did you know that over 60% of gardeners prefer eco-friendly solutions? You can use biodegradable cleaners or natural remedies like vinegar or baking soda to clean your drip emitters effectively. These options are safe for the environment and gentle on your plants. Simply soak the emitters in a mixture of water and vinegar, then rinse thoroughly. Eco-friendly cleaning keeps your irrigation system working efficiently while protecting nature.
How Often Should I Inspect My Drip System for Clogs?
You should inspect your drip system at least once a month to catch potential clogs early. Regular inspection frequency helps prevent blockages and keeps your system running smoothly. Look for uneven watering or decreased flow, which are signs of clogging. By staying proactive with clog prevention, you guarantee efficient watering, save water, and extend the life of your drip emitters. Don’t wait too long—consistent checks make all the difference.
What Are Signs of Permanent Damage to Emitters?
Imagine your drip system as a garden’s heartbeat. Signs of permanent damage include emitter corrosion, which causes leaks or inconsistent flow, and plastic degradation that makes emitters brittle or cracked. When you notice these issues, it’s like seeing a wilted flower—restoration’s impossible. If you see corrosion or plastic deterioration, replace the emitters promptly to keep your system healthy and prevent further damage.
Do Different Emitter Brands Require Different Cleaning Methods?
Yes, different emitter brands often require brand-specific maintenance because cleaning solution compatibility varies. Always check the manufacturer’s instructions to verify you’re using the right cleaning methods and solutions for your specific brand. Some emitters may need gentle rinsing, while others tolerate mild cleaning solutions. Following the recommended cleaning procedures helps prevent damage and keeps your drip irrigation system functioning smoothly, extending the lifespan of each emitter.
Conclusion
Regularly cleaning your drip emitters can prevent up to 50% of system failures and extend their lifespan. By staying proactive, you guarantee your garden receives consistent, efficient watering. Remember, a well-maintained drip system not only saves water but also promotes healthier plants. Don’t overlook simple maintenance—it’s the key to long-term success. Keep your emitters clear and your garden thriving, because a small investment in upkeep yields lush, vibrant growth all season long.