To fix bad sensor data and protect your plants, start by regularly calibrating your soil moisture and temperature sensors using high-quality tools and known standards. Keep an eye out for sudden data spikes or drops that may signal interference or faults. Proper maintenance, prompt troubleshooting, and timely sensor replacements can prevent inaccurate readings. Stay consistent with calibration routines, and you’ll ensure your sensors provide reliable data to support healthy crops — learn more to master these essential steps.
Key Takeaways
- Regularly calibrate sensors using trusted standards to ensure accurate soil moisture and temperature readings.
- Monitor sensor data for anomalies like sudden jumps or drops indicating potential calibration issues.
- Use high-quality calibration tools and follow manufacturer guidelines for consistent results.
- Clean sensors periodically and check for external interference that can cause false readings.
- Document calibration dates and results to track sensor performance and plan timely recalibrations.
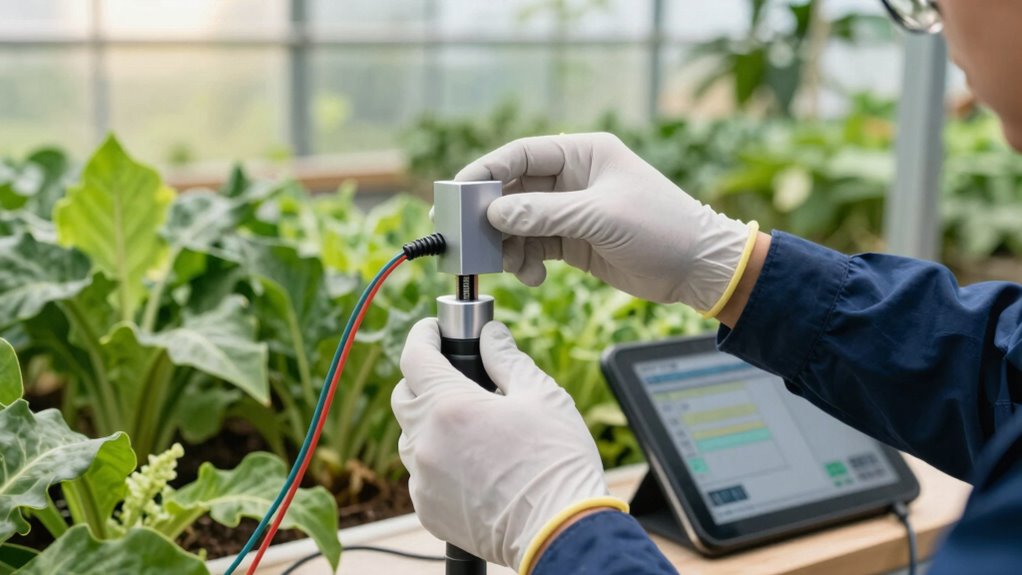
Why Proper Sensor Calibration Is Key for Healthy Crops
Proper sensor calibration is essential because it guarantees the data you rely on to make crop management decisions is accurate. Without regular calibration, sensor drift can cause readings to become unreliable, leading to poor decisions that harm your crops. Establishing an appropriate calibration frequency ensures your sensors stay precise over time. Frequent calibration helps detect and correct drift early, maintaining the quality of your data. If you neglect calibration, sensor inaccuracies may go unnoticed, resulting in under- or over-irrigation, incorrect fertilization, or other issues that compromise plant health. Understanding contrast ratio is also important, as it affects how well your sensors can detect differences in light levels and other parameters. By staying on top of calibration schedules, you protect your crops from the effects of faulty data. Consistent calibration practices are a simple yet crucial step to keep your sensors performing at their best, ensuring your crop management remains effective.
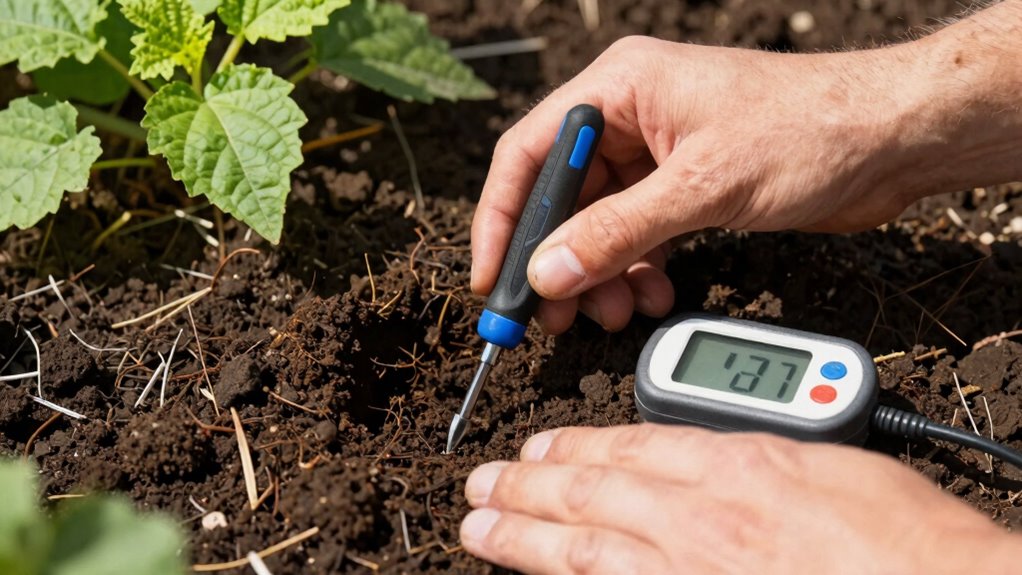
How to Recognize Bad Soil Sensor Data
When soil sensor data suddenly seems inconsistent or erratic, it’s a clear sign that something may be wrong. One common issue is sensor drift, where readings gradually become inaccurate over time. Look out for data anomalies such as sudden jumps or drops that don’t match recent weather conditions or plant needs. If your sensor reports moisture levels that spike overnight or temperature readings that fluctuate wildly without explanation, it’s likely a sign of bad data. Additionally, inconsistent readings across multiple sensors in the same area can indicate calibration issues or hardware faults. Recognizing these signs early helps prevent acting on faulty data, ensuring your irrigation and fertilization decisions are based on accurate, reliable information. Understanding sensor behavior can further improve your ability to diagnose and correct issues before they impact your plants.
Step-by-Step: Calibrating Soil Moisture and Temperature Sensors
Calibrating soil moisture and temperature sensors is essential to guarantee their readings are accurate and reliable. Regular calibration helps prevent sensor drift, which can cause inaccurate data over time. To maintain accuracy, establish a calibration interval based on your sensor’s environment and usage. During calibration, compare sensor readings with a known standard and adjust accordingly. Use the table below to track calibration status:
| Calibration Step | Details |
|---|---|
| Check for sensor drift | Compare with standard; note deviations |
| Adjust sensor outputs | Fine-tune readings to match calibration standard |
| Record calibration date | Keep a log to ensure timely re-calibration |
| Repeat at set intervals | Based on sensor stability and environment |
Ensuring your sensors are properly calibrated helps maintain reliable water chemistry and prevents costly errors.
Best Practices for Keeping Your Soil Sensors Accurate

Maintaining the accuracy of your soil sensors requires consistent attention and proactive practices. Regularly monitoring sensor data helps identify sensor drift, which can cause readings to become unreliable over time. Establishing appropriate calibration intervals ensures your sensors stay precise; don’t wait too long between calibrations. Keep a schedule based on manufacturer recommendations and environmental conditions, adjusting as needed. Always store calibration solutions properly and calibrate in a stable environment to prevent inaccuracies. Clean sensors regularly to prevent dirt or debris from affecting readings. Document calibration dates and results to track sensor performance. By staying vigilant and following these best practices, you ensure your soil sensors provide accurate data, helping you make better-informed decisions for healthy plant growth. Additionally, understanding Free Floating concepts can assist in troubleshooting issues with your sensors and optimizing your backyard setup.
Troubleshooting Calibration Problems and When to Replace Sensors
If your sensor readings seem off despite calibration, you need to identify potential errors quickly. Look for signs like inconsistent data or sudden changes that don’t match environmental conditions. When these issues persist, it’s time to contemplate replacing the sensor to guarantee accurate measurements. Understanding connected appliances and how they communicate can also help diagnose calibration issues more effectively.
Identifying Calibration Errors
When you notice inconsistent or unexpected readings from your sensors, it’s a clear sign that calibration errors may be present. These issues often stem from sensor drift or missed calibration schedules. To identify errors, compare sensor data against a known reference or manual measurements. Look for sudden jumps or gradual deviations over time. Regularly reviewing calibration logs helps spot patterns indicating drift. Use the table below to assess common causes:
| Cause | Indicator |
|---|---|
| Sensor drift | Gradual deviation from baseline |
| Calibration schedule | Missed or irregular calibration events |
| Physical damage | Sudden, erratic readings |
| Environmental factors | Unexpected changes during calibration |
| Hardware failure | Persistent inconsistent readings |
Detecting these signs early ensures you maintain accurate data and prevents costly errors. Additionally, adopting innovative calibration techniques can help improve accuracy and reduce downtime.
When to Replace Sensors
Recognizing when to replace sensors is key to ensuring reliable data collection, especially after troubleshooting calibration issues. Sensors have a limited lifespan, and their accuracy can decline over time, affecting your data quality. If you’ve recalibrated multiple times without improving readings or notice inconsistent or drifting data, it’s a clear sign it might be time for a replacement. Consider your sensor’s typical replacement frequency, which varies depending on the type and environment, but generally ranges from 1 to 3 years. Ignoring signs of sensor degradation can lead to persistent inaccuracies, skewing your plant management decisions. Regular checks and understanding your sensor’s lifespan help you avoid unnecessary downtime and maintain ideal calibration. When performance drops despite troubleshooting, replacing the sensor is often the best solution. Understanding sensor lifespan can help you plan timely replacements and maintain optimal data accuracy.
Essential Tools and Resources for Soil Sensor Calibration
Calibrating soil sensors requires a specific set of tools and resources to guarantee accuracy and reliability. To combat sensor drift, you need a reliable calibration standard, such as a soil test kit or reference solution. A multimeter helps verify sensor connections and measure voltage outputs. Calibration frequency depends on sensor stability; regularly scheduled checks prevent data errors. A clear calibration protocol ensures consistency, while calibration logs track performance over time. Additionally, access to calibration solutions and a stable environment minimizes external influences. Proper tools help detect and correct inaccuracies early, maintaining sensor accuracy. Investing in quality calibration supplies and adhering to recommended calibration intervals will reduce errors caused by sensor drift and keep your soil data trustworthy. Recognizing sensor manipulation tactics can also help identify faulty readings caused by external interference, ensuring trustworthy data.
Frequently Asked Questions
How Often Should I Calibrate My Soil Sensors?
You should calibrate your soil sensors at least once every three to six months, depending on your soil testing results and sensor performance. Regular calibration guarantees accurate readings, helping you make informed watering and fertilizing decisions. Keep an eye on sensor consistency; if you notice irregular data, increase calibration frequency. Consistent calibration maintains reliable data, ultimately supporting healthier plants and more efficient resource use.
Can Sensor Calibration Improve Crop Yield Significantly?
Yes, sensor calibration can substantially improve your crop yield by addressing sensor drift and ensuring accurate data. When you calibrate regularly, you prevent bad data from affecting your decisions, leading to healthier plants and better growth. Some might think calibration is unnecessary, but consistent calibration frequency makes sure your sensors provide reliable readings. This proactive approach helps optimize watering, fertilization, and other critical factors, ultimately boosting your yields.
What Environmental Factors Affect Sensor Calibration Accuracy?
Environmental variability, such as temperature fluctuations, humidity changes, and soil conditions, can substantially impact sensor calibration accuracy. You should regularly monitor these factors because they cause sensor drift over time, leading to inaccurate readings. To guarantee your sensors stay precise, calibrate them frequently, especially during environmental shifts. This proactive approach helps you maintain reliable data, ultimately improving your crop management and yield outcomes.
Are There Cost-Effective Calibration Options for Small Farms?
Yes, you can find cost-effective solutions for calibration on small farms. Look for affordable calibration kits or DIY methods to maintain sensor accuracy regularly. Adjust calibration frequency based on your specific environmental conditions and sensor performance; more frequent calibration helps prevent data errors. By prioritizing routine checks and using budget-friendly tools, you guarantee reliable sensor data without overspending, ultimately protecting your crops and optimizing your farm’s productivity.
How Do I Choose the Right Calibration Tools for My Sensors?
You should choose calibration tools that enhance your sensor accuracy and match your calibration frequency needs. Look for user-friendly options with reliable results and compatibility with your sensors. Consider cost-effective solutions that suit your farm size and sensor types. Regular calibration helps maintain accuracy, so select tools that make frequent calibration easy and consistent. Prioritize quality and ease of use to ensure your sensors deliver precise data for healthy plant growth.
Conclusion
Remember, “a stitch in time saves nine.” Regularly calibrate your soil sensors to catch issues early and guarantee healthy crops. Proper calibration isn’t just a technical task; it’s an investment in your plants’ future. By staying vigilant and following best practices, you prevent bad data from wrecking your harvest. Keep your sensors accurate, and your fields will reward your efforts with bountiful yields. Don’t wait until problems escalate—calibrate now for a thriving garden.