If you’ve got damaged greenhouse coverings, prompt repairs can save your plants and wallet. Start by identifying cracks, holes, or discoloration. For small cracks, clean and dry the area, then use high-quality sealants. For holes, opt for UV-stabilized repair tapes. Regular inspections will help catch further damage early. Remember, know when to replace panels to maintain efficiency. There’s more to learn about selecting the right materials and preventative measures to protect your greenhouse.
Key Takeaways
- Regularly inspect greenhouse coverings for cracks, holes, and warping to identify damage early.
- Clean and dry areas around cracks before applying high-quality sealants or repair tapes.
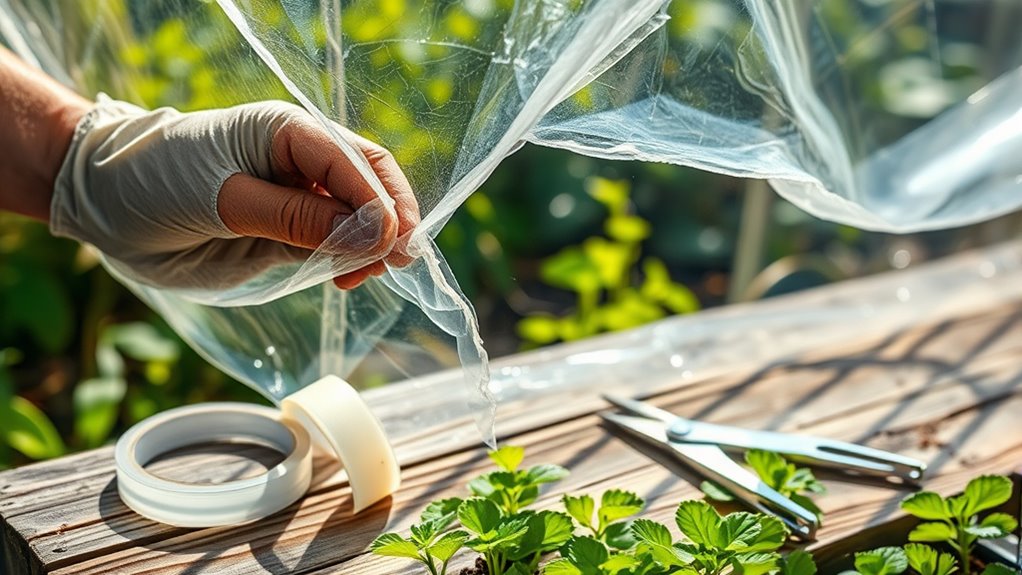
- For holes and tears, use UV-stabilized clear repair tape, ensuring surfaces are clean and dry.
- Replace panels showing significant discoloration, cracks, or those older than four years for optimal efficiency.
- Implement preventative measures, such as using felt tape, to reduce friction damage and extend the lifespan of coverings.
Identifying Damage in Greenhouse Coverings
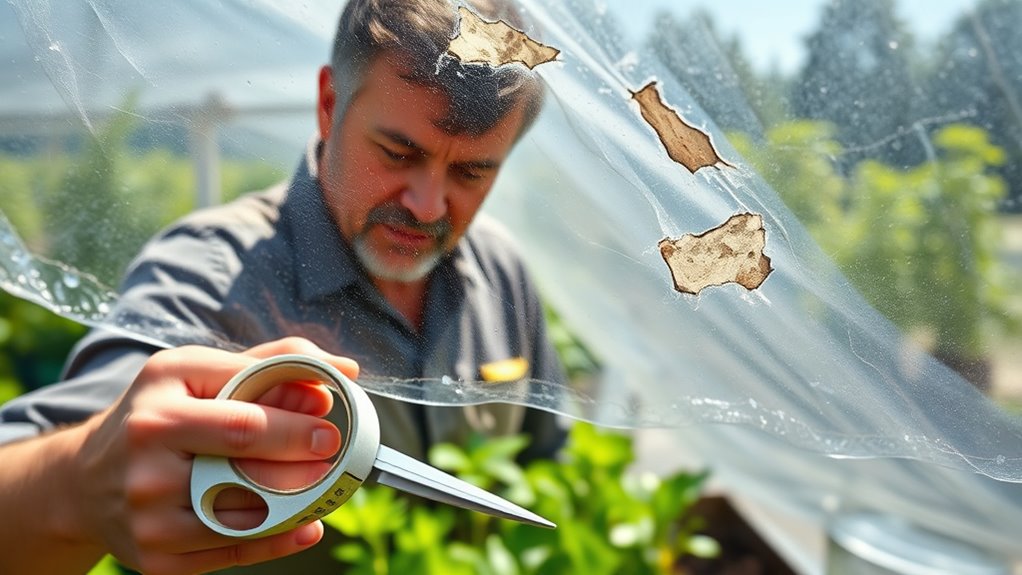
When you’re managing a greenhouse, it’s crucial to spot any damage to the coverings early on. Common types of damage include cracks from impact or temperature changes, holes allowing pests and moisture in, and warping due to uneven heating.
Discoloration often signals aging materials, while condensation issues can reduce light transmission and lead to further problems. Keep an eye on weather conditions, as extreme events like hail can cause significant damage.
Regularly inspect corners and edges, where stress concentrates, and check for reduced light transmission. Ensure the surface is clean, as dirt can hide damage signs.
Repairing Small Cracks Effectively

Although small cracks in greenhouse coverings may seem insignificant, addressing them promptly is essential to maintain your greenhouse’s integrity.
Start by cleaning the area around the crack, ensuring it’s free from dirt and debris. Once it’s clean, dry the surface thoroughly.
For a smooth repair, sand the edges of the crack. Use high-quality sealants or all-weather repair tapes for quick fixes; clear tape is great for maintaining light transmission.
For slightly larger cracks, cut patches and secure them with specialized adhesives. Press tapes or patches firmly to ensure a tight seal.
Regularly inspect repaired areas for signs of further damage, and reapply materials as needed to extend their longevity and effectiveness.
Addressing Holes and Tears

Holes and tears in greenhouse coverings can compromise the environment for your plants, so addressing these issues quickly is crucial.
Start by inspecting your greenhouse for damage, especially along seams where stress is common. Use UV-stabilized clear repair tape or poly patching tape for effective repairs. Make sure the surface is clean and dry before application, and work in temperatures above 60°F for the best adhesion.
For added durability, layer the tape and consider using staples to secure it, particularly around zippers. Regular inspections can help prevent further damage, and reinforcing high-stress areas will extend the life of your coverings.
Taking these steps can save you time and money while maintaining a healthy environment for your plants.
When to Replace Greenhouse Panels

As your greenhouse panels age, you may notice signs that it’s time for a replacement.
Look out for visible damage like cracks or significant discoloration, which indicate weakening structural integrity. You should also consider light transmittance loss; panels lose 2 to 5% of light each year due to UV exposure.
If you notice a decline in plant growth or quality, it might signal that your panels are no longer effective. Panels older than their guaranteed lifespan of four years should be replaced.
Harsh weather can also necessitate a replacement, particularly in areas with heavy snow or wind.
Regular inspections and maintenance can help you catch these issues early, ensuring your plants thrive in optimal conditions.
Selecting the Right Materials for Repairs
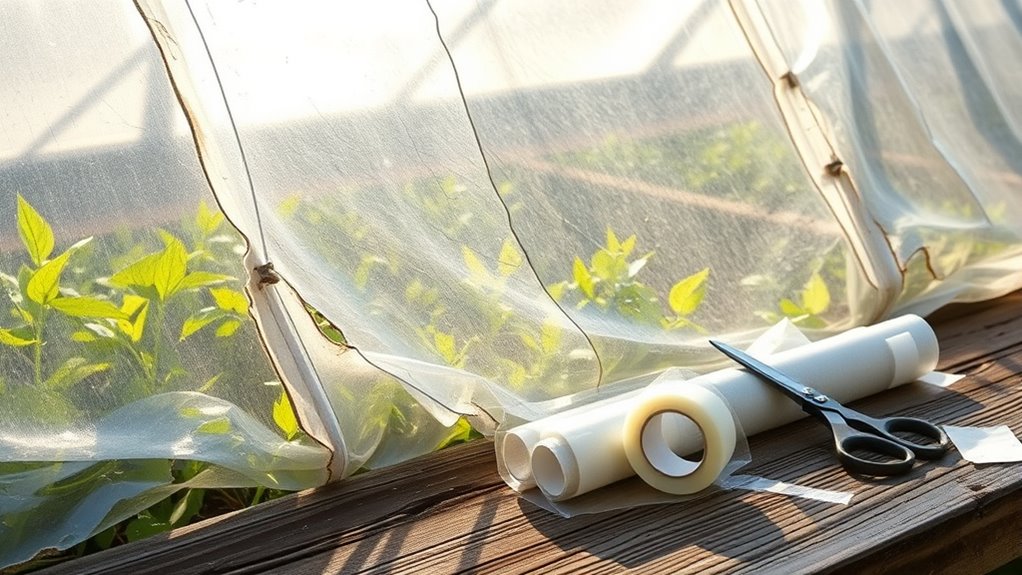
Once you’ve decided it’s time to repair rather than replace your greenhouse panels, selecting the right materials becomes a priority.
Deciding to repair your greenhouse panels? Prioritizing the right materials is essential for effective solutions.
For tearing issues, reinforced polyethylene tape is a strong choice, offering excellent puncture resistance. When sealing seams, opt for weatherproof sealants to ensure airtight and watertight conditions. It’s also essential to consider clear communication with any contractors involved to ensure everyone is on the same page about the repairs. Emotional dysregulation can lead to unpredictable decision-making, so take your time to evaluate your options carefully. Additionally, understanding the importance of proper ventilation in your greenhouse can help prevent future damage. Utilizing materials like renewable resources can further support eco-friendly practices in your greenhouse.
If you’re working on the frame, galvanized steel provides durability against corrosion, while rot-resistant lumber helps prevent decay.
Don’t forget UV-resistant glazing to protect against degradation. Look for materials with pressure-sensitive adhesives for easy application, and consider those with UV stabilizers to extend lifespan. Engaging in cultural festivals can also inspire your creativity in designing your greenhouse space.
Choosing the right materials not only ensures effective repairs but also enhances the overall longevity of your greenhouse.
Implementing Preventative Measures

To keep your greenhouse coverings in top shape, it’s essential to implement preventative measures that address potential issues before they escalate.
Start by reducing friction damage; applying felt tape between the cover and frame creates a barrier that prevents wear and chemical reactions. Regular inspections for signs of wear help you catch problems early.
Ensure your cover fits properly to minimize stress points and consider using UV-resistant materials to extend its lifespan.
To manage temperature fluctuations, employ NIR-reflecting films and shading devices, or whiten the roof for cooling. Insulating materials maintain consistent temperatures, while high-quality UV stabilizers and durable HDPE materials enhance overall durability.
Following these steps can significantly reduce the risk of damage to your greenhouse coverings.
Cost Considerations for Greenhouse Maintenance

Understanding the cost considerations for greenhouse maintenance is crucial if you want to ensure a sustainable and efficient operation.
Initial setup costs can vary significantly based on the greenhouse’s size and complexity. While investing in energy-efficient systems may seem costly upfront, it often leads to long-term savings on energy bills.
Efficient water management and pest control strategies can also reduce ongoing expenses. Don’t overlook labor costs, which can add up, especially in larger setups.
Regular inspections and maintenance help catch issues early, saving you from expensive repairs later on. By selecting durable materials and keeping detailed records, you can manage your budget effectively and make informed decisions for your greenhouse’s future.
Benefits of Regular Inspections and Maintenance

Regular inspections and maintenance are essential for keeping your greenhouse functioning at its best. They help you catch potential issues early, reducing equipment failures and downtime. By ensuring all systems work efficiently, you’ll promote better plant growth and maximize yields.
Regular upkeep extends the lifespan of your expensive machinery, saving you money in the long run. Plus, inspections enhance safety by identifying hazards like structural weaknesses or electrical problems, minimizing accident risks.
Keeping a maintenance log allows you to manage resources effectively, ensuring repairs are planned and budgeted. Conducting pre-season and multi-annual inspections tailored to your specific setup secures optimal growing conditions, which leads to healthier plants and extended growing seasons.
Frequently Asked Questions
How Can I Tell if My Greenhouse Panels Are UV Damaged?
To tell if your greenhouse panels are UV damaged, look for signs like yellowing, brittleness, and discoloration.
If the panels feel fragile or cracked, that’s a clear indicator. You might also notice reduced light transmission, affecting plant growth.
Keep an eye on your plants too; if they show leaf burn or stunted growth, it could be linked to UV damage.
Regular inspections can help you catch these issues early.
What Tools Do I Need for Repairing Greenhouse Coverings?
You mightn’t believe it, but having the right tools can make all the difference in your repair projects.
For repairing greenhouse coverings, you’ll need a utility knife for cutting, a drill and screwdriver for assembly, and sandpaper for smoothing edges.
Don’t forget your measuring tape to ensure everything fits perfectly.
Equip yourself with safety gear like gloves and goggles to keep yourself protected while you work on your project.
Can I Use Duct Tape for Greenhouse Repairs?
You might think about using duct tape for your repairs, but it’s not the best choice.
It won’t hold up well against sunlight and moisture, degrading quickly. While it’s a cheap option, its adhesion to greenhouse materials isn’t reliable, and it often requires frequent reapplication.
Instead, consider specialized greenhouse repair tapes designed for durability and weather resistance.
They’ll provide you with a longer-lasting solution and keep your greenhouse functioning effectively.
How Often Should I Inspect My Greenhouse Coverings?
You should inspect your greenhouse coverings at least seasonally to catch any issues early.
Depending on the type of covering and local weather conditions, you might need to check more frequently. Always pay attention to signs of wear, like tears or discoloration, especially after harsh weather.
Keeping a maintenance log will help you track inspections and findings, ensuring your greenhouse remains in optimal condition throughout the year.
Don’t overlook this essential task!
What Is the Best Time of Year for Repairs?
The best time of year for repairs is usually in the spring.
You can clean and sanitize surfaces after winter, ensuring they’re free from debris. This season also lets you inspect for any damage caused by harsh conditions.
Aim for dry, calm days when temperatures are moderate, avoiding extreme weather.
Conclusion
In conclusion, regularly inspecting and maintaining your greenhouse coverings can save you time and money in the long run. For instance, a gardener named Sarah noticed small cracks early on and repaired them using adhesive tape, preventing costly replacements later. By staying proactive, you can extend the life of your greenhouse and ensure your plants thrive. Don’t wait for extensive damage; a little upkeep goes a long way in protecting your investment!
