
To fix leaks without rebuilding, start by accurately identifying where the leak originates using visual inspections or testing methods. Then, select the appropriate sealants or patches compatible with your materials. Clean and dry the area thoroughly before applying the sealant evenly, pressing firmly for a good seal. Avoid common mistakes like rushing the process or skipping surface prep. If persistent leaks occur, it’s time to seek professional help—continue, and you’ll discover even more effective tips.
Key Takeaways
- Identify the leak source accurately using visual inspection or dye tests to target the repair effectively.
- Choose compatible, high-quality sealants or patches tailored to the leak size and material for durable fixes.
- Clean and dry sealing surfaces thoroughly before applying sealant, and follow manufacturer instructions for proper curing.
- For small leaks, apply sealant evenly, press firmly, and recheck regularly to prevent costly rebuilds.
- Regular inspections, proper lubrication, and proactive maintenance help prevent future leaks without needing rebuilding.
Flex Seal Mini, Black, Stop Leaks Instantly, Waterproof Rubber Spray On Sealant Coating, Travel Size, Perfect for Gutters, Wood, RV, Campers, Roof Repair, Skylights, Windows, and More
It’s an easy-to-use, portable, aerosol spray
As an affiliate, we earn on qualifying purchases.
As an affiliate, we earn on qualifying purchases.
How to Identify Leaking Seals and Find the Source
When you notice water or fluid pooling around machinery, it’s a clear sign that a seal might be leaking. To identify the source, start with leak detection methods such as visual inspection, dye tests, or ultrasonic devices. These tools help you pinpoint exactly where the leak originates. Once you locate the leak, consider seal material selection to ensure an effective repair. Different seal materials respond differently to various fluids, temperatures, and pressures. Choosing the right material prevents future leaks and enhances durability. Focus on matching the seal material to your specific application’s needs. Proper identification of the leak source combined with appropriate material selection streamlines repairs and minimizes downtime, saving you time and money in the long run. Understanding material compatibility is essential to prevent future seal failures.

Gorilla Waterproof Patch & Seal Tape, Black Tape, 4" x 10' (Pack of 1) – Permanent Weather Resistant Seal for Leaks and Repairs
Permanent seal: This Gorilla tape creates a permanent bond that instantly seals out air, water, and moisture
As an affiliate, we earn on qualifying purchases.
As an affiliate, we earn on qualifying purchases.
Choosing the Right Seal Repair Materials for Different Leak Types

After pinpointing the leak source, selecting the right repair materials becomes essential to guarantee a lasting fix. To do this effectively, consider these factors:
- Match sealant compatibility with the material you’re repairing to ensure proper adhesion and durability.
- Choose materials with appropriate flexibility to accommodate movement or expansion in the area.
- Opt for sealants or patches suited for the leak type—whether it’s a small crack or a larger gap—with the right viscosity and adhesive properties.
- Evaluating the contrast ratio of projectors can help determine how well they will perform in your home cinema setup, ensuring the repair materials are suitable for optimal viewing conditions.

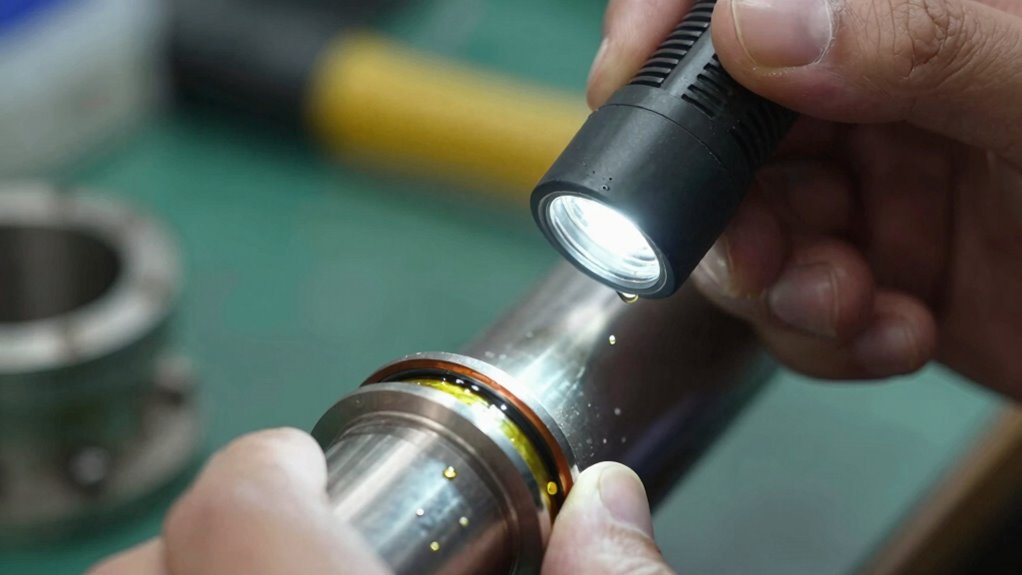
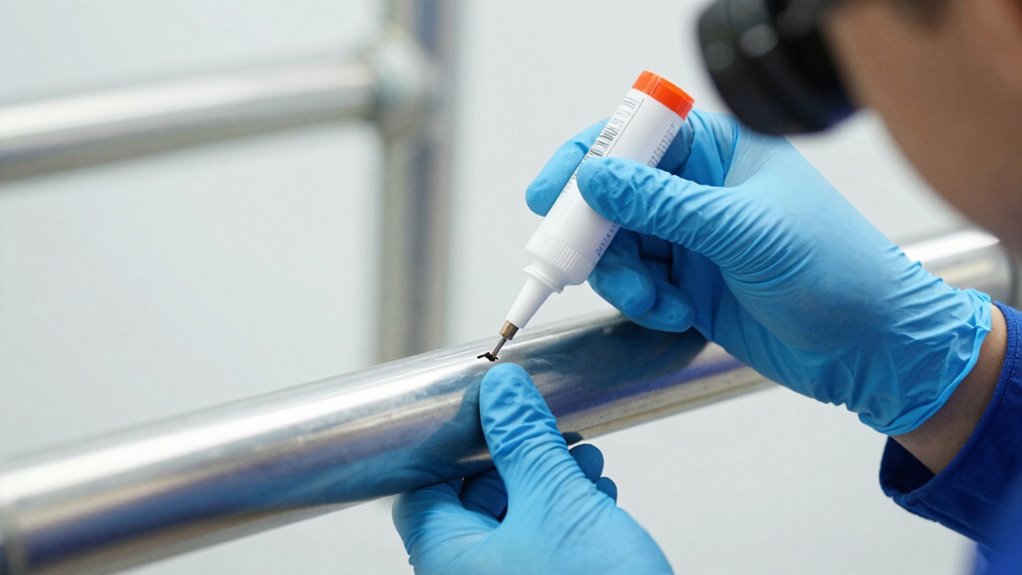
REALHUNLEE Air Conditioner UV Dye Leak Detector, Pro Auto Oil AC UV Dye Leak Test Detection Tool Kit 68 LED A/C UV Flashlight Detector with Protective Glasses
【Professional Grade & High Accuracy】– Pro High-intensity true UV leak detection flashlight, INCLUDE GLASSES! 12.3 W 385-395nm leak…
As an affiliate, we earn on qualifying purchases.
As an affiliate, we earn on qualifying purchases.
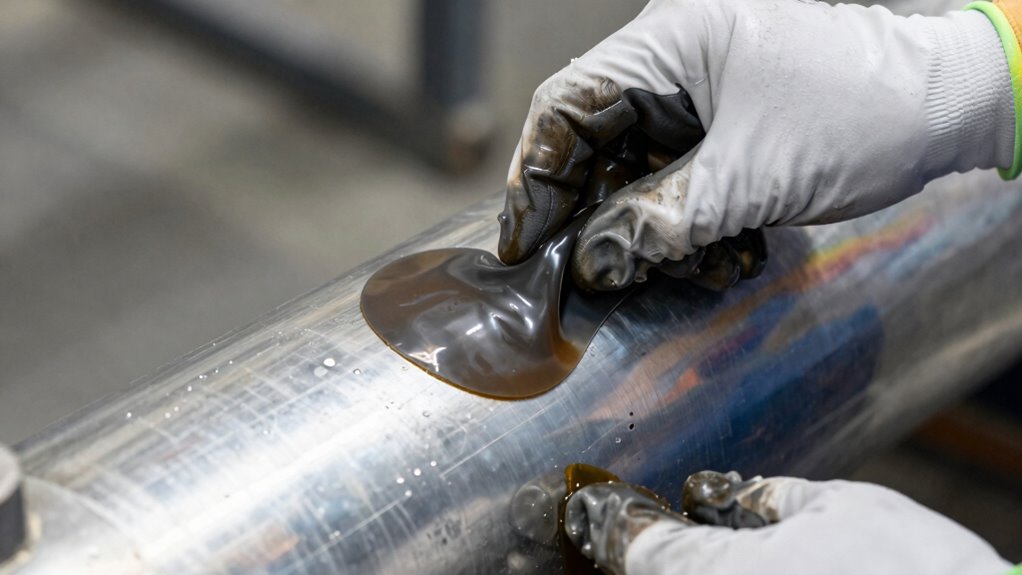
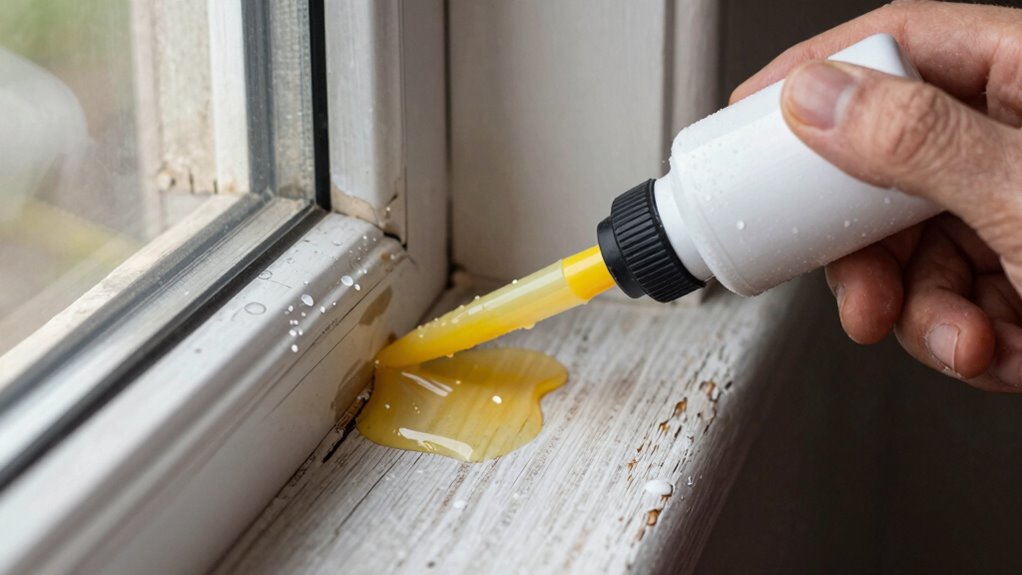
How to Fix Small Leaks Step-by-Step Without Rebuilding
Small leaks can often be repaired quickly and effectively without the need for extensive rebuilding. Start by detecting the leak with careful leak detection methods to pinpoint its exact location. Once identified, select the appropriate seal material suited for the leak type and surface. Clean the area thoroughly to remove dirt, grease, or old sealant, guaranteeing proper adhesion. Apply the seal material evenly over the leak, pressing firmly to ensure a good seal. Let it cure as per the manufacturer’s instructions before testing. If the leak persists, recheck your leak detection and reapply the sealant if necessary. Using proper air quality measures can also help identify leaks related to urban pollutants or pet dander that might affect indoor air quality. This step-by-step approach allows you to fix small leaks efficiently, saving time and avoiding costly repairs or rebuilding efforts.
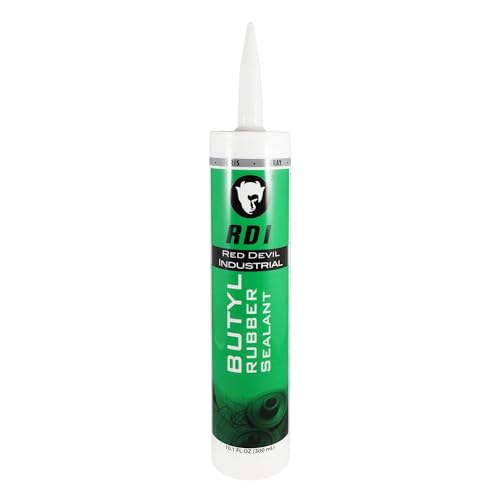
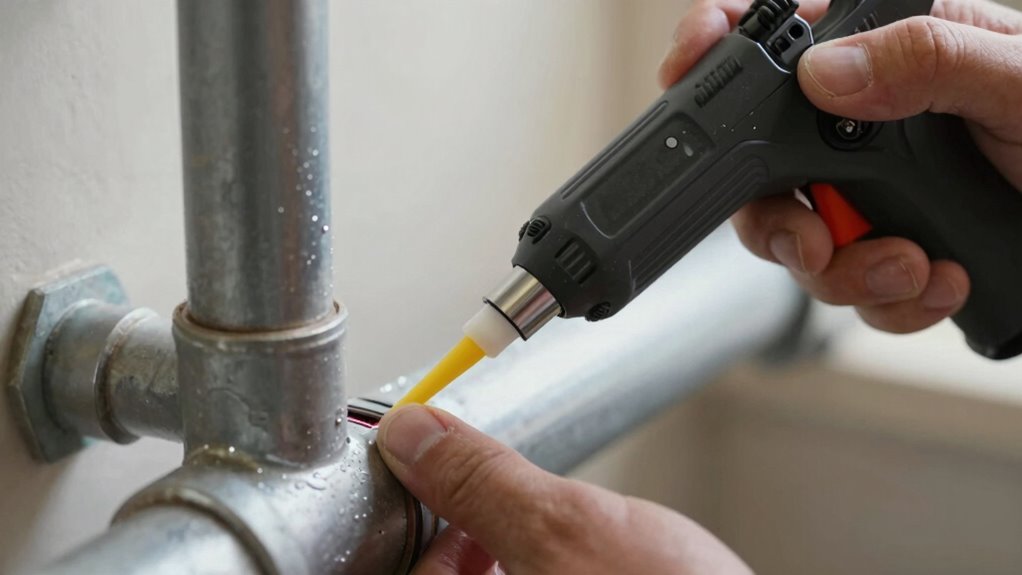
Red Devil 0697GI RD Pro Butyl Rubber Sealant – High-Performance Industrial-Grade Sealant for Outdoor & Below-Grade Applications, Paintable, Excellent Adhesion, 10.1 oz Cartridge, Gray
PROVIDES A WATERTIGHT SEAL: High-performance butyl rubber sealant ideal for outdoor and below-grade applications where a durable, weatherproof…
As an affiliate, we earn on qualifying purchases.
As an affiliate, we earn on qualifying purchases.
Common Mistakes to Avoid When Sealing Leaks
Sealing leaks successfully requires attention to detail, but many people make avoidable mistakes that can compromise the repair. One common error is incorrect installation, which can lead to recurring leaks or further damage. Another mistake is using the wrong tools, as improper equipment can result in a poor seal or injury. Additionally, rushing the process or skipping preparation steps like cleaning the surface can reduce adhesion and effectiveness. To avoid these pitfalls:
- Always follow manufacturer instructions carefully and double-check your installation steps.
- Use the correct tools designed for the specific sealant or repair material.
- Guarantee the surface is clean and dry before applying any sealant for ideal adhesion.
- Proper surface preparation is essential for a durable and effective seal, so take your time to ensure the area is thoroughly cleaned and dried.
Stepping carefully through each step prevents mistakes that might cost more time or money later.
When Should You Call a Professional or Rebuild?
If your leak is severe or keeps coming back, it’s time to think about calling a professional or rebuilding. Complex repairs or high costs can also make DIY efforts less practical. Knowing when to seek expert help ensures you save time, money, and avoid further damage. Additionally, utilizing innovative European cloud servers can provide more secure and energy-efficient solutions for your needs.
Leak Severity Assessment
How do you know when a leak has become serious enough to warrant professional help or a complete rebuild? First, if leak detection reveals continuous dripping or pooling that worsens over time, it’s a clear sign. Second, evaluate the impact on the seal material; if it’s degraded or damaged beyond simple repairs, a rebuild might be necessary. Third, consider the leak’s severity—if it’s causing structural damage or risking safety, don’t delay calling in experts. Small leaks with minor drips may be manageable, but persistent issues signal that professional intervention is needed. Additionally, security measures can be employed to monitor for ongoing leaks and prevent potential hazards. Remember, evaluating leak severity accurately helps prevent further damage and ensures proper repair. When in doubt, prioritize safety and consult a professional for a thorough evaluation.
Repair Complexity Factors
When evaluating whether a seal repair requires professional attention or a full rebuild, consider the complexity of the issue. Material compatibility is vital; if the existing seal or surrounding components are incompatible with repair materials, a rebuild might be necessary. Environmental factors also play a significant role—exposure to extreme temperatures, chemicals, or moisture can complicate repairs and weaken seal integrity over time. If the damage involves multiple materials or the seal operates in harsh conditions, attempting a simple fix may not suffice. In such cases, consulting a professional ensures proper assessment and a reliable solution. Generally, if the problem involves complex interactions of materials or challenging environmental conditions, it’s best to opt for a rebuild rather than a quick fix. Additionally, smart appliances and connected systems may require specialized diagnostic tools, making professional help more essential for accurate repairs.
Cost and Time Considerations
Deciding whether to repair a seal or opt for a rebuild often hinges on cost and time considerations. Conducting a thorough cost analysis helps determine if a simple fix is financially viable compared to a full rebuild. Proper time management is also essential, as some repairs take longer and may disrupt operations. Consider these factors:
- The complexity of the repair and potential labor costs
- The expected lifespan of a repair versus a rebuild
- Downtime implications and impact on productivity
- Evaluating the Free Floating nature of certain issues can help identify whether a quick fix is sufficient or if a more comprehensive rebuild is necessary.
If repairs are quick and inexpensive, it’s usually best to avoid a rebuild. However, if ongoing issues or extensive damage are present, investing in a rebuild might save time and money in the long run. Balancing cost analysis with efficient time management guides your decision.
Tips for Maintaining Seals and Preventing Future Leaks
Regular inspections help you catch seal issues early before they become leaks. Proper lubrication keeps seals flexible and reduces wear, extending their lifespan. Using quality sealants guarantees a secure, long-lasting seal that resists future damage. Incorporating vetted products ensures the best results in seal repair and maintenance.
Regular Inspection Routines
Performing routine inspections is essential to keep your seals in ideal condition and prevent costly leaks. Regularly checking the seal material helps identify early signs of wear or damage. To optimize your inspection routine, consider these key points:
- Determine an appropriate inspection frequency based on operating conditions and seal material; more aggressive environments may require more frequent checks.
- Look for cracks, hardening, or deformation that compromise seal integrity.
- Ensure that sealing surfaces are clean and free of debris, which can accelerate deterioration.
- Incorporate understanding of water quality and flow rate factors, since these can impact seal longevity and performance.
Consistent inspections help you catch issues early, reducing repair costs and downtime. Staying proactive with your seal maintenance extends their lifespan and keeps your system running smoothly. Remember, a little routine goes a long way in preventing leaks.
Proper Lubrication Practices
Proper lubrication is crucial for maintaining seal integrity and preventing leaks over time. To do this effectively, establish a consistent lubrication schedule tailored to your equipment’s needs. Regular lubrication reduces friction and wear, extending the seal’s lifespan. Always verify that the lubricant you choose is compatible with your seal material—using incompatible lubricants can cause degradation or swelling. Follow manufacturer guidelines for application frequency and type, and avoid over-lubricating, which can lead to entrapment and leaks. Keep records of your lubrication schedule to ensure consistency. Proper lubrication not only prevents future leaks but also enhances overall system performance. By paying close attention to these practices, you can markedly reduce maintenance costs and avoid unnecessary seal replacements.
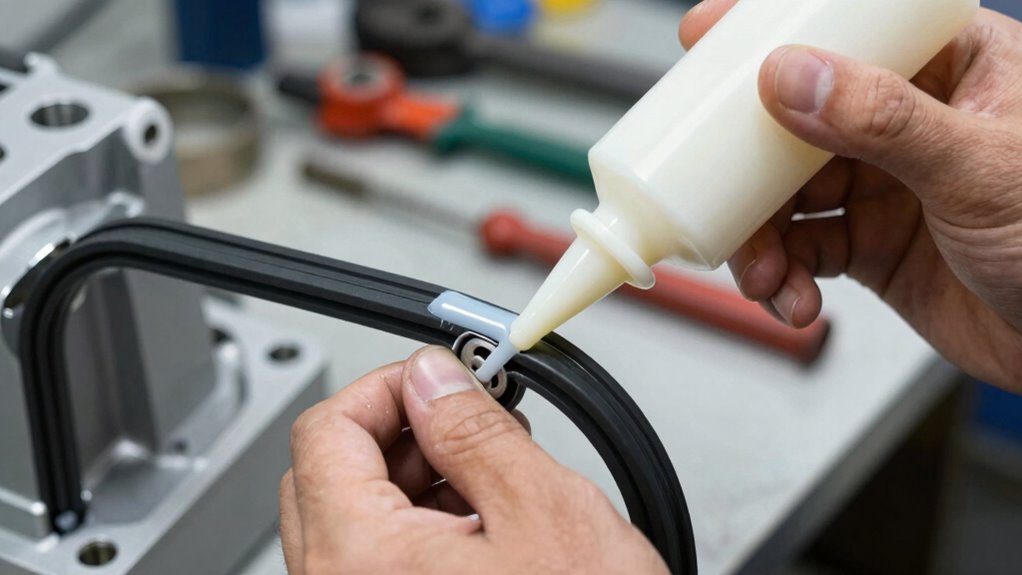
Use Quality Sealants
Choosing the right sealants plays a key role in maintaining seal integrity and preventing future leaks. Proper sealant selection guarantees compatibility with materials and environmental conditions. When applying sealants, focus on clean, dry surfaces to maximize adhesion. Here are three tips to improve your results:
- Select a sealant suited for your specific application, whether it’s silicone, polyurethane, or other types.
- Use proper application techniques, like applying an even bead and tooling it smoothly to ensure full coverage.
- Follow manufacturer instructions carefully, including curing times and surface preparation, to enhance seal longevity.
Frequently Asked Questions
Can Temporary Seal Fixes Last Long-Term?
Temporary seal fixes can last long-term if you use the right seal material and properly address leak detection issues. High-quality sealants designed for your specific application tend to hold up well over time, but they may eventually degrade or fail if exposed to extreme conditions. Regularly inspecting the seal and monitoring for new leaks helps guarantee your temporary fix remains effective, preventing costly repairs down the line.
Are There Eco-Friendly Seal Repair Options Available?
You’ll be pleased to know that eco-friendly seal repair options are readily available. Biodegradable sealants and eco-friendly adhesives offer effective, sustainable solutions that minimize environmental impact. These options are designed to be gentle on nature while providing durable seals, making them ideal for those seeking responsible repair methods. By choosing these environmentally conscious products, you guarantee your repairs are both efficient and kind to our planet, promoting a greener future.
How Do Temperature Changes Affect Seal Repairs?
Temperature changes impact seal repairs through thermal expansion and material contraction. When temperatures rise, materials expand, potentially loosening seals or causing gaps. Conversely, cooler temperatures cause contraction, which can tighten seals or create leaks if the material shrinks too much. You should select seal materials that accommodate these temperature fluctuations and regularly inspect repairs to guarantee they remain effective under changing thermal conditions.
Can Seal Repairs Be Performed in Cold Weather?
Fixing a leak in cold weather is like trying to paint on a frosty window—you need the right conditions. Cold temperatures can hinder sealant application, making it challenging for the sealant to bond properly. To get the best results, make certain weather conditions aren’t too harsh, and consider using sealants formulated for low temperatures. Proper preparation helps your seal repair hold strong, even when it’s chilly outside.
What Tools Are Essential for DIY Seal Repairs?
You’ll need basic tools like screwdrivers, pliers, and a seal removal tool to guarantee proper seal compatibility during DIY repairs. Use seal removal techniques such as gentle prying or using a seal pick to avoid damage. Having a clean workspace helps you identify the right replacement seal and prevents mistakes. Remember, proper tools and techniques make the repair smoother, saving you time and preventing future leaks.
Conclusion
With a keen eye and the right tools, you can seal leaks like a seasoned detective closing in on the culprit. Think of your repairs as patching a tiny hole in a sinking ship—each fix keeps your vessel afloat and sailing smoothly. By staying vigilant and proactive, you’ll turn leaks into just a distant memory, allowing your system to hum along peacefully. Remember, you’re the guardian of your seals—keep them tight, and water won’t stand a chance.