When installing automatic openers for vents and doors, gather your tools like a screwdriver and drill first. Check compatibility with your greenhouse’s material and ensure the right fit for vent types. Before starting, cool the power tube and remove any manual openers. Follow a step-by-step installation process by positioning the opener and securing it. Lastly, maintain your autovent regularly for optimal performance. There’s plenty more you can learn about installation and maintenance!
Key Takeaways
- Gather necessary tools like a screwdriver, drill, and lubricant before starting the installation process.
- Verify compatibility of the automatic opener with your greenhouse’s material, size, and vent type.
- Follow step-by-step instructions, marking holes and securing the opener to ensure smooth operation.
- Regularly maintain the autovent by cleaning components and inspecting for potential issues.
- Adjust the opener’s position as needed for optimal air release and functionality.

Uallhome 2 Pack LED Grow Light Panel 200W Lamp for Indoor Plants, Full Spectrum with White Blue Red UV IR LEDs for 4x4ft Coverage Grow Tent Greenhouse Veg and Bloom Seedlings Hydroponics
Beetter light spectrum optimization: Full spectrum lights are all-around products that can provide adequate and balanced lighting for...
As an affiliate, we earn on qualifying purchases.
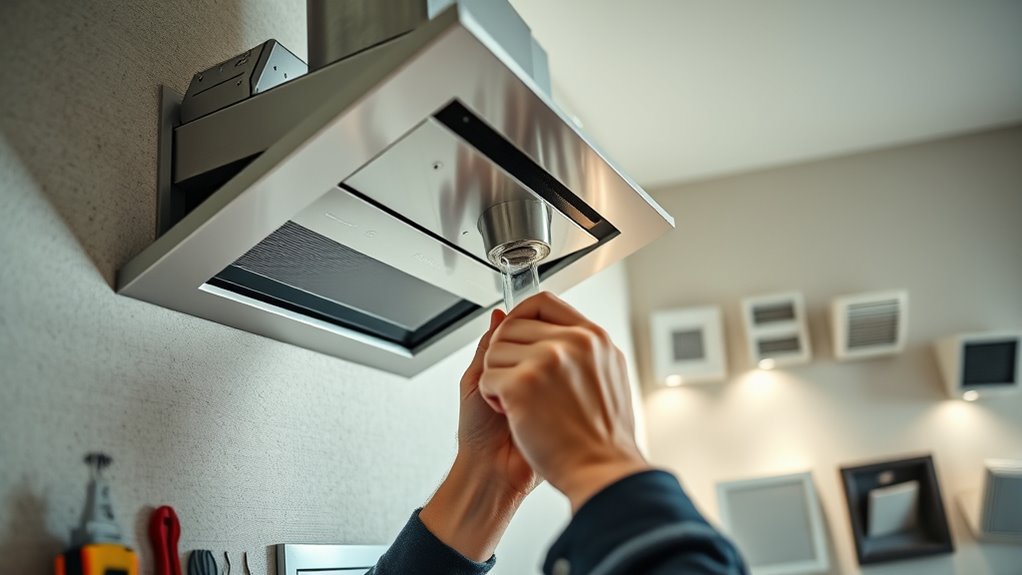
Tools Needed for Installation

When you’re ready to install automatic openers for vents and doors, having the right tools can make all the difference.
Grab a screwdriver to secure screws and bolts, and don’t forget machine screws for attaching the opener to your greenhouse frame. If you’re working with a metal frame, a drill is essential for creating holes. Use a pencil to mark positions accurately.
Ensure you have a screwdriver, machine screws, and a drill handy for securing your opener to the greenhouse frame.
An Allen wrench may also be necessary for specific vent openers. You’ll want clamps to hold parts in place during installation, ensuring everything stays aligned.
Finally, prepare for safety by checking the environment’s temperature and lubricating movable parts for smooth operation. With these tools, you’ll streamline your installation process effectively.

MIXC 230FT Quick-Connect Drip Irrigation System Kit, Automatic Garden Watering System with 1/4" & 1/2" Fast-Lock Tubing - Adjustable Nozzles & Sprinklers for Garden, Greenhouse, Lawn, Potted Plants
✔Comprehensive Drip Irrigation Kit:MIXC drip irrigation system, equipped with a versatile range of components, caters to all your...
As an affiliate, we earn on qualifying purchases.
Checking Compatibility With Your Greenhouse
Before you dive into installing automatic openers, it’s crucial to ensure they’re compatible with your greenhouse. Start by checking the material of your greenhouse; openers work with polycarbonate, wood, or metal frames.
Consider the size, as larger greenhouses may need multiple openers for proper ventilation. Identify the type of vents you have—roof or side vents—since different types require specific openers.
Don’t forget brand compatibility; some openers are designed for specific brands like Palram – Canopia. Assess the weight capacity of the opener, ensuring it matches the vent’s weight.
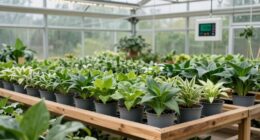
Lastly, think about the climate and environmental factors that can affect performance, adjusting for humidity and wind conditions as necessary. Proper ventilation systems are essential for maintaining optimal growing conditions in your greenhouse.

Maotong 240FT Drip Irrigation System Kit New Quick-Connect, Automatic Garden Watering Misting System for Greenhouse, Yard, Lawn, Plant with 1/2 inch Hose 1/4 inch Distribution Tubing and Accessories
Effortless Setup with Quick Connect Design: Say goodbye to tedious setups! Our upgraded 4-way connector, tee, and emitter...
As an affiliate, we earn on qualifying purchases.
Pre-Assembly Steps for Successful Setup
To ensure a smooth installation of your automatic openers, start by preparing thoroughly. First, read all the instructions carefully.
Next, cool the power tube in a refrigerator for about 30 minutes. If you have manual vent openers, remove them before proceeding.
Gather necessary tools like a Philips head screwdriver and work gloves, and familiarize yourself with the components and functionality of the system.
Consider the weather—winter conditions may require manual operation. Assess your greenhouse’s ventilation needs and ensure ample space for installation.
Safety’s crucial, so use ladders and gloves during setup. Finally, verify all components are undamaged, and review the instructions one last time to ensure you’re ready for assembly.

Barrina Plant Grow Lights, 4FT 5000K Full Spectrum Daylight White, 252W(6 x 42W, 1400W Equivalent), T8 LED Grow Light Strips, Growing Lamp Fixture, Plant Lights for Indoor Plants, Greenhouse, 6-Pack
Please note that we have a brand new upgrade.This product is compatible with Barrina GM Series Cords. If...
As an affiliate, we earn on qualifying purchases.
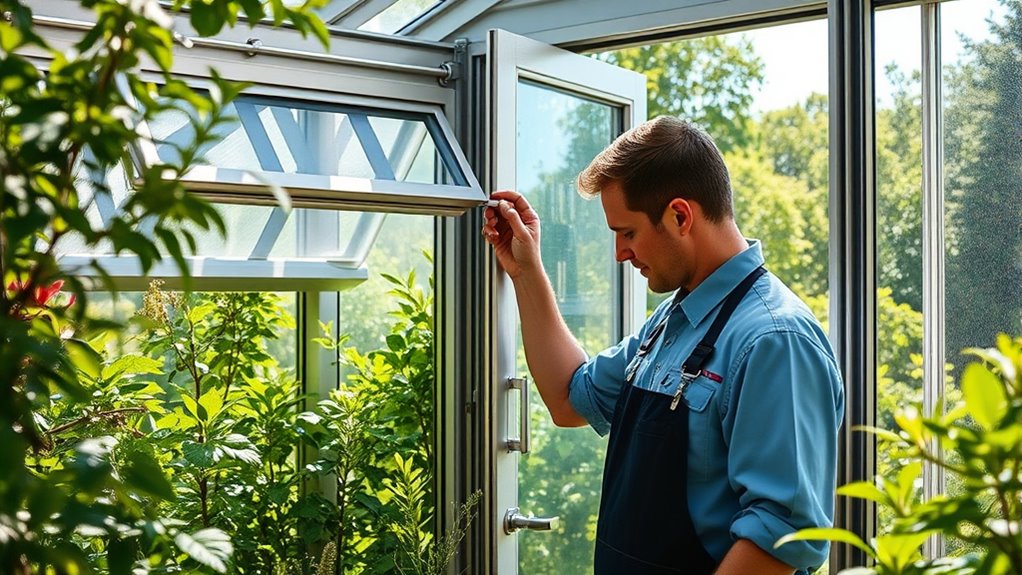
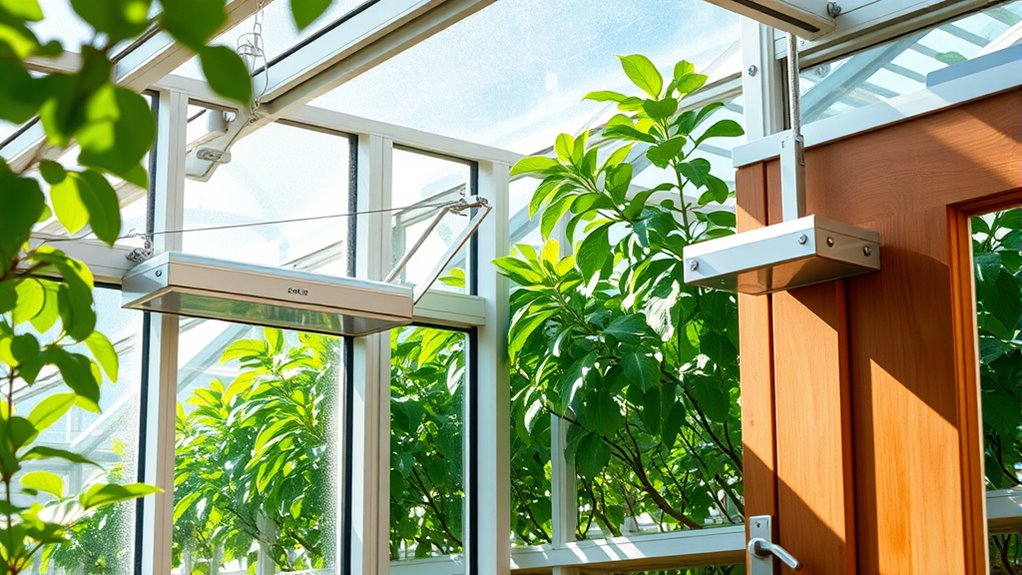
Step-by-Step Installation Process

Installing automatic openers for your vents and doors can be straightforward if you follow a clear step-by-step process.
First, gather your tools: a screwdriver, drill, measuring tape, work gloves, and lubricant like WD40.
Next, check the opener’s compatibility with your greenhouse model and assess the window’s type and weight.
Ensure the opener matches your greenhouse model and evaluate the window’s type and weight for a successful installation.
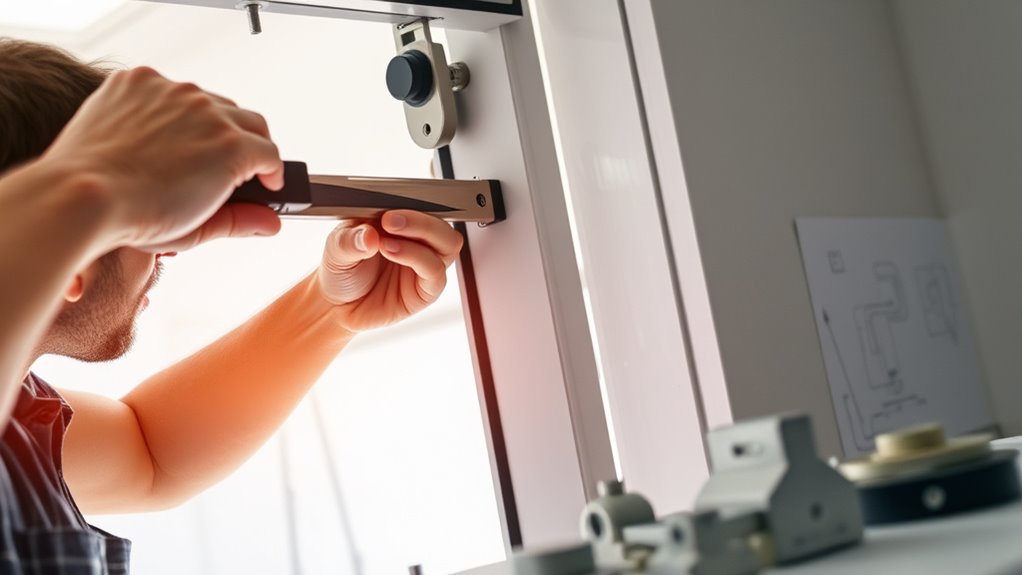
Position the opener in the center of the vent, marking holes on both frames. If needed, drill holes for secure installation.
Screw the opener to the window frame, ensuring smooth operation.
Test its functionality and adjust if necessary.
Finally, rotate the main tube to set the opening extent, observe the vent’s operation, and make any last adjustments for optimal performance.
Adjusting and Maintaining Your Autovent

Adjusting and maintaining your autovent is essential for optimal performance and efficiency. Start by ensuring it’s installed upright to allow proper air release.
Regularly clean internal components to prevent clogging, as debris can hinder functionality. Schedule inspections to catch potential issues early and manage system pressure to avoid leaks.
If you notice any clogs or component failures, don’t hesitate to replace damaged parts like valves or floats. Use specialized tools for disassembly, and consult technical manuals for guidance.
Additionally, consider online resources for troubleshooting techniques. By practicing preventive maintenance and monitoring your system closely, you’ll extend the life of your autovent and keep your heating system running smoothly.
Safety Considerations During Operation
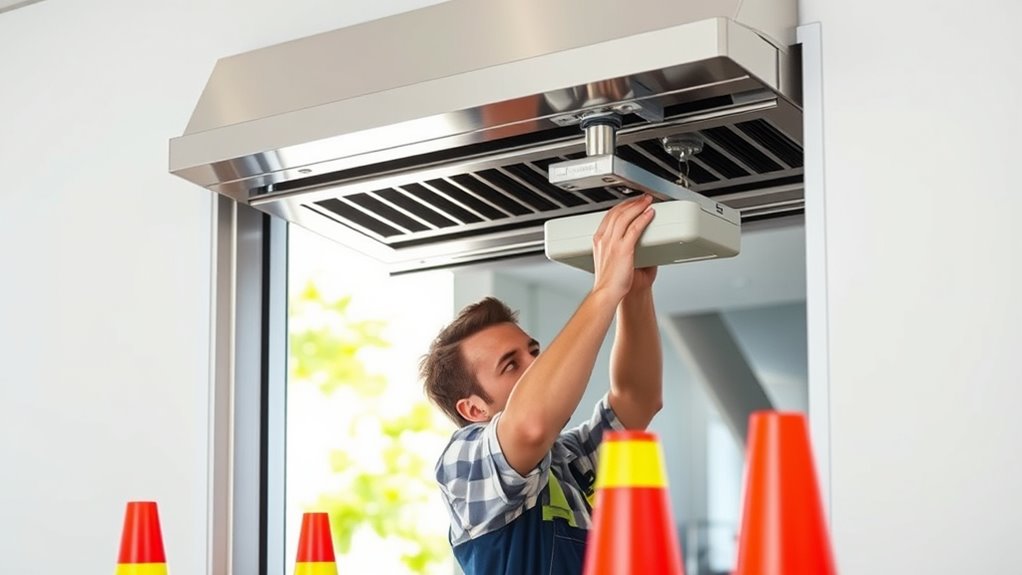
While operating automatic openers for vents and doors, it’s crucial to prioritize safety to prevent potential hazards. Incorrectly configured automatic opening vents (AOVs) can facilitate fire spread and impede evacuation efforts, so ensure compliance with standards like BS9991:2024.
Remember to integrate smoke detection systems with AOVs for effective operation during emergencies. Regular inspections by fire safety authorities are essential to verify proper configuration.
Integrating smoke detection systems with AOVs is vital for effective emergency responses and ensures safety compliance through regular inspections.
When using smoke vents, ensure they close with sufficient force for safety. Utilize dampeners for controlled openings and consider manual systems for cost-effectiveness.
Always keep doorways clear of obstacles, assist those who need help, and familiarize yourself with manual operation procedures during power outages.
Prioritize these measures to enhance overall safety.
Types of Autovents and Their Applications
Understanding the types of autovents available can significantly enhance your greenhouse’s climate control and overall productivity.
Bayliss Autovents are reliable and eco-friendly, ideal for wooden and aluminum structures. For smaller vents, consider Univent Automatic Vent Openers, known for their easy installation.
If you need to manage heavier vents, Gigavent Openers provide a wide opening for improved airflow. Canopia Automatic Vent Openers, tailored for Palram greenhouses, utilize wax expansion for effective temperature and humidity control.
Additionally, High Tunnel Vents come in various sizes, perfect for hot conditions. Each type serves specific applications, helping regulate temperature, control humidity, and promote air circulation, ultimately creating a healthier growing environment for your plants.
Benefits of Using Automatic Openers in Greenhouses
When you install automatic openers in your greenhouse, you unlock a range of benefits that can significantly improve your plants’ health and productivity.
These openers help maintain optimal temperatures by allowing hot air to escape and cooler air to enter, ensuring a stable climate for your plants. This regulation not only enhances growth but also reduces the risk of diseases and pests.
You’ll enjoy the convenience of no manual adjustments, as these devices operate independently and require minimal maintenance. Plus, with their durability and storm resistance, you won’t have to worry about safety.
Ultimately, automatic openers lead to increased yields and long-term cost savings, making them a smart investment for any greenhouse owner.
Frequently Asked Questions
How Long Does the Installation Process Typically Take?
The installation process usually takes about two hours for a basic setup.
You’ll need to mark positions, drill holes, and secure the opener, so having the right tools like a screwdriver and screws is essential.
Your experience can speed things up, while the complexity of the design might slow you down.
Make sure everything’s aligned properly for effective operation, and don’t forget to check compatibility with your specific model.
Can I Install the Autovent Myself or Hire a Professional?
Imagine standing in your garage, tools spread out like a painter’s palette, ready to tackle a project.
You can definitely install the Autovent yourself if you’re comfortable with mechanical tasks. However, if the thought of wiring and potential mishaps makes you uneasy, hiring a pro might be the better choice.
Consider your skills, time, and safety—these factors will guide you in deciding whether to DIY or call in an expert.
What Is the Warranty Period for Autovents?
The warranty period for AutoVent products typically lasts one year from the date of purchase.
This covers defects in materials and workmanship, ensuring you’re protected against any issues that arise.
However, keep in mind that misuse or unauthorized modifications aren’t covered.
To make a claim, you’ll need to contact authorized distributors or manufacturers, so hold onto your proof of purchase for a smoother process.
Always check specific warranty details for your model.
Are There Any Specific Maintenance Tools Required?
You’d think maintaining your tools would require an elaborate toolkit, but it’s quite the opposite!
For basic upkeep, all you really need is some lubricant, like WD40, to keep everything running smoothly. A simple screwdriver for adjustments, and maybe a measuring tape to ensure things are aligned, will do the trick.
Regular inspections help catch wear and tear early, ensuring your setup remains efficient and reliable without needing a full workshop.
How Do I Troubleshoot a Malfunctioning Autovent?
To troubleshoot a malfunctioning autovent, start by checking the safety cap; it might need resetting.
Ensure the environment isn’t too cold, as temperature sensitivity can affect function.
Look for disengaged pistons or clogged mechanisms, which may require manual adjustments or cleaning.
Regularly inspect for signs of wear and ensure all components are compatible and properly installed.
If issues persist, consider replacing worn-out parts to restore functionality effectively.
Conclusion
In the world of greenhouse gardening, the right automatic opener can transform your growing experience. You’ve learned the steps to install and maintain these essential devices, but what happens when you finally set everything in motion? Picture the gentle breeze flowing through your plants, the temperature stabilizing perfectly. Will your greens thrive like never before? As you take that final step, remember: the true magic lies in the balance between nature and technology, waiting just beyond your fingertips.