
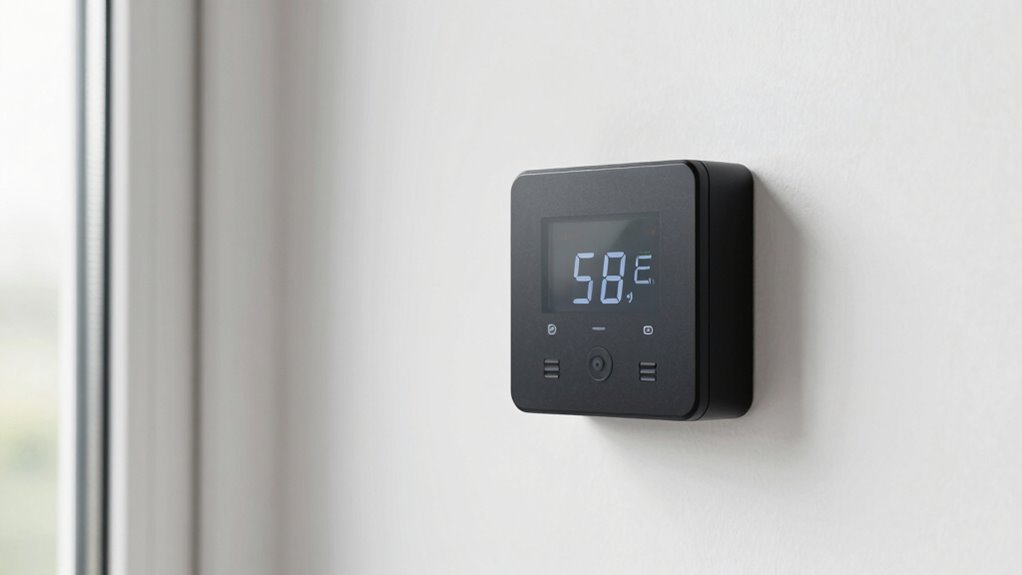
To get accurate temperature and humidity readings, place sensors at eye level, about 3-6 feet from the floor, away from vents, fans, or direct sunlight. Avoid areas with airflow disturbances and hot or cold spots caused by equipment. Position sensors in stable spots that represent typical conditions, and regularly check and recalibrate them. Keep monitoring techniques consistent to guarantee reliable data—continue exploring for more tips on ideal placement and maintenance.
Key Takeaways
- Place sensors at eye level (3-6 feet) away from vents, fans, direct sunlight, and heat sources.
- Choose stable airflow zones, avoiding turbulence from drafts or open vents for accurate readings.
- Keep sensors away from direct sunlight and heat sources to prevent skewed temperature and humidity data.
- Regularly calibrate sensors and document their placement to maintain measurement accuracy over time.
- Tailor sensor locations to specific environments, such as near plants in greenhouses or above equipment in data centers.
Why Proper Sensor Placement Is Essential for Accurate Temperature and Humidity Readings

Proper sensor placement is essential because even small differences in location can substantially affect temperature and humidity readings. If sensors aren’t correctly positioned, your data logging becomes unreliable, leading to inaccurate insights. Proper placement guarantees that sensors are exposed to representative conditions, reducing the need for frequent sensor calibration. When sensors are placed in ideal spots, calibration adjustments become minimal, saving time and effort. Accurate data logging depends on consistent placement, which helps track environmental changes precisely. Keep sensors away from heat sources, vents, or direct sunlight, as these can skew readings. By prioritizing proper placement, you ensure your measurements are trustworthy, and your calibration efforts are streamlined. Ultimately, good positioning leads to better data quality and more reliable environmental monitoring. Incorporating innovative European cloud servers can further enhance your data management and security.
How to Choose the Best Locations for Your Sensors

Selecting the right locations for your sensors can substantially improve the accuracy of your temperature and humidity readings. To do this, consider how sensor calibration impacts data quality; proper placement minimizes the need for frequent recalibration. Avoid placing sensors near heat sources, vents, or direct sunlight, as these can skew readings. Instead, position them where airflow is representative of the environment and away from localized influences. Consistent placement helps ensure reliable data analysis, revealing true environmental conditions. Remember, the goal is to capture representative measurements, so choose spots that reflect typical conditions rather than transient anomalies. By carefully selecting locations, you reduce measurement errors and gather data that truly informs your decisions. Accurate placement ultimately leads to better insights and more effective environmental control. Proper sensor placement is essential for maintaining consistent and accurate environmental data over time.
Best Practices for Placing Humidity Sensors in Different Environments

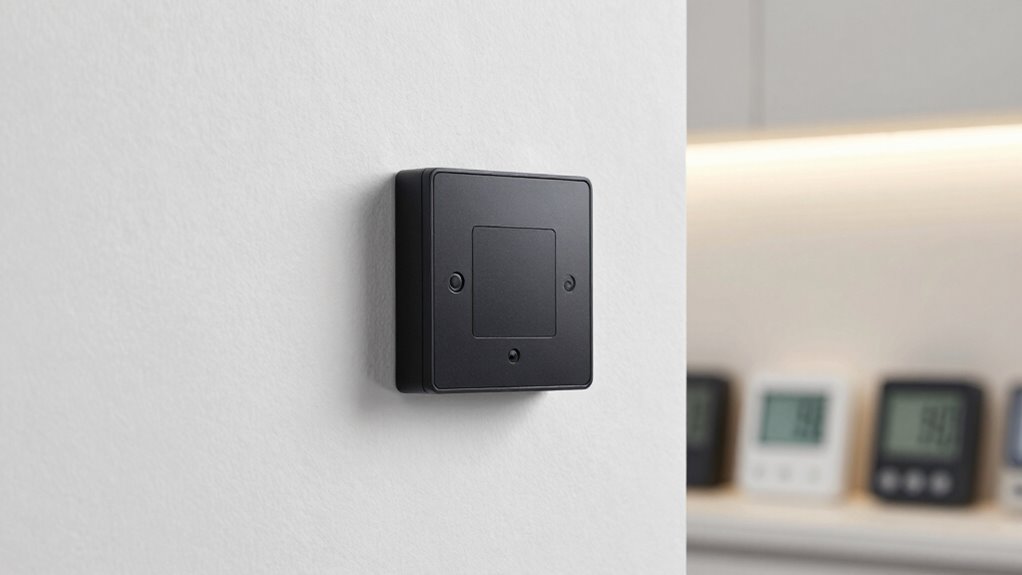
When placing humidity sensors, keep them at an ideal height—usually around eye level—to get accurate readings. Make certain to avoid areas with airflow disturbances, like near vents or fans, which can skew the data. Additionally, ensuring proper placement helps maintain the sensor’s accuracy over time. By following these practices, you’ll guarantee your sensors provide reliable and consistent measurements across different environments.
Optimal Placement Height
The height at which you place humidity sensors considerably influences the accuracy of your readings, as environmental conditions vary with elevation. To guarantee reliable data, consider the sensor height relative to the typical airflow and moisture sources in your environment. For most indoor settings, placing sensors at a mid-level height—about 3 to 6 feet from the floor—captures representative humidity levels without interference from ground-level drafts or heat sources. In commercial or industrial spaces, adjust the placement elevation to avoid obstructions and direct airflow. Proper sensor height helps prevent false readings caused by localized moisture or airflow disturbances. Remember, consistent placement elevation across multiple sensors ensures comparability and accuracy, giving you a clearer picture of the actual humidity conditions. Additionally, understanding how contrast ratio impacts image quality can guide you in choosing the right projector for your home cinema setup.
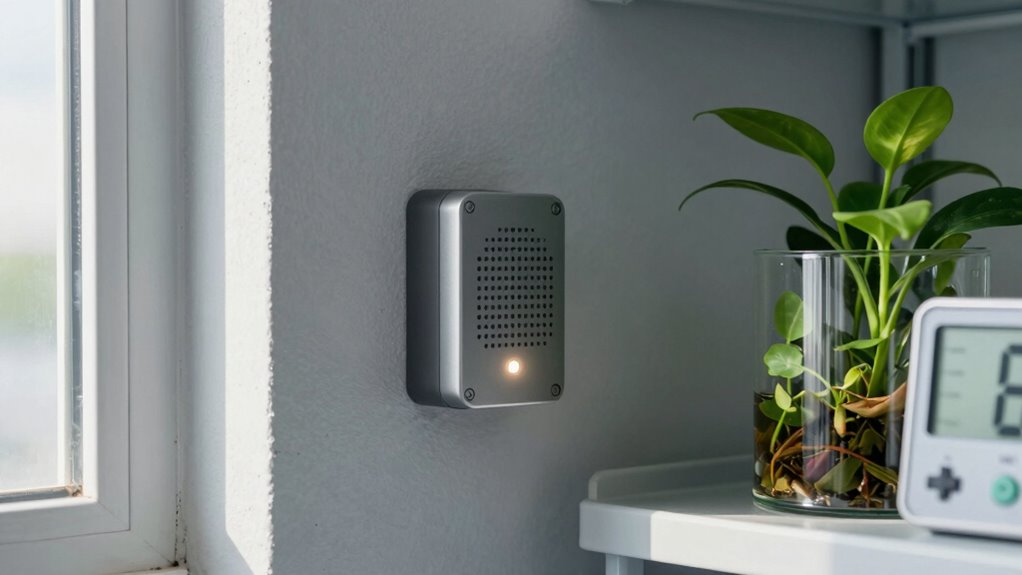
Avoid Airflow Disturbances
Placing humidity sensors in areas with consistent airflow helps guarantee accurate readings by minimizing the influence of localized drafts or heat sources. Disruptions in airflow patterns can cause fluctuations that skew sensor calibration, leading to unreliable data. To avoid this, position sensors away from vents, fans, or openings that create turbulence. Instead, choose spots with stable airflow, such as central wall locations or away from direct air movement. Ensuring minimal airflow disturbances allows the sensor to reflect true environmental conditions. Regularly check and adjust placement if airflow patterns change over time. Maintaining stable airflow not only improves measurement accuracy but also simplifies calibration processes, reducing the need for frequent sensor adjustments and ensuring consistent, reliable humidity tracking. Understanding the impact of free floating conditions can further optimize sensor placement for precise environmental monitoring.
Common Sensor Placement Mistakes and How to Avoid Them
Many people overlook standard guidelines when placing sensors, which can lead to inaccurate readings. Avoid placing sensors near heat sources or in areas with poor airflow, as these spots can skew data. Being mindful of ventilation effects and following best practices helps guarantee your sensors provide reliable information. Additionally, considering the environmental conditions of water-related areas, such as humidity and temperature fluctuations, can significantly impact sensor accuracy.
Ignoring Standard Guidelines
Ignoring standard guidelines when installing sensors often leads to inaccurate data and system inefficiencies. Without following established placement rules, your sensors may produce skewed readings, making sensor calibration difficult and unreliable. This hampers proper data interpretation, causing you to misjudge environmental conditions. When you neglect these guidelines, you risk placing sensors in locations that don’t reflect the true environment, leading to flawed decisions. To avoid this, always adhere to recommended best practices for placement, ensuring sensors are positioned where they can provide representative data. Proper placement simplifies sensor calibration and enhances data accuracy. Remember, consistent and correct placement is essential for reliable measurements, so don’t overlook standard guidelines—they’re designed to optimize your sensor’s performance and your system’s overall efficiency. Sensor placement is a critical factor in maximizing your data quality and making informed decisions.
Placing Near Heat Sources
Sensors placed too close to heat sources can produce misleading data, compromising system accuracy. The heat source’s temperature influence can skew readings, giving a false sense of environmental conditions. To avoid this mistake, picture these common pitfalls:
- Placing a sensor directly above a radiator, where heat radiates downward.
- Installing near a boiler or furnace, exposing the sensor to unpredictable temperature surges.
- Positioning next to a heating vent, where airflow can cause fluctuating readings.
- Mounting close to a stove or oven, subjecting the sensor to intense, localized heat.
These placements cause the sensor to interpret the heat source’s temperature influence as part of the ambient environment. Keep sensors at a safe distance to prevent accurate, real-world data.
Overlooking Ventilation Effects
Ventilation effects can substantially impact sensor readings if overlooked during placement. Airflow disturbances caused by fans, vents, or open windows can create uneven temperature and humidity levels around your sensor. If you position sensors near ventilation sources, they may report artificially low or high readings, leading to inaccurate data. To avoid this mistake, place sensors away from direct airflow and drafts, ensuring they’re in stable, undisturbed spots. Consider the natural airflow patterns in the space and choose locations shielded from sudden air movements. Proper sensor placement also involves understanding airflow dynamics to ensure measurements are not skewed. By accounting for ventilation effects, you’ll obtain more reliable measurements that truly reflect the environment’s conditions. Remember, overlooking airflow disturbances often results in skewed data, making it difficult to make informed decisions based on sensor readings.
How to Use Environmental Factors to Optimize Sensor Positioning
Environmental factors play a crucial role in determining the effectiveness of sensor placement. To optimize results, consider microclimate effects, which can cause temperature and humidity variations within small areas. Use these strategies:
- Position sensors away from direct sunlight to prevent skewed readings.
- Avoid placing sensors near vents or drafts that cause airflow fluctuations.
- Keep sensors at consistent heights, avoiding hot or cold spots caused by equipment or insulation.
- Regularly calibrate sensors to account for environmental changes and guarantee accuracy.
- Incorporate local automation to adjust sensor settings based on environmental feedback and maintain precise readings.
Sensor Placement Strategies for Greenhouses, Data Centers, and Homes

Effective sensor placement in greenhouses, data centers, and homes requires understanding each environment’s unique needs and challenges. You should position sensors to capture representative data, considering airflow, heat sources, and potential obstructions. Proper sensor calibration ensures accuracy, which is crucial for reliable data analysis. For example, in greenhouses, place sensors near plants but away from direct sunlight; in data centers, position sensors above equipment but away from vents; and in homes, keep sensors away from drafts or heat sources. To visualize, consider this table:
| Environment | Key Placement Tips | Common Challenges |
|---|---|---|
| Greenhouses | Near plants, shaded areas | Humidity fluctuations |
| Data Centers | Above equipment, away from vents | Airflow inconsistencies |
| Homes | Central rooms, free from drafts | Temperature variability |
| General | Regular calibration, strategic spots | Data analysis accuracy |
Additionally, understanding sensor placement strategies helps optimize data collection and improve environmental control.
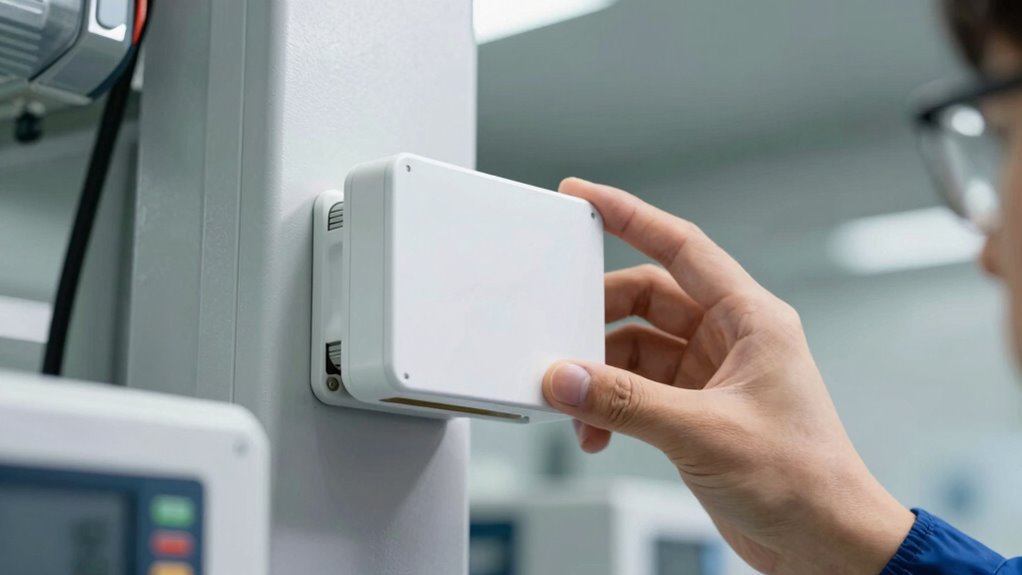
How to Verify and Maintain Accurate Sensor Placement
To guarantee your sensors provide reliable data, it’s essential to regularly verify their placement and accuracy. Start with a quick sensor calibration check: compare readings against a known reference. Then, perform placement verification by visualizing your sensor’s position through these steps:
Regularly verify sensor placement and calibration to ensure accurate, reliable environmental data.
- Imagine the sensor at eye level, avoiding proximity to vents or direct sunlight.
- Visualize it mounted away from electrical equipment that could cause interference.
- Picture ensuring it’s securely attached, not sagging or loose.
- Envision confirming it remains in the same spot over time, avoiding accidental shifts.
Regularly rechecking these aspects will help maintain accurate readings. Proper sensor calibration and placement verification are vital for dependable data, ensuring your measurements truly reflect the environment’s conditions.
Adjusting Sensor Positions Over Time to Keep Data Reliable

As conditions in your environment change, it’s important to periodically adjust your sensor positions to maintain data accuracy. Over time, factors like airflow, temperature sources, or humidity levels can shift, affecting your readings. Regularly review your data logging to identify inconsistencies or drift, indicating a need for repositioning. When you move sensors, perform sensor calibration to ensure measurements remain accurate. This might involve comparing sensor readings with a certified standard or using calibration tools. Adjusting sensor locations based on ongoing data helps you account for environmental changes, preventing skewed results. Consistently calibrating and fine-tuning sensor placement keeps your data reliable and actionable, ensuring you make informed decisions based on current, precise environmental measurements.
Tips for Tracking and Documenting Your Sensor Setup
Keeping detailed records of your sensor setup is essential for maintaining data accuracy over time. Proper documentation assures you can track changes, spot calibration issues, and maintain reliable data logging. Start by noting the exact sensor location, including height and surroundings. Next, record the date and details of any sensor calibration performed. Then, document the type of sensor used, including model and serial number. Finally, keep a log of any adjustments made to the setup or positioning. These records help you identify patterns or inconsistencies, ensuring your measurements remain precise. Accurate tracking of sensor placement and calibration also simplifies troubleshooting and future modifications, leading to more trustworthy humidity and temperature data over the long term.
Frequently Asked Questions
How Often Should Sensor Placement Be Re-Evaluated?
You should re-evaluate sensor placement every 6 to 12 months, especially if you notice inconsistent readings or environmental changes. Regularly check sensor calibration to verify accuracy, and consider environmental stability—any new sources of heat, moisture, or airflow can affect your measurements. Consistent re-evaluation helps maintain precise data, allowing you to adjust sensor locations as needed to account for evolving conditions and ensure reliable results.
Can Multiple Sensors Improve Measurement Accuracy?
Using multiple sensors can substantially improve measurement accuracy, especially when considering that studies show they can reduce errors by up to 30%. You should regularly check for sensor calibration and environmental interference, as these factors can skew results. By deploying several sensors, you get a more reliable picture, compensating for localized variations and interference, ensuring your data reflects true conditions more closely.
What Are the Signs of a Poorly Placed Sensor?
You’ll notice a poorly placed sensor if readings are inconsistent or drift over time, indicating calibration issues. Environmental interference, like drafts, direct sunlight, or proximity to heat sources, can skew results. If you see sudden jumps or abnormal fluctuations, it’s a sign your sensor isn’t positioned correctly. Regularly check placement, minimize interference, and calibrate sensors to guarantee accurate, reliable measurements.
How Do Sensor Placement Choices Affect Data Interpretation?
Ironically, your sensor placement choices can dramatically skew your data. If you neglect proper placement, environmental interference and poor sensor calibration lead to false readings, making your data nearly useless. Moving sensors away from heat sources or drafts ensures more accurate measurements. Remember, a well-placed sensor captures true conditions, helping you interpret results correctly. Poor placement, however, risks misguiding decisions based on faulty or misleading data.
Are There Specific Tools to Assist With Optimal Sensor Positioning?
Yes, you can use tools like laser distance meters and digital level tools to assist with ideal sensor positioning. These help you place sensors away from environmental interference and guarantee proper calibration. Additionally, using environmental shields or enclosures minimizes interference, maintaining accurate readings. Regular sensor calibration checks are essential to maintain precision, especially when sensors are exposed to changing conditions, ensuring your data remains reliable and accurate.
Conclusion
By thoughtfully positioning your sensors, you set the stage for truly reliable data. Remember, even the most carefully chosen spots may need a gentle nudge over time. Stay attentive, make small adjustments when needed, and keep track of your setup. With a little care and curiosity, you’ll uncover the subtle nuances that lead to accurate readings, helping you make smarter decisions and create a more comfortable, efficient environment.