
To track leaks without guesswork, start by spotting common signs like water stains, mold, and high water bills. Gather essential tools such as moisture meters, dye test kits, and thermal imaging cameras. Prepare your space by clearing clutter and inspecting visible surfaces carefully. Use your equipment to listen, scan, and test suspected areas systematically. If leaks remain elusive, professional help can locate hidden issues—keep going to discover more effective leak detection methods.
Key Takeaways
- Use visual inspections for water stains, mold, or damp spots to identify leak signs early.
- Employ dye testing and moisture meters to confirm suspected leak locations accurately.
- Utilize thermal imaging and acoustic leak detectors to detect hidden leaks behind walls or underground.
- Clear clutter and use proper lighting and mirrors to improve access and visibility during inspection.
- When DIY methods fail or leaks persist, consult professional leak detection experts for precise pinpointing.
How to Identify Common Leak Signs and Types
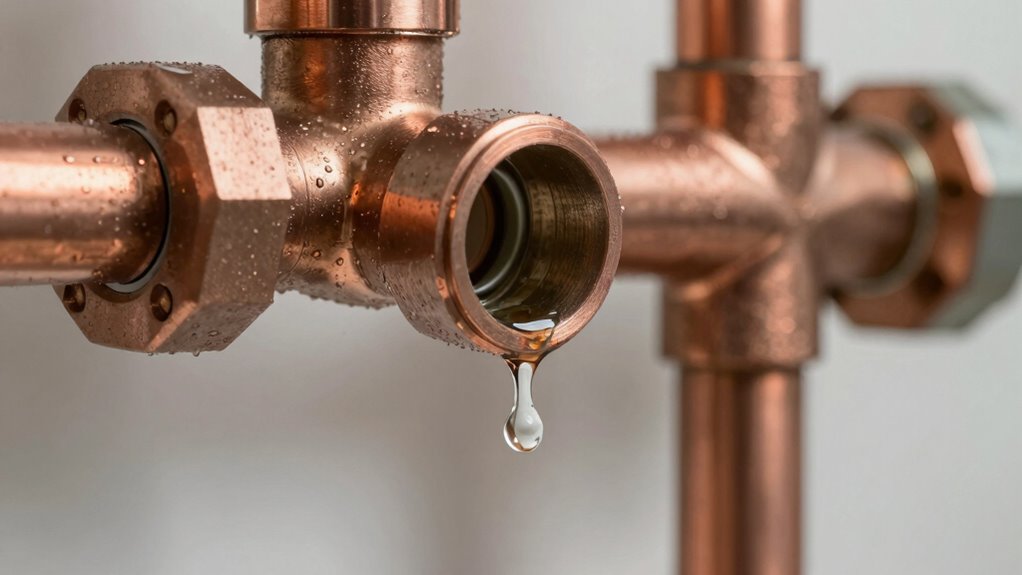
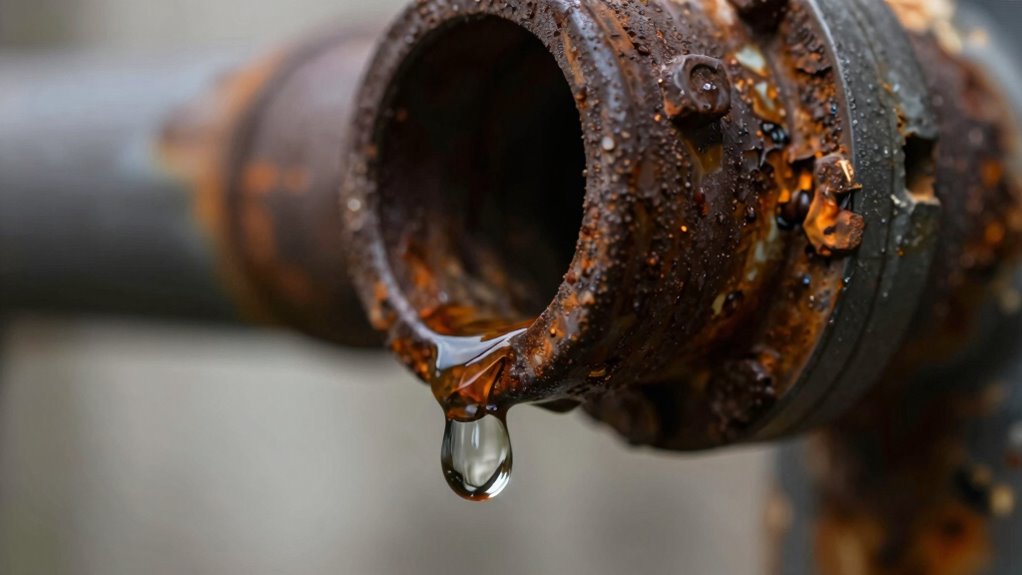
How can you tell if you have a leak? Look for common leak indicators like water stains, mold growth, musty odors, or unexplained increase in water bills. These signs often point to hidden leaks behind walls or under floors. Understanding leak type classifications helps in pinpointing the source. For example, a dripping faucet indicates a small, localized leak, while a running toilet suggests a flushing mechanism issue. Pipe leaks might cause damp spots or pooling water, while slab leaks can lead to uneven flooring or foundation damage. Recognizing these signs early prevents further damage and guides your next steps. Identifying the leak type helps you choose the right tools and approach, making your detective work more effective and less frustrating. Additionally, being aware of leak detection techniques, such as listening for sounds or using dye tests, can greatly improve your chances of finding the source quickly. Paying attention to abnormal water pressure fluctuations can also be an important clue in locating leaks. Consulting plumbing system layouts can further assist in narrowing down potential leak locations and avoid unnecessary damage during repairs. Incorporating modern detection technologies can enhance accuracy and speed in locating elusive leaks. Moreover, understanding the Gold IRA markets can help investors diversify their assets and secure their financial future against unpredictable market fluctuations.
Preparing Your Space and Tools for Leak Detection
Before you start detecting leaks, gather your essential tools like flashlights, moisture meters, and leak detectors. Clear the area of any obstacles to make sure easy access and accurate inspection. Finally, inspect and prepare surfaces to spot signs of leaks more effectively and prevent false readings. Incorporate organized routines to streamline your preparation process and ensure nothing is overlooked. Additionally, establishing a diagnostic checklist can help you systematically identify potential leak sources and avoid missing key areas. Remember to consider water damage prevention measures during your inspection to safeguard your property effectively. Incorporating proper lighting can further improve visibility and accuracy during your leak detection process. Utilizing comprehensive client service principles can also help ensure your approach remains thorough and efficient throughout the inspection.
Gather Essential Detection Tools
To effectively detect leaks, you need to gather the right tools and prepare your space beforehand. Having the proper detection equipment ensures accurate results and saves you time. Here are the essential tools you should have:
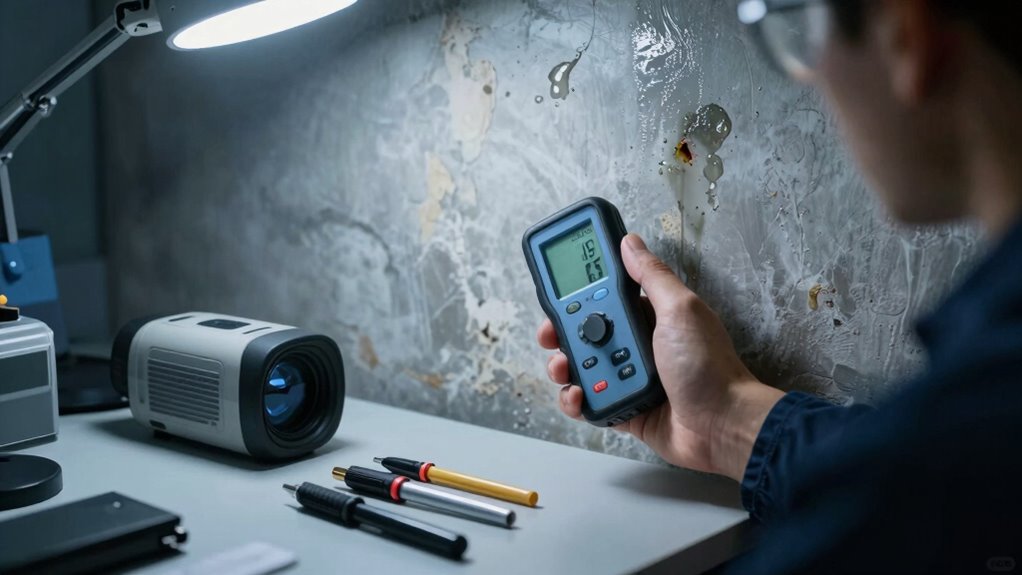
- Sensor technology – Use moisture sensors or acoustic leak detectors to identify hidden leaks quickly. Proper sensor calibration enhances detection accuracy and reliability.
- Dye testing kits – Apply dye to suspected areas to visually confirm leak presence without invasive measures.
- Flashlights and mirrors – Illuminate dark or tight spaces and see behind fixtures for easier inspection.
- Knowledge of leak types helps in selecting the most appropriate detection method for your specific situation.
These tools help you pinpoint leaks precisely, even in tricky spots. Combining sensor technology with dye testing gives you a powerful approach to identifying leaks early. Proper preparation minimizes guesswork and accelerates resolution.
Clear Area of Obstructions
Clearing the area of obstructions is essential for effective leak detection, as it allows you to access and inspect potential problem spots more easily. Obstruction clearance involves removing furniture, decorations, or any items blocking your view or access to pipes, fixtures, or ceilings. Proper area preparation ensures you can move freely and thoroughly examine every suspect area. Before starting, assess the space and clear any clutter that could hinder your inspection. This step minimizes the risk of missing a leak or misdiagnosing the source. Keep tools nearby and ensure the workspace is well-lit. Taking the time for obstruction clearance streamlines your process, making leak detection more accurate and efficient. A prepared, unobstructed space is key to tracking down that mysterious drip without guesswork. Also, consider creating a safety checklist to ensure you handle potential hazards appropriately while inspecting. Remember that understanding the location of typical leaks can help you focus your efforts during the clearance process. Additionally, inspecting for hidden damage can reveal issues not immediately visible on the surface. Incorporating proper lighting techniques can further enhance visibility and prevent oversight during your inspection. Using inspection mirrors or cameras can also help you see into hard-to-reach areas and improve detection accuracy.
Inspect and Prepare Surfaces
Inspecting and preparing surfaces is a crucial step to guarantee your leak detection efforts are accurate and efficient. Proper surface preparation enhances leak visualization, making it easier to spot drips or moisture. Start by cleaning the area thoroughly to remove dust, dirt, or grime that could obscure signs of a leak. Next, dry the surface completely to prevent false readings caused by moisture. Finally, inspect the surface for cracks, stains, or discoloration that indicate previous or active leaks. Being aware of common leak indicators can further improve detection accuracy. Here are three essential steps: 1. Clean the surface thoroughly for clear leak visualization. 2. Dry the area completely to avoid false positives. 3. Examine for cracks or stains that signal leaks. Ensuring your preparation includes checking for proper surface conditions can contribute to more reliable leak detection results. Following these steps ensures your surface is ready for effective leak detection and accurate results.
Step-by-Step Guide to Finding Leaks Without Guesswork
Start by carefully inspecting visible signs like water stains, mold, or damp spots, as they often point directly to the leak’s location. Next, utilize detection tools such as moisture meters or leak detectors to pinpoint hidden leaks accurately. Combining visual clues with the right tools helps you find leaks quickly and confidently, without relying on guesswork. Incorporating modern connected devices can further enhance leak detection by providing real-time alerts and comprehensive monitoring. Additionally, understanding water flow patterns can help identify the source of leaks more efficiently. Recognizing hydraulic pressure changes can also aid in locating leaks that are otherwise difficult to detect.
Inspect Visible Signs
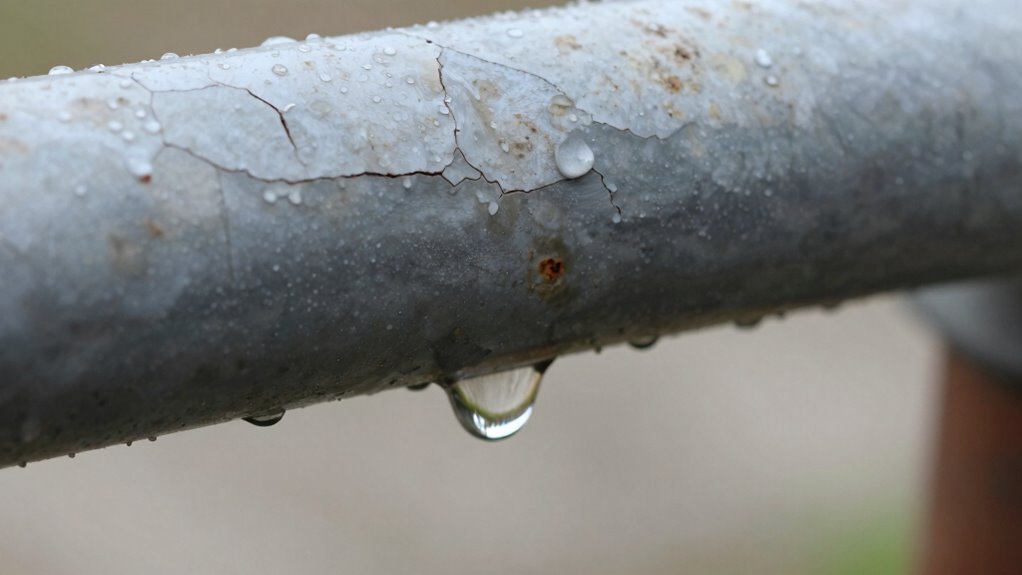
Visible signs often provide the clearest clues to a hidden leak, so it’s essential to examine your surroundings carefully. Start with a thorough visual inspection, looking for moisture signs that indicate a leak. Focus on areas around pipes, ceilings, and walls where leaks tend to hide. Here are three key things to check:
- Discoloration or stains on walls or ceilings
- Peeling paint or wallpaper, which suggests ongoing moisture
- Damp spots or mold growth that signal persistent leaks
Pay close attention to any unusual dampness or watermarks, as these moisture signs often point to the leak’s location. Identifying these visual clues helps you narrow down the source before moving on to more advanced detection methods. Additionally, understanding the fundamentals of ergonomics and workspace layout can help create an environment that minimizes stress and promotes easier detection of issues like leaks. Proper lighting techniques can also improve visibility during your inspection, making it easier to spot subtle signs of water intrusion. Furthermore, using a moisture meter can provide more precise information about hidden water presence behind walls or ceilings.
Use Detection Tools
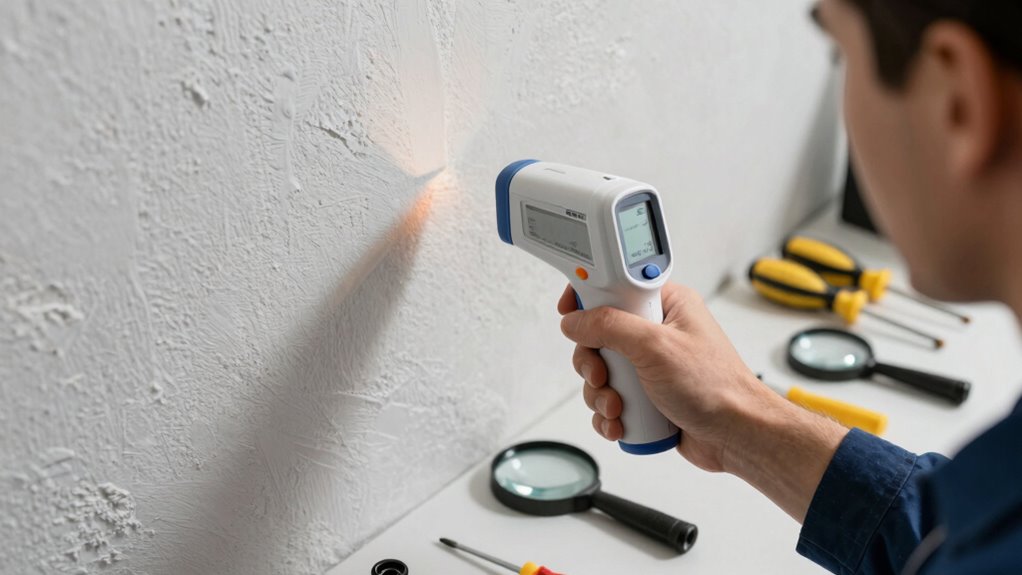
How can you accurately locate a hidden leak without relying on guesswork? The key is using detection tools designed for precision. Sensor technology can help detect moisture or temperature changes, pinpointing leaks behind walls or underground. Acoustic detection is especially effective; it listens for the sounds of water escaping or pressure drops.
| Tool Type | How It Helps |
|---|---|
| Moisture sensors | Detect hidden dampness or wetness without invasive work |
| Acoustic detectors | Hear the faint sounds of leaks in pipes or walls |
| Thermal imaging | Spot temperature differences caused by leaks |
| Pressure gauges | Identify pressure drops indicating leaks |
Best Tools and Materials for Pinpointing Leak Sources
When pinpointing leak sources, having the right tools and materials can make all the difference. The best approach involves using specific equipment and supplies tailored to your situation. Here are three essential items:
- Infrared cameras or thermal imaging devices to detect temperature differences caused by leaks.
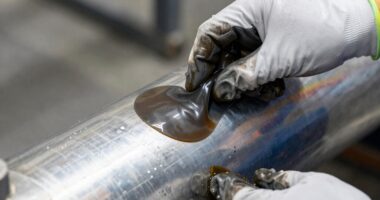
- Leak detection dye and compatible sealant types to identify and temporarily stop leaks without damaging pipes.
- Variety of pipe materials, such as flexible hoses and rigid pipes, to test different sections and confirm leak points.
Choosing the right pipe materials helps in matching existing plumbing, while the correct sealant types ensure effective sealing without future issues. These tools and materials streamline the process, making leak pinpointing faster and more accurate.
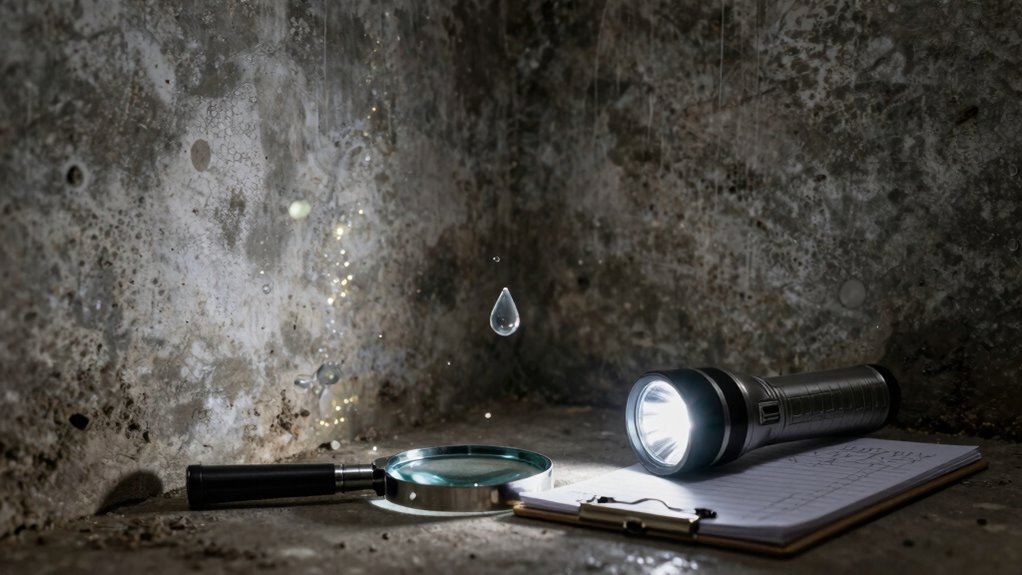
Troubleshooting Hidden or Hard-to-Detect Leaks
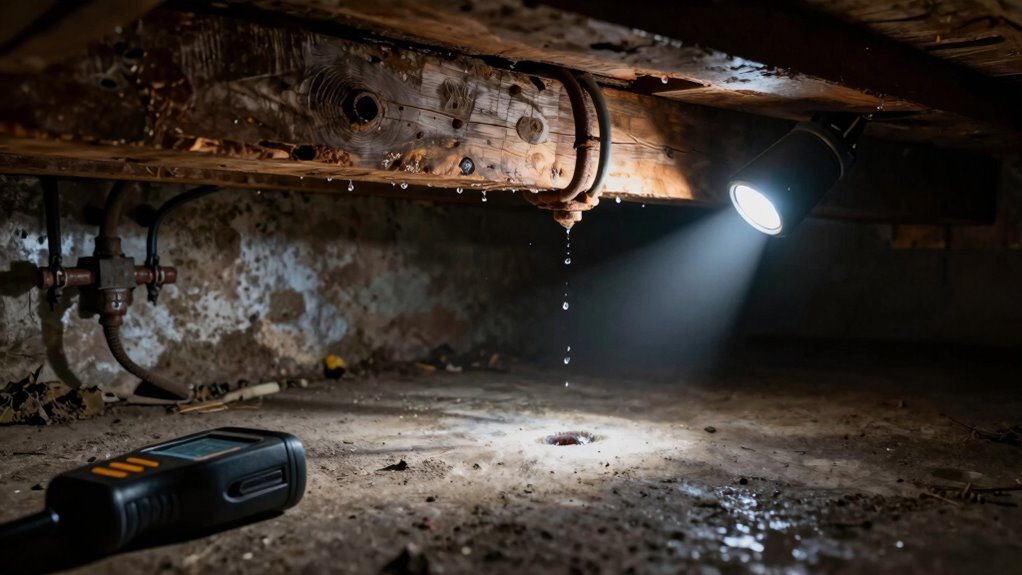
Hidden leaks can be especially tricky because they often produce no obvious signs on the surface. To find these elusive leaks, start with water pressure testing to identify drops in pressure that indicate a hidden problem. Using thermal imaging can reveal temperature differences caused by water escaping behind walls or under floors. For example, cooler spots may point to moisture presence. Here’s a quick overview:
| Technique | Purpose |
|---|---|
| Water Pressure Testing | Detects pressure drops indicating leaks |
| Thermal Imaging | Visualizes temperature variations to locate leaks |
Combine these methods for better accuracy. Water pressure testing confirms the existence of a leak, while thermal imaging pinpoints its location. Always remember, troubleshooting hidden leaks requires patience, precision, and the right tools.
When to Call a Leak Detection Professional
Recognizing when to call a leak detection professional is essential to prevent water damage and costly repairs. Sometimes, DIY methods just aren’t enough, especially when the leak’s location is elusive or hidden. Consider these signs:
- Persistent leaks despite your efforts, raising questions about cost considerations and whether professional help is worth it.
- Unexplained increases in water bills, which may indicate a hidden leak beyond your DIY capabilities.
- Suspected underground or wall leaks that require specialized equipment and expertise.
In such cases, the professional vs DIY debate leans toward calling in a leak detection expert. Their tools and experience can save you time and money, preventing further damage that DIY attempts might miss or worsen.
Frequently Asked Questions
How Can I Differentiate Between a Minor and Major Leak?
To differentiate between a minor and major leak, start with leak detection techniques like listening for consistent dripping sounds or checking for damp spots. During a plumbing inspection, observe the size of water stains, pooling water, or increased utility bills. Minor leaks typically cause small, localized issues, while major leaks result in significant water damage or pressure drops. Address small leaks promptly to prevent them from becoming costly problems.
Are There Eco-Friendly Methods for Detecting Leaks?
Yes, there are eco-friendly methods for detecting leaks. You can use sustainable solutions like biodegradable detection dyes, which are safe for the environment and effective in pinpointing leaks without harmful chemicals. These methods help you avoid invasive procedures and reduce chemical waste. By choosing biodegradable detection options, you guarantee your leak detection process remains eco-conscious while maintaining accuracy and efficiency.
What Safety Precautions Should I Take During Leak Detection?
Like an explorer steering uncharted waters, you should prioritize safety during leak detection. Always wear personal protective equipment—gloves, goggles, and masks—to shield yourself from potential hazards. Be mindful of electrical safety; avoid using electrical devices near water, and turn off power if necessary. Make certain of proper ventilation, and if unsure about the situation, consult a professional. Staying cautious keeps you safe while uncovering hidden leaks.
Can Leaks Cause Structural Damage Over Time?
Leaks can definitely cause structural damage over time, especially if hidden pipe issues like corrosion or blockages develop. As water seeps into walls or foundations, it weakens the structure and promotes mold growth. Regularly inspecting your pipes and addressing leaks early helps prevent costly repairs. Keep an eye out for signs of hidden pipe issues, and act quickly to stop potential damage from escalating.
How Often Should I Inspect My Plumbing for Leaks?
Your plumbing system is like a silent guardian, so check it regularly. You should inspect your plumbing for leaks at least once every three to six months. Regular plumbing maintenance helps catch small issues before they turn into costly repairs. Look for signs of leaks, such as damp spots or running water sounds, to prevent damage and ensure leak prevention. Staying proactive keeps your home safe and saves money in the long run.
Conclusion
Remember, a leak hidden today can cause big problems tomorrow. By knowing what signs to look for, preparing your tools, and following a methodical approach, you can catch leaks early and save yourself headaches. If the mystery drip persists despite your efforts, don’t hesitate to call in a professional—they have the expertise and equipment to tackle the toughest leaks. After all, prevention is better than cure, so stay vigilant and keep your space dry.