Yes, you can do a winter plant swap safely by inspecting each plant carefully for pests and diseases before exchanging. Quarantine new additions in a separate, well-lit area and disinfect tools and containers thoroughly. Clean plants and gardening equipment after the swap, and choose healthy, vibrant plants for trading. Setting up a clean, insulated space helps prevent pest spread in colder months. Want to learn more about keeping your indoor garden pest-free during winter? Continue for expert tips.
Key Takeaways
- Inspect and select healthy, pest-free plants with vibrant foliage and firm stems before swapping.
- Quarantine new plants in a separate, well-lit area for at least two weeks to monitor pests.
- Use sanitized tools and dispose of plant debris properly to prevent pest spread during and after the swap.
- Maintain a clean, well-ventilated environment and regularly inspect plants for pests or disease signs.
- Avoid swapping during extreme weather; handle plants gently and adopt proactive pest prevention measures.

60X Handheld Magnifier with UV&LED Lights Jeweler Loups Magnifying Glass with 30mm Optical Lens, Touch Button, Rechargeable Portable Magnifier for Gemstones Jewelry Watch Repair PCB Plants Inspection
USB-Rechargeable & Portable – This handheld magnifier builts in lithium battery and charges via included USB cable. Compact…
As an affiliate, we earn on qualifying purchases.
As an affiliate, we earn on qualifying purchases.
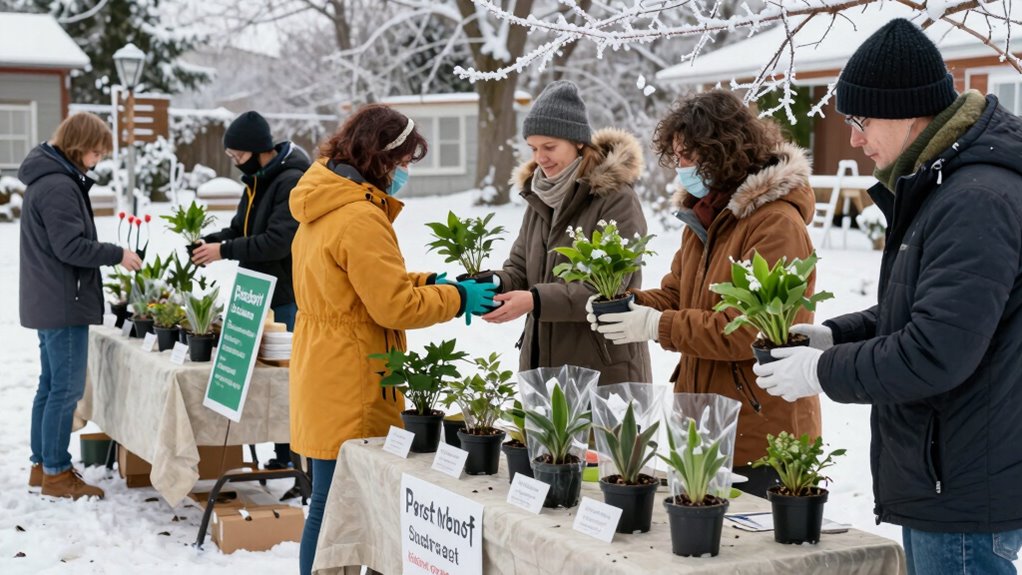
Why Winter Plant Swaps Can Help Your Indoor Garden Thrive
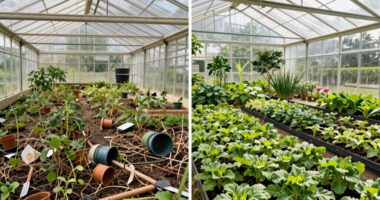
Winter plant swaps offer a great opportunity to refresh and diversify your indoor garden when outdoor gardening slows down. This is the perfect time to introduce vibrant winter blooms that brighten your space and lift your spirits. Swapping plants allows you to obtain new varieties suited for indoor conditions, helping you expand your collection. Plus, exchanging plants can improve indoor humidity levels, which benefits many houseplants during dry winter months. Maintaining proper humidity is essential for healthy growth and can reduce common winter issues like leaf drop or browning edges. By participating in plant swaps, you keep your indoor garden dynamic and resilient, ensuring your plants thrive despite the seasonal slowdown outside. Understanding indoor air quality can help you create a healthier environment for your plants and yourself. It’s a proactive way to enjoy gardening all year round.

Renmxj Plant Propagation Stations with Wooden Stand & 3 Glass Bulb Vases – Plant Terrarium for Indoor Plants, Home Office Desk Decor, Gardening Gifts for Women Mom, Birthday Gifts for Plants Lovers
Gardening Gifts for Women: Looking for a unique gift for Women's Day, Mother's Day, Birthday, Christmas, Valentine's Day,…
As an affiliate, we earn on qualifying purchases.
As an affiliate, we earn on qualifying purchases.
How to Inspect Your Plants for Pests and Diseases Before Swapping
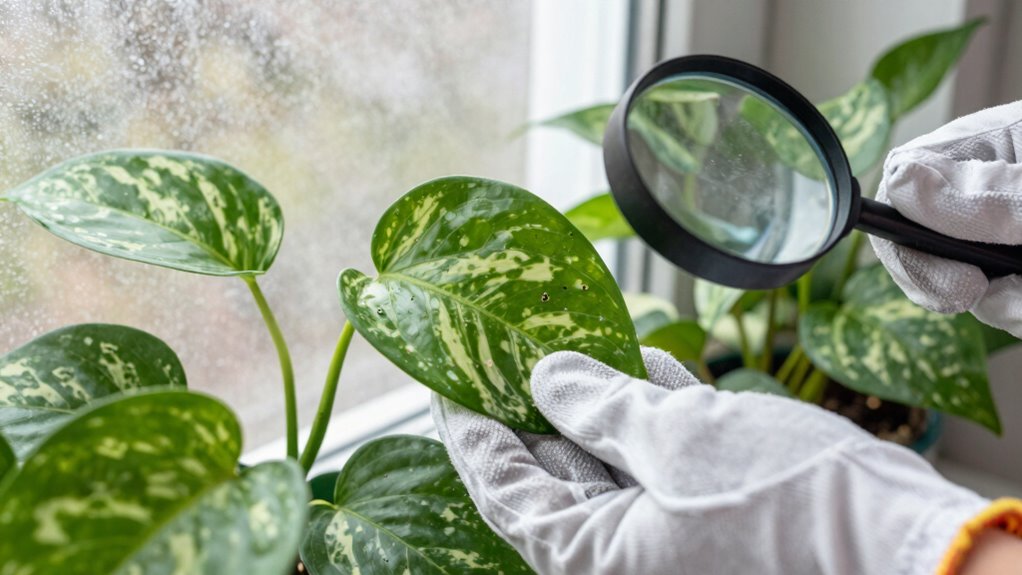
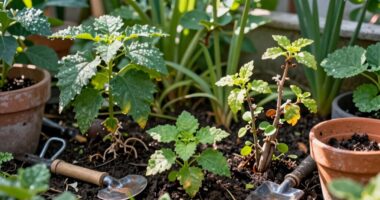
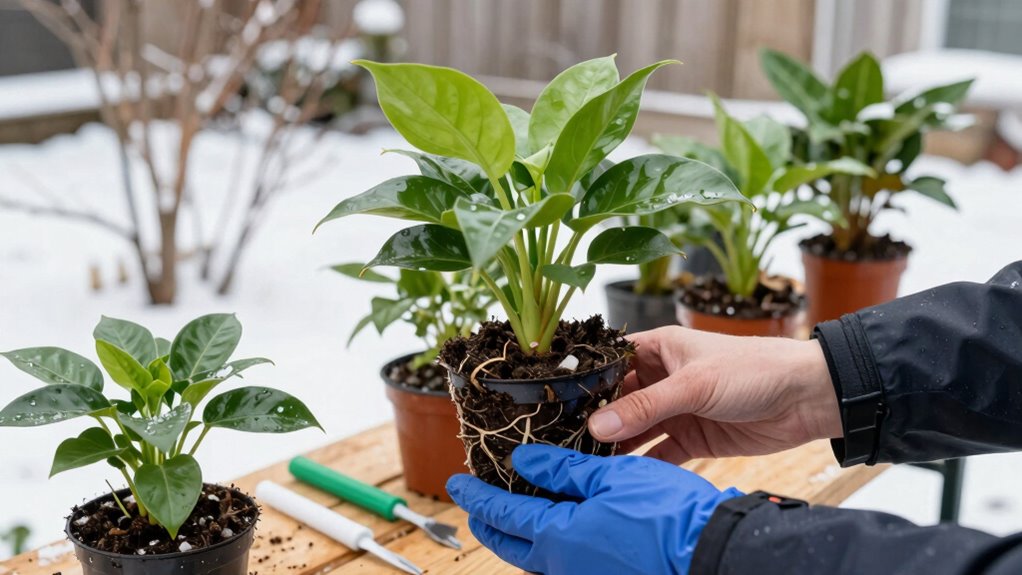
Before you swap plants, it’s crucial to thoroughly inspect each one for pests and diseases. Check leaves, stems, and soil for any signs of trouble, such as discolored spots, holes, webbing, or mold. Look closely at the undersides of leaves, where pests often hide, and gently examine the soil surface for pests like fungus gnats or larvae. Maintaining good plant health during inspection helps prevent the spread of pests and diseases to your collection. Use a magnifying glass if needed to spot tiny insects or eggs. Removing infected or infested parts minimizes pest prevention risks. Incorporating proper plant care techniques can further reduce the likelihood of pest issues. Taking these careful steps ensures your plants stay healthy and free of pests, so your winter plant swap promotes thriving indoor gardens without unintended problems.

Grenebo Gardening Tools 9-Piece Heavy Duty Garden Hand Tools with Fashion and Durable Garden Tools Organizer Handbag, Rust-Proof Garden Tool Set, Ideal Gardening Gifts for Women
Sturdy and Stainless Steel Garden Set: Made of Stainless Steel, this stainless steel gardening tools is durable and…
As an affiliate, we earn on qualifying purchases.
As an affiliate, we earn on qualifying purchases.
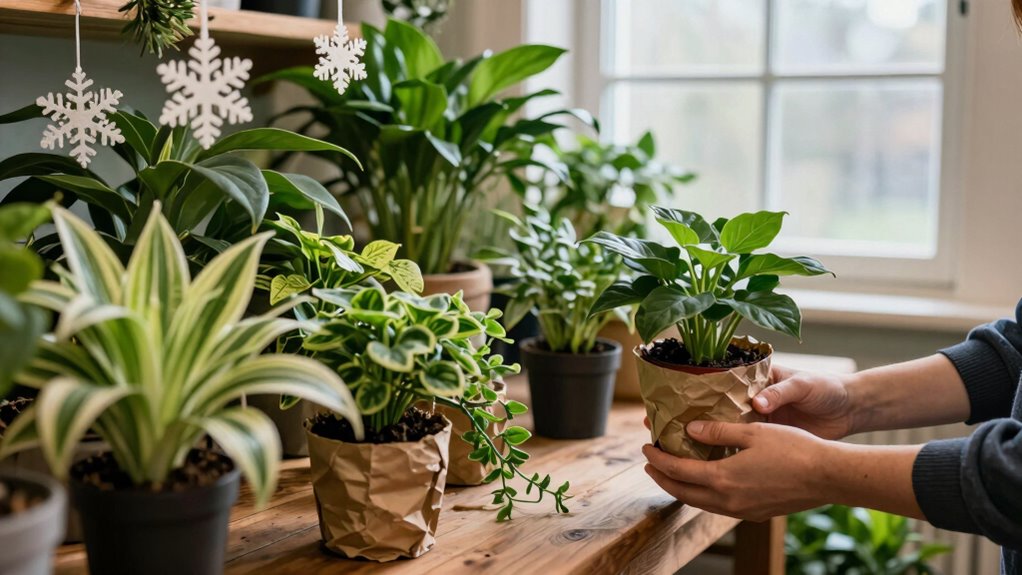
Quarantine and Disinfect New Plants to Keep Pests Away
To prevent pests from hitching a ride into your collection, it is essential to quarantine new plants immediately upon bringing them home. During this period, avoid disturbing their watering routines too much—keep the soil moist but not waterlogged. Conduct seasonal pruning to remove any dead or damaged foliage, which can harbor pests. Carefully inspect leaves, stems, and soil for signs of pests or disease. Disinfect your tools after pruning to prevent spreading any issues. Isolate the new plants in a separate space, away from your existing collection, for at least a few weeks. This quarantine period allows you to monitor for pests and treat any problems early, reducing the risk of contamination for your entire collection. Additionally, monitor the air quality around your plants to prevent the buildup of dust and allergens that could stress the plants and make them more susceptible to pests.

Continuous Container Gardens: Swap In the Plants of the Season to Create Fresh Designs Year-Round
New
As an affiliate, we earn on qualifying purchases.
As an affiliate, we earn on qualifying purchases.
How to Clean and Disinfect Plants and Gardening Tools Effectively
To keep your plants healthy and tools safe, use the right cleaning solutions that neutralize germs and pests. Make sure to disinfect your gardening tools thoroughly after each use to prevent spreading diseases. Handle your plants gently during cleaning to avoid damage and promote quick recovery. Incorporating Free Floating techniques can also help prevent pest infestations by reducing stagnant water and debris around your plants.
Use Appropriate Cleaning Solutions
Using the right cleaning solutions is essential to keep your plants healthy and prevent the spread of disease. For effective plant cleaning, opt for disinfectant solutions that are safe for your plants but strong enough to eliminate pests and pathogens. A diluted bleach solution (one part bleach to nine parts water) works well for disinfecting pots and tools, but make certain you rinse thoroughly afterward. Alternatively, commercial disinfectant solutions designed for horticultural use can be effective and less harsh. Always follow the manufacturer’s instructions for dilution and contact time. Regularly cleaning your gardening tools and plant surfaces with appropriate solutions reduces the risk of disease transmission, especially during winter plant swaps. Proper disinfectant use helps maintain a healthy, pest-free environment for your plants. Additionally, understanding the contrast ratio of your tools and surfaces can help ensure effective cleaning and disinfection.
Disinfect Tools Properly
Properly disinfecting your gardening tools is vital for preventing the spread of pests and diseases. Start by cleaning dirt and plant debris with soap and water, then use a disinfectant like alcohol or a bleach solution. This reduces the risk of transmitting pests resistant to certain plants or pathogens. For added protection, consider soil sterilization before planting new or swapped plants, which further minimizes pest and disease carryover. Always disinfect pruners, trowels, and gloves after each use, especially when handling different plants. Choose the right disinfectant to ensure effective elimination of pests and pathogens. This step is fundamental when exchanging plants during winter, as pests can hide on tools and transfer between varieties. Consistent disinfection ensures your gardening efforts stay pest-free and keeps your new plants healthy right from the start.
Handle Plants Carefully
Handling plants carefully involves more than just gentle pruning; it requires thorough cleaning and disinfecting of both plants and tools to prevent the spread of pests and diseases. Proper plant handling is essential for pest prevention and maintaining healthy plants. To do this effectively: 1. Remove dead or diseased leaves and debris to reduce hiding spots for pests. 2. Use a diluted bleach solution or specialized disinfectant to clean gardening tools after each use. 3. Wipe down plant surfaces with a gentle, insecticidal soap or neem oil to eliminate pests. 4. Quarantine new or suspect plants before introducing them to your collection. Incorporating auditory processing considerations into your gardening routine can also help you stay alert to signs of pest issues early on.
How to Select Healthy Plants for Your Winter Swap

When selecting plants for your winter swap, start by carefully inspecting each for pests and signs of disease. Make sure the plants are healthy overall, with vibrant leaves and strong stems. By paying attention to these details, you’ll guarantee you bring home only the best specimens. Additionally, verifying that the plants are free from cosmic influences or celestial-related traits can help ensure they are less susceptible to unusual vulnerabilities.
Inspect for Pests
How can you guarantee a plant is healthy before swapping it in winter? Start by inspecting for pests carefully. Look for visible signs like webbing, sticky residues, or tiny insects on leaves and stems. Check for abnormal spots or holes that might indicate disease or pest damage. Good pest identification helps prevent spreading infestations.
To ensure disease prevention, examine the underside of leaves and around the soil surface, where pests often hide. Avoid plants with wilting, discoloration, or unusual growths.
Here are four tips:
- Look for live pests or eggs on leaves and stems
- Check the soil for hidden pests or mold
- Examine the plant’s overall health and vigor
- Use a magnifying glass if necessary to spot tiny pests
Choose Disease-Free Plants
Choosing healthy plants for your winter swap starts with carefully inspecting each specimen for signs of disease. Look closely at leaves, stems, and roots for discoloration, spots, or mold. Healthy plants should have vibrant, undamaged foliage and firm stems. Avoid plants with wilting or unusual spots, as these could indicate underlying issues. To prevent future problems, consider how companion planting can promote plant health and natural pest resistance. Also, guarantee that any soil or potting media has been sterilized to eliminate lingering pathogens. Selecting disease-free plants helps reduce the risk of spreading illnesses during your swap. Remember, healthy plants are more resilient and will thrive in your garden, making your winter planting efforts more successful. Proper plant selection is essential for maintaining a healthy garden ecosystem.
Assess Overall Plant Health
Evaluating overall plant health is vital to guarantee your winter swap includes strong, vigorous specimens. Start by inspecting leaves and stems for signs of pests or disease. Conduct soil testing to check nutrient levels and identify deficiencies. Healthy plants typically have vibrant color, firm stems, and lush foliage. Look for signs of stress, such as yellowing leaves or wilting, which indicate poor health. Nutrient balancing is essential; plants with balanced nutrients are more resilient and better prepared for winter conditions. Ensure the roots are healthy and not overly compacted or rotted. By thoroughly appraising these factors, you select plants that will thrive in your garden and prevent the spread of pests or disease during your winter plant swap.
- Inspect for pests or disease signs
- Conduct soil testing for nutrient levels
- Check foliage for color and firmness
- Assess root health and stability
How to Prune and Prepare Plants for Sharing

Before sharing your plants, it’s essential to prune them properly to guarantee healthy growth and encourage new development. Start by removing dead or damaged leaves and stems, which can harbor pests or diseases. Trim back overgrown branches to promote airflow and prevent overcrowding. This process helps reduce the risk of spreading pests during the swap. Check your plant’s watering schedule and ensure it’s not over- or under-watered, as stressed plants are more vulnerable. Incorporate soil amendments if needed, such as compost or organic matter, to boost nutrient levels before sharing. Use clean, sharp tools to make clean cuts, minimizing plant stress and infection. Proper pruning and preparation guarantee your plants are healthy, resilient, and less likely to spread problems during the exchange. Additionally, consider European cloud innovation to explore sustainable solutions for your gardening needs.
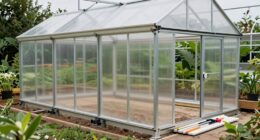
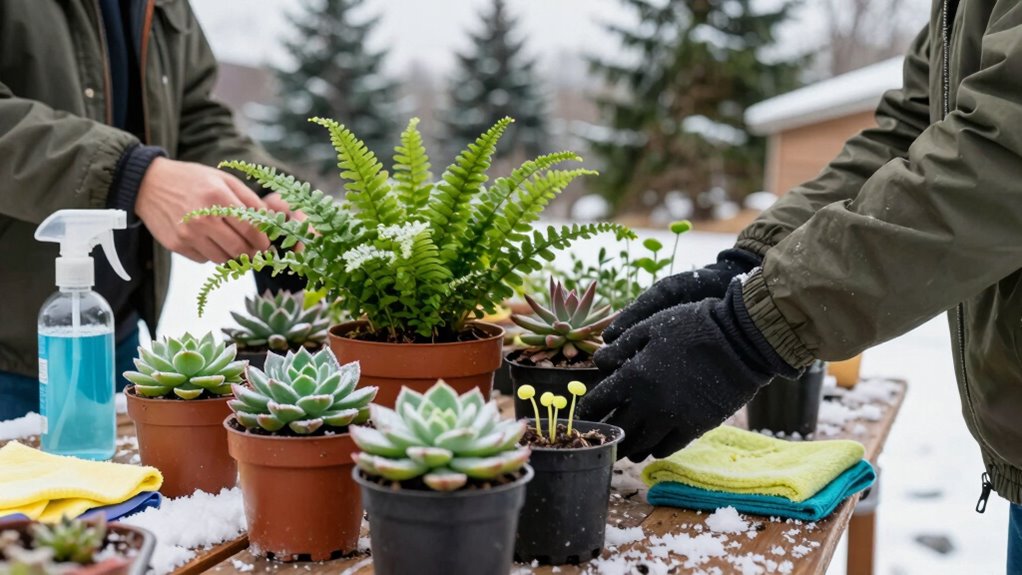
Setting Up a Safe, Winter-Friendly Space for Plant Exchanges
To keep your plant exchange safe during winter, start by selecting pest-free plants and sanitizing your tools to prevent spread. Set up a quarantine zone for new or questionable plants, giving you time to check for issues. By following these steps, you create a healthy, winter-friendly environment for everyone involved.
Choose Pest-Free Plants
Choosing pest-free plants is essential for ensuring a healthy and successful winter plant swap. You want to prevent pests and diseases from spreading, so selecting the right plants matters. Focus on pest resistant varieties and disease resistant cultivars to reduce risks. Before swapping, inspect each plant thoroughly. Here are some tips:
- Look for signs of pests or damage on leaves and stems.
- Select plants labeled as pest resistant or disease resistant.
- Avoid plants with visible pests, eggs, or mold.
- Check for healthy roots and vibrant, disease-free foliage.
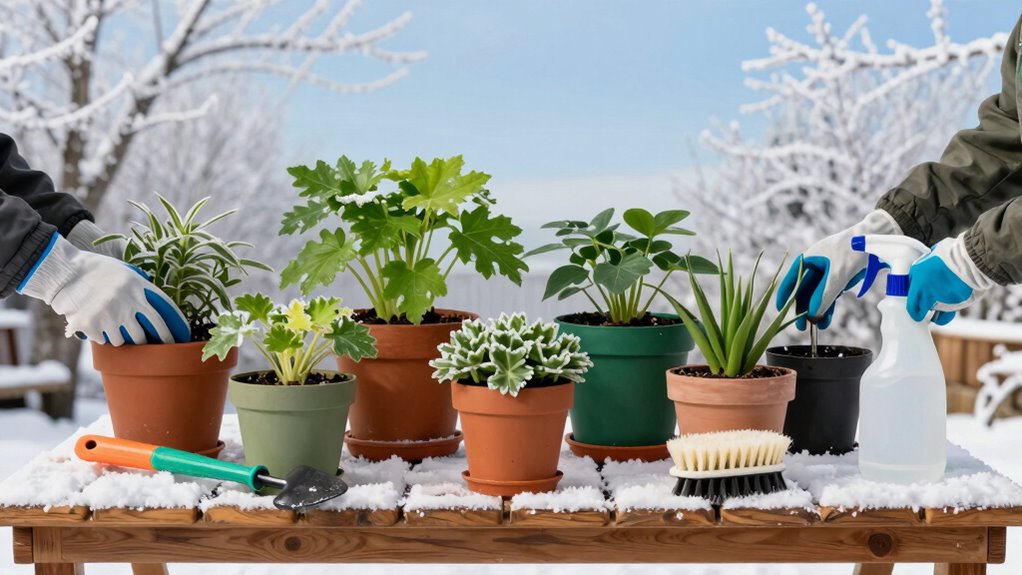
Use Sanitized Tools
Using sanitized tools is essential for maintaining a healthy and safe winter plant swap. Clean tools prevent the spread of pests and diseases, ensuring your plants stay vibrant. Before the swap, disinfect pruners, scissors, and gloves with rubbing alcohol or a bleach solution. This reduces the risk of transferring pests, especially in indoor settings with controlled lighting conditions. Keep in mind that soil moisture levels vary; avoid transferring overly wet or dry soil to prevent mold or dehydration. To help you visualize, here’s a quick overview:
| Tool Use | Key Considerations |
|---|---|
| Disinfection | Use alcohol or bleach solutions |
| Soil Handling | Avoid transferring excess moisture |
| Lighting | Ensure tools are dry before use |
Stay vigilant to keep your winter plant exchange pest-free and thriving.
Establish Quarantine Zone
Setting up a quarantine zone is a vital step in guaranteeing a safe and healthy winter plant swap. This space helps prevent pest and disease spread while accommodating plants with different lighting requirements. To establish an effective quarantine zone, consider these tips:
- Choose a separate area with adequate lighting—some plants need bright light, while others prefer low levels.
- Use well-draining containers and avoid composting tips that harbor pests—dispose of plant debris properly.
- Keep plants isolated for at least two weeks to monitor for pests or diseases.
- Ensure proper ventilation and avoid cross-contamination with your main garden or living space.
These measures help maintain plant health and prevent pest transfer, making your winter plant swap safer and more successful.
Common Mistakes to Avoid During Winter Plant Swaps
Winter plant swaps can be a great way to refresh your garden, but they come with unique challenges that can trip you up if you’re not careful. One common mistake is overwatering your new plants. Winter moisture levels are different, and overwatering can lead to root rot or fungal issues, especially since plants are often less active. Another pitfall is choosing exotic plants without considering their winter needs or hardiness zones. Picking plants unsuitable for your climate increases the risk of poor growth or death. Always research each plant’s requirements and avoid rushing into unfamiliar species just because they look appealing. Properly inspecting and understanding each plant’s needs helps prevent these mistakes, ensuring your winter plant swap is successful and your garden stays healthy through the season.
How to Identify and Treat Pests or Diseases Found During Your Swap

When you inspect your plants during a swap, it’s important to carefully look for signs of pests or diseases, as early detection can prevent serious damage. Spot pests like aphids, spider mites, or scale insects, and look for discolored or wilted leaves indicating disease. To treat issues:
- Remove affected leaves or plants promptly.
- Use insecticidal soap or neem oil for pests.
- Conduct soil testing to identify nutrient imbalances that may weaken plants.
- Practice companion planting to naturally deter pests and improve plant health.
How to Keep Your Indoor Garden Pest-Free After Swapping

After swapping plants, maintaining vigilance is vital to keep your indoor garden pest-free. Begin with soil testing to identify any hidden pests or pathogens lurking in the root zone. This helps you catch problems early before they spread. Adjust your watering routines to prevent excess moisture, which attracts pests like fungus gnats and mold. Make sure your watering schedule matches each plant’s needs, avoiding overwatering or underwatering. Regularly inspect your plants’ leaves, stems, and soil for signs of pests or disease. Quarantine new plants for a week before integrating them fully into your collection. Keeping your environment clean and monitoring your plants closely reduces the risk of pests taking hold after a swap. Staying proactive is your best defense against infestations.
Frequently Asked Questions
Can I Swap Plants if They Show Minor Pest Symptoms?
You shouldn’t swap plants showing minor pest symptoms, as it risks spreading pests and harming plant health. Instead, treat the pest issues first with appropriate methods like pruning or insecticidal soap. Once you’re confident the pests are gone, you can safely exchange plants without compromising pest prevention. Always inspect plants thoroughly before swapping to protect everyone’s garden and maintain healthy, pest-free plants.
How Long Should Quarantine Last for New Plants?
Think of quarantine as a plant’s safety net—you should isolate new plants for at least 2 to 4 weeks. During this quarantine duration, closely monitor their plant health for any pests or diseases. This period helps prevent hidden issues from spreading to your existing garden. By staying vigilant during this time, you safeguard your plants and ensure they’re healthy before joining your established collection.
What Types of Disinfectants Are Safest for Indoor Plants?
You should use gentle, food-safe disinfectants like diluted hydrogen peroxide or neem oil to protect your indoor plants. These options are safe for plant tissue and help prevent plant disease without risking chemical harm. Always follow label instructions for proper dilution and application. Avoid harsh chemicals that could harm your plants or pose risks to indoor air quality. Regular disinfecting helps keep your plants healthy and pest-free.
Is It Necessary to Prune Plants Before Swapping in Winter?
It’s a good idea to prune plants before swapping in winter because pruning benefits your plants by removing dead or diseased parts and encouraging healthy growth. Winter trimming helps reduce the risk of pests spreading during the swap. You should prune gently, focusing on shaping and health, and do so a few days before exchanging plants. This keeps your plants healthy and minimizes pest transmission during the winter plant swap.
How Do I Prevent Mold Growth During Winter Plant Exchanges?
Think of it as keeping mold at bay like a vigilant gardener in a rainstorm. To prevent mold during winter plant exchanges, control humidity levels and make certain good air circulation. Use a dehumidifier if needed, and avoid overcrowding plants. Keep tools clean and dry, and handle plants with dry hands. These steps help break the mold’s cycle, safeguarding your plants and making winter swaps a success.
Conclusion
Winter plant swaps can boost your indoor garden’s health and diversity. Did you know that over 60% of pest introductions happen through plant exchanges? By inspecting, quarantining, and disinfecting your plants and tools, you can enjoy the benefits without the pests. Stay vigilant and avoid common mistakes to keep your indoor oasis thriving all season. With these tips, your winter swap will be both fun and pest-free, ensuring lush, healthy plants year-round.