Starting seeds in your greenhouse gives you a fantastic advantage. You’ll want to choose seeds suited for your climate and prepare your containers with a light seed starting mix. Ensure you have the right tools, such as trays and grow lights. Timing is key, so plan your seed starting based on frost dates. Once your seeds germinate, caring for them properly is crucial. Continue exploring ways to enhance your greenhouse success!
Key Takeaways
- Choose high-quality seeds suited to your climate and desired plants for successful germination in the greenhouse.
- Prepare lightweight seed starting mix, moisten it, and fill containers two-thirds full before planting seeds at the recommended depth.
- Use grow lights and heat mats to maintain optimal temperature and light conditions for seed growth, especially during winter months.
- Implement pest management strategies, such as using insecticidal soap and beneficial insects, to protect seedlings from common pests.
- Gradually harden off seedlings before transplanting outdoors, monitoring weather conditions to reduce transplant shock.

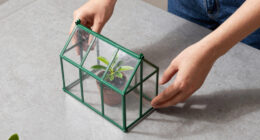
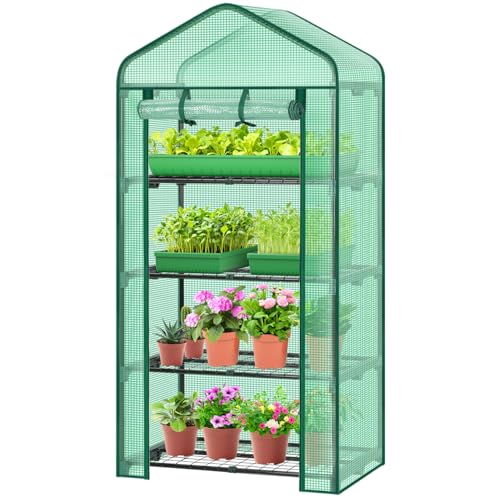
4 Tier Mini Greenhouse - Portable Greenhouse with Locking Wheels and PVC Cover for Indoor or Outdoor Green House by Pure Garden
4-TIER GREENHOUSE KIT - The 4 tiers of sturdy shelving in this small greenhouse are 27-inches-wide, have 14-inches...
As an affiliate, we earn on qualifying purchases.
Choosing the Right Seeds for Your Climate

When you’re choosing seeds for your greenhouse, it’s essential to consider your climate, as it directly impacts your plants’ success.
Different climate zones—tropical, temperate, and arid—each have unique characteristics that dictate which seeds will thrive. Warm-season crops flourish in hot weather, while cool-season varieties prefer cooler temperatures.
Pay attention to local conditions, including rainfall and irrigation options, to ensure your plants get the moisture they need. Knowing your area’s first and last frost dates helps you time your planting perfectly.
Opt for seeds that are disease-resistant, especially if common illnesses affect your region. Also, consider heirloom versus hybrid seeds based on your flavor preferences and gardening goals.

GROWFRIEND Seed Starter Kit with Grow Lights & Heat Mat – 40-Cell Seed Starter Tray, Humidity Dome, Soil Moisture Meter & Sticky Gnat Traps – Indoor Greenhouse & Plant Propagation Station
🌱 All-in-One Indoor Seed Starter Kit 🌱 From basil to begonias, Growfriend makes it easy to grow vibrant...
As an affiliate, we earn on qualifying purchases.
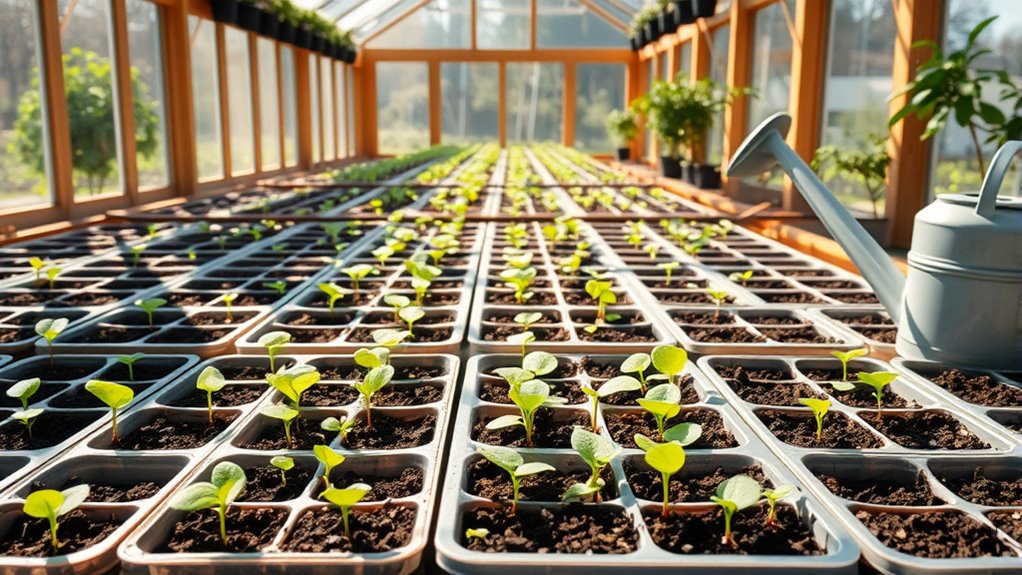
Preparing Your Seedling Containers and Soil
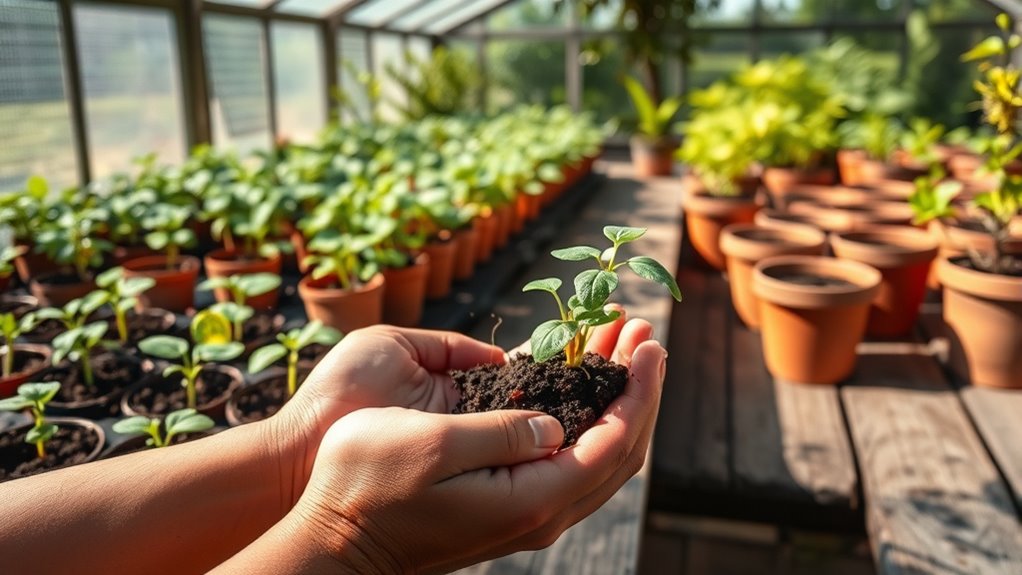
After selecting the right seeds suited to your climate, it’s time to focus on preparing your seedling containers and soil.
Choose containers like plug trays, mini pots, or even repurposed items like egg cartons. Smaller containers work well for starting multiple seeds, while larger ones support more growth.
Opt for a lightweight seed starting mix, avoiding dense potting soil or garden soil, which can harbor pests. Moisten the mix until it feels like a wrung-out sponge, ensuring no dry lumps remain.
Fill your containers two-thirds full, plant seeds at their recommended depth, and gently cover them.
Finally, label each container with the plant type and sowing date to keep your seedlings organized and easily identifiable. Additionally, consider using community resources to enhance your seed starting process and access valuable tips from experienced growers.

SOLIGT Indoor Greenhouse with Grow Lights - 5 Tier Plant Shelf & 8 x 2FT 6000K Full Spectrum Lights, Thick PVC Cover, Mesh Ventilation, Mini Small Greenhouse Cabinet for Seed Starting Seedlings Growth
Perfect Climate Control - The indoor greenhouse has a 5-tier plant shelf rack with thick PVC cover, 8...
As an affiliate, we earn on qualifying purchases.
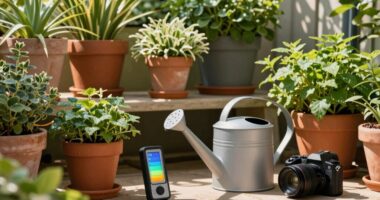
Essential Tools and Supplies for Seed Starting

To successfully start seeds in your greenhouse, you’ll need a variety of essential tools and supplies that streamline the process and promote healthy growth.
Begin with quality seeds suited to your climate and desired plants. Use seed trays, ideally 10×20 without drainage holes, for efficient bottom watering. Incorporate grow lights to provide adequate light, especially during winter months.
Start with quality seeds and use 10×20 seed trays for effective bottom watering and optimal light conditions.
Heat mats ensure consistent temperatures for warm-season crops, while humidity domes help retain moisture for better germination. Don’t forget a thermometer to monitor temperature and a humidity gauge to keep moisture levels balanced.
With these essentials, you’ll create an optimal environment for your seedlings to thrive and flourish in your greenhouse.
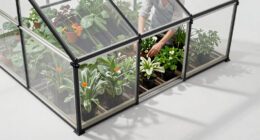
Ohuhu Mini Greenhouse for Indoor Outdoor, 27 x 19 x 62-Inch Small Plant Green House 4-Tier Rack Stand Portable Greenhouses with Durable PE Cover for Seedling, Ideal Gardening Gifts for Women Men
SPRING SEEDLING BOOSTER: Start 4-6 Weeks Earlier! Outsmart the chill with our high-density PE cover, creating a high-performance...
As an affiliate, we earn on qualifying purchases.
Timing Your Seed Starting for Optimal Growth
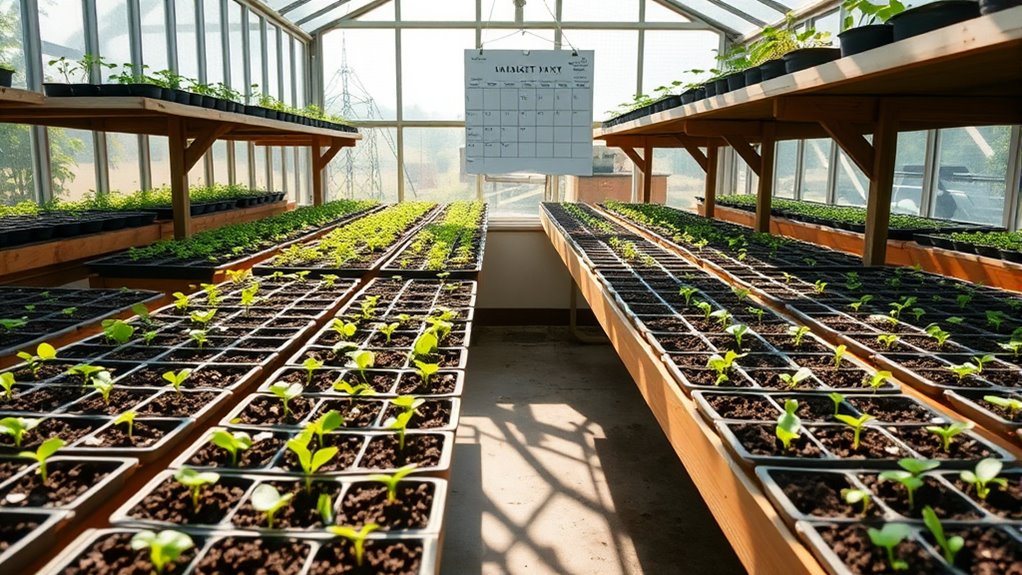
Getting the timing right for seed starting is key to ensuring your plants thrive. Different crops have specific starting timelines: for instance, start broccoli and cabbage 4 to 6 weeks before the last frost date, while marigolds and zinnias should be started 6 to 8 weeks prior.
Knowing your region’s frost date is crucial; in colder climates, you might need to start seeds indoors earlier. Plan your seed starting schedule based on germination periods and transplanting needs—typically 2 to 16 weeks before moving them outside.
Don’t forget to harden off seedlings before transplanting, and always manage environmental factors in your greenhouse to create the best conditions for growth. Timing can make all the difference in your gardening success!
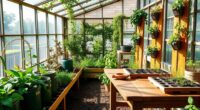
Creating the Perfect Environment for Germination

Creating the perfect environment for seed germination is essential for your plants’ success. Start by maintaining optimal temperatures, which vary based on the type of seeds you’re using—warm-season crops prefer 70-80°F, while cool-season crops thrive at 60-70°F.
Consider using germination mats and thermostatically controlled heaters to keep temperatures consistent.
Next, manage moisture levels carefully; seeds need 25-50% moisture for germination. Ensure your growing medium has good drainage and holds moisture well.
Don’t forget about light—some seeds need it, while others don’t, so group them accordingly.
Finally, promote air circulation to provide oxygen and prevent fungal diseases. Keeping these factors in check will give your seeds the best chance to thrive.
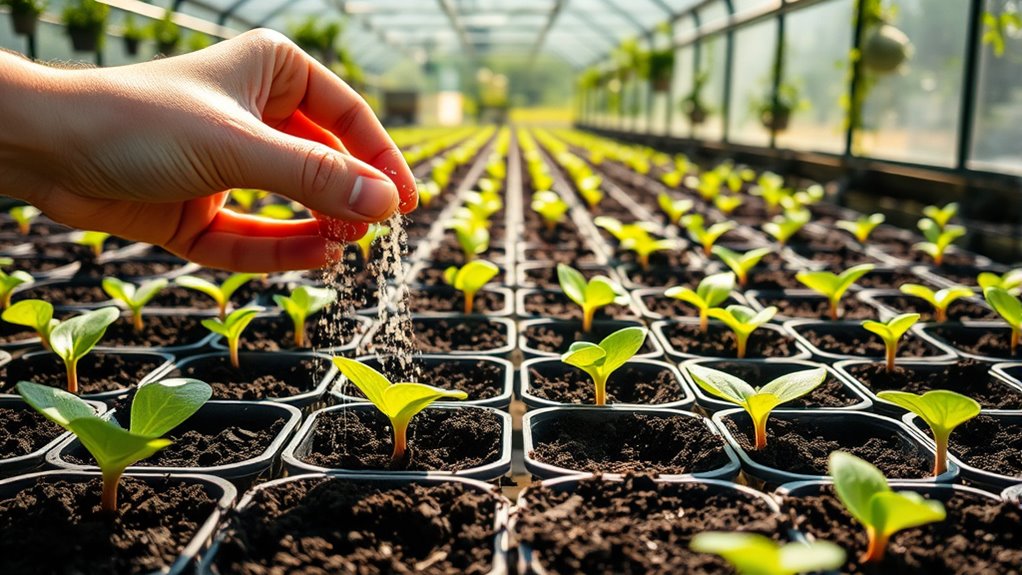
Effective Seed Sowing Techniques
While the environment plays a crucial role in seed germination, effective sowing techniques can significantly enhance your success.
Start by selecting seeds that suit your local climate and personal preferences. Check the seed packets for specific instructions and maturity times.
For soil, use a high-quality seedling mix, avoiding garden soil or reused potting soil to ensure optimal germination.
When sowing, consider direct sowing for vegetables or indoor sowing for tender crops using seed trays. Plant seeds at the recommended depth and cover them lightly.
Choose containers with drainage holes to prevent waterlogging, and label them for easy tracking.
Lastly, time your sowing properly and space seeds according to the guidelines to promote healthy growth.
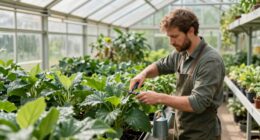
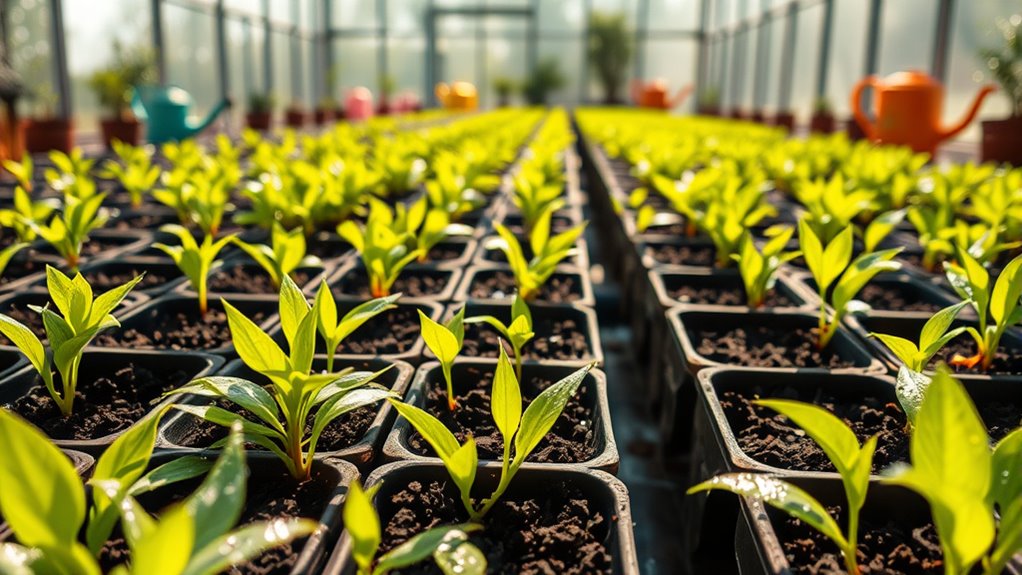
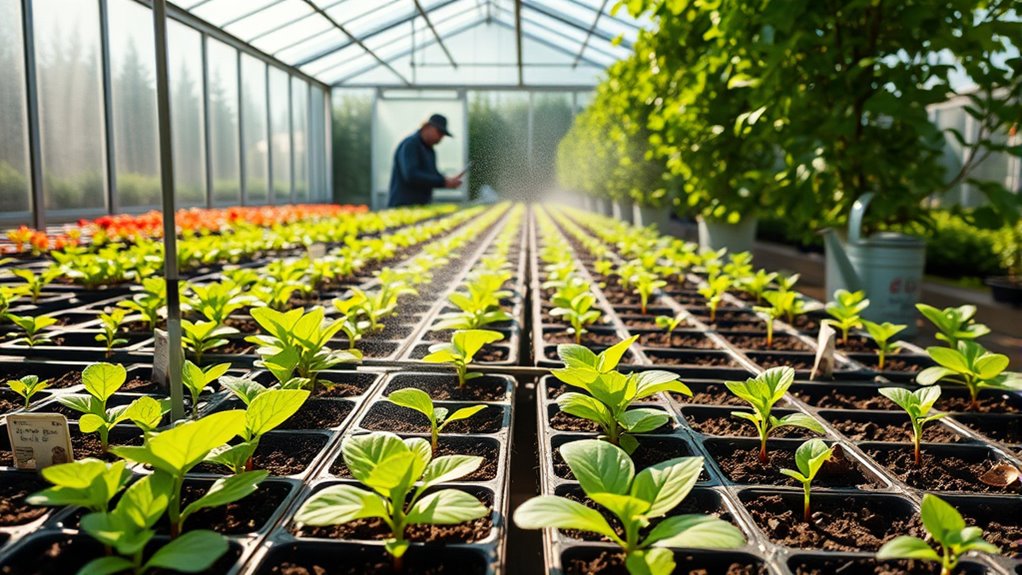
Caring for Your Seedlings Post-Germination
Once your seeds have germinated, caring for your seedlings becomes essential for their growth and development.
Provide adequate lighting, either natural or artificial, keeping lights 2-3 inches above them. Maintain a consistent temperature around 75°F, then gradually reduce it.
Water your seedlings carefully, keeping the soil damp but not soggy—bottom-watering helps prevent overwatering. Ensure good air circulation with a light breeze to strengthen stems.
Monitor your seedlings regularly for pests and diseases. Allow the topsoil to dry slightly between waterings to encourage deeper root growth. Additionally, extending your gardening season can be achieved by starting seeds in your greenhouse.
Finally, delay fertilizing until you see the first set of true leaves, using a balanced fertilizer at half-strength to avoid burning roots.
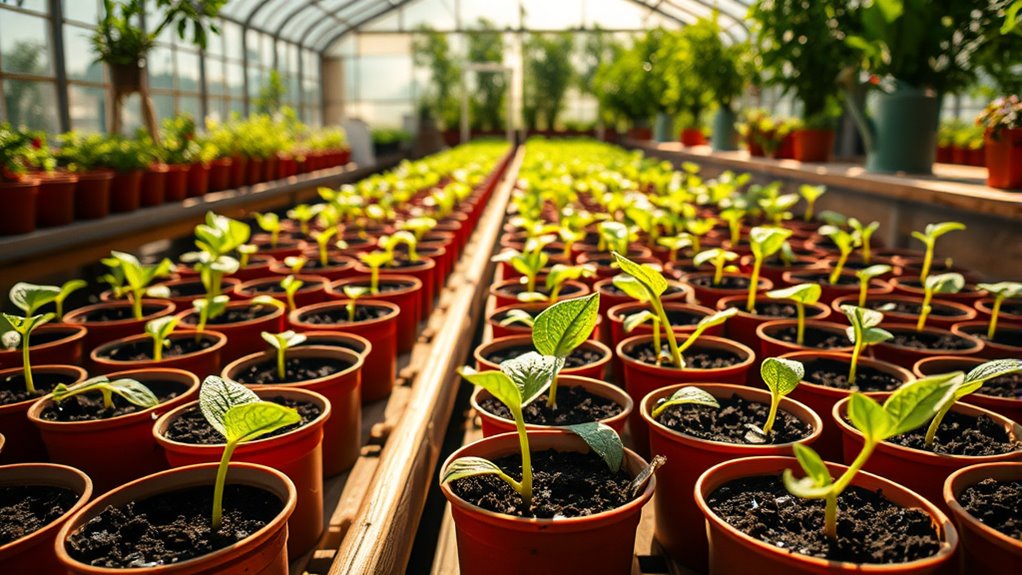
Transplanting Seedlings Into Larger Pots
After nurturing your seedlings through their early stages, it’s time to give them room to grow by transplanting them into larger pots.
Look for seedlings that are 2-3 inches tall with two true leaves. Choose containers about twice the size of the original ones, ensuring they’re filled with a moist, well-draining potting mix.
When transplanting, handle seedlings gently to avoid root damage and plant them a bit deeper, just below the cotyledons, to support growth.
Water them softly after transplanting to settle the soil. Keep your greenhouse conditions optimal for light and moisture to help your seedlings recover.
This process encourages robust root systems, enhances nutrient uptake, and sets the stage for healthy growth.
Managing Pests and Diseases in Your Greenhouse
Managing pests and diseases in your greenhouse is crucial for ensuring healthy plant growth and maximizing yields.
Start by installing insect screens on air intakes to keep pests like aphids and whiteflies out. Use strong water sprays to dislodge these pests from plant leaves, and consider applying insecticidal soap for a safer approach. Introduce beneficial insects like ladybugs to naturally control pest populations.
Maintaining a clean environment and improving air circulation will further reduce infestations. Regular inspections and sticky traps help you monitor pest levels effectively.
For disease management, sanitize tools, adjust pH, and use biofungicides. Proper irrigation and temperature control are essential to prevent moisture-related diseases.
Stay vigilant, and your greenhouse will thrive!
Frequently Asked Questions
How Do I Know if My Seeds Are Viable?
To know if your seeds are viable, start with a germination test. Place a few seeds on a moist paper towel, fold it, and keep it warm.
Check back in a week; if they sprout, they’re viable. You can also use the Tetrazolium test for a quicker result, which stains live tissues.
Can I Reuse Seedling Containers From Last Season?
Yes, you can definitely reuse seedling containers from last season!
Just make sure to clean and disinfect them first to prevent any diseases or pests from affecting your new seeds.
Look for containers that have drainage holes or poke some if they don’t.
Reusing not only saves you money but also helps reduce plastic waste.
With a little preparation, those old containers can give your new seedlings a great start!
What Should I Do if My Seeds Don’t Germinate?
What if your seeds just won’t germinate?
First, check the seed packet for specific requirements on light, temperature, and moisture.
Make sure you’re not overwatering or planting them too deep.
Inspect your soil for compaction and ensure it’s well-aerated.
If conditions seem right, consider using fresh seeds, as older ones may lack viability.
Lastly, monitor for pests and diseases that could be hindering growth.
Adjust these factors and try again!
How Often Should I Check on My Seedlings?
You should check on your seedlings daily, especially in warmer conditions.
Soil can dry quickly, so monitor moisture levels to avoid overwatering or underwatering. Use a moisture meter for accuracy and water in the morning, allowing time for absorption before the heat hits.
As your seedlings grow, adjust your checking frequency based on their needs and environmental factors, ensuring they get the right care to thrive.
When Should I Start Hardening off My Seedlings?
Hardening off your seedlings happens when the weather warms up. You should start this process when temperatures consistently stay above 45°F.
Generally, this takes about 7 to 14 days, so plan accordingly. For cold-hardy plants, you can begin sooner, but for warm-season varieties, wait until the risk of frost is low.
Monitor the conditions and gradually introduce your seedlings to outdoor elements for successful acclimatization.
Conclusion
As you embark on your seed-starting journey, remember that cultivating a thriving greenhouse is much like tending to a garden of dreams—nurturing potential until it blossoms. With the right seeds, tools, and care, you’ll watch your efforts bloom like the fabled gardens of Babylon. Embrace the process, learn from each sprout, and soon you’ll have a bounty of plants ready to flourish in your world. Happy gardening, and may your greenhouse thrive like a secret oasis!