
To maximize your pea harvest, I recommend starting with heirloom varieties like Perfection Dark Seeded Peas for unique flavors. Make sure you have well-drained, loamy soil rich in organic matter, and plant seeds 2-4 inches apart in early spring. Water consistently for proper growth and keep an eye out for pests. Finally, harvest your peas when pods are plump and pick regularly to encourage more blooms. If you’re curious about specific techniques and tools, there’s much more to explore!
Key Takeaways
- Select heirloom pea varieties for unique flavors and ensure they thrive in your USDA hardiness zone for optimal growth.
- Use well-drained, loamy soil enriched with organic matter, and maintain a pH between 6.0 and 7.0 for healthy roots.
- Space seeds 2-4 inches apart and plant in early spring or fall to benefit from cooler temperatures.
- Regularly monitor for pests and diseases, using natural controls and row covers to protect young plants.
- Water consistently, providing about 1 inch per week, and harvest peas when pods are plump to encourage continued production.
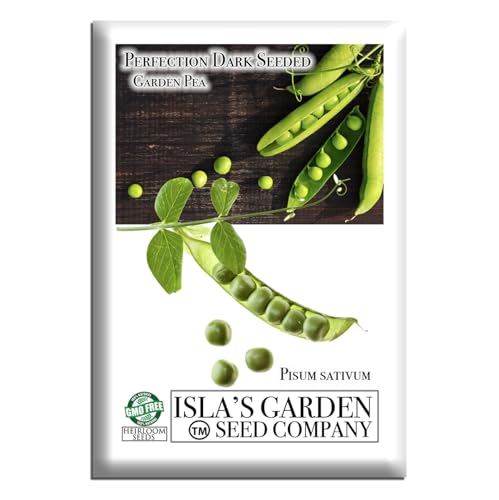
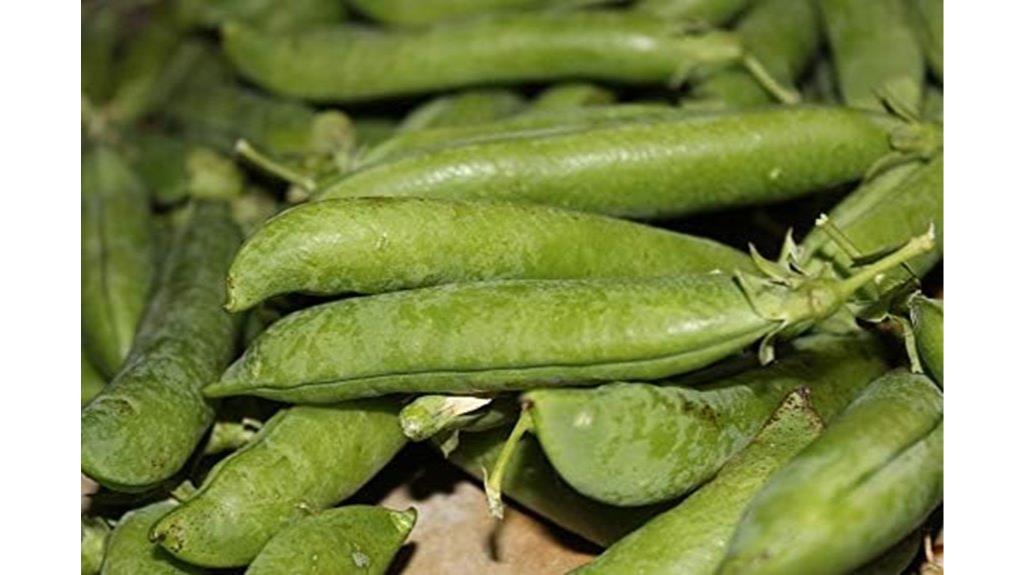
Perfection Dark Seeded Garden Pea Seeds (Pisum sativum) – 50+ Non-GMO & Heirloom Seeds, Sweet Tender Peas for Fresh Eating, Freezing, or Cooking, by Isla’s Garden Seeds, Great Home Garden Gift
- Growth Duration: 67 days to maturity
- Plant Height: Vines grow up to 30 inches
- Pod Size: 3-inch pods with 7-8 peas
As an affiliate, we earn on qualifying purchases.
Perfection Dark Seeded Garden Pea Seeds for Planting (50+ Heirloom Seeds)
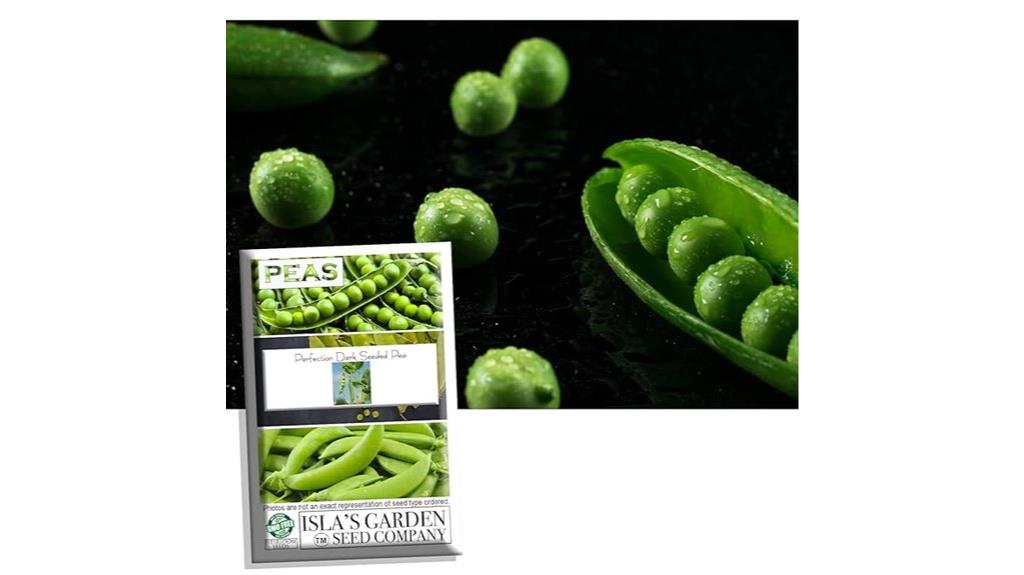
If you’re a home gardener looking to grow your own fresh produce, the Perfection Dark Seeded Garden Pea Seeds are an excellent choice. These heirloom, non-GMO seeds offer over 50 seeds per packet, ensuring you have plenty for your garden. I love that the vines reach about 30 inches tall and produce high yields of 3-inch pods, each containing 7 to 8 peas. With a maturity time of just 67 days, I can enjoy multiple harvests by planting in early spring and early fall. They thrive in hardiness zones 3 through 12, making them perfect for various climates.
Best For: Home gardeners seeking high-yield, heirloom peas for fresh produce and emergency seed storage.
Pros:
- High yields with 3-inch pods containing 7 to 8 peas each.
- Quick maturity in just 67 days allows for multiple harvests.
- Suitable for a wide range of hardiness zones (3-12).
Cons:
- Requires careful spacing (2-4 inches) for optimal growth.
- May need support for vines to prevent bending or breaking.
- Limited growing season in very hot climates may reduce yield.
Mammoth Mix Sweet Pea Flower Seeds for Planting
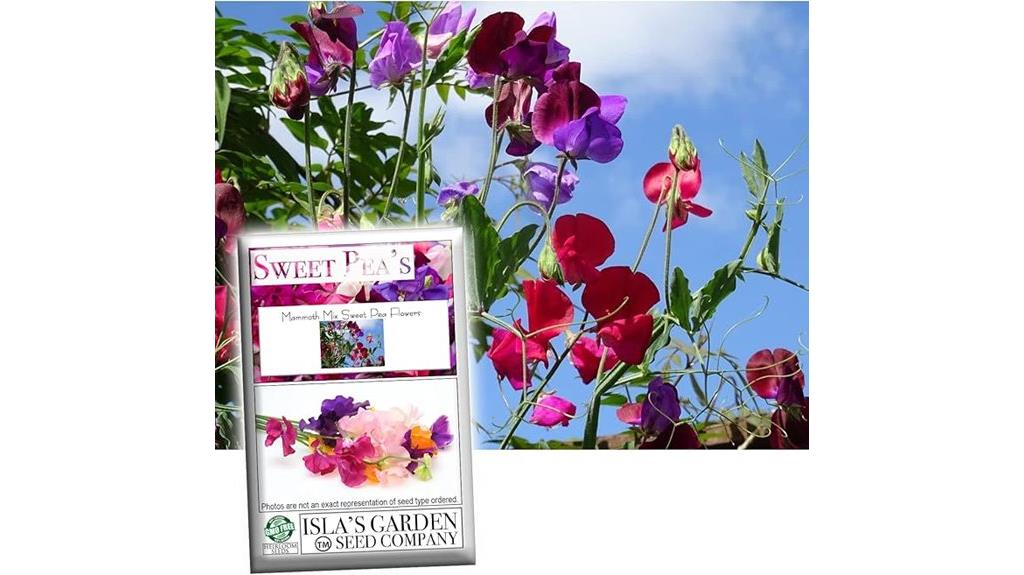
Mammoth Mix Sweet Pea Flower Seeds are perfect for gardeners who want to add a splash of vibrant color to their landscape with minimal effort. I love how these annuals can grow up to 60 inches, showcasing large blooms in stunning shades of red, pink, purple, blue, and white. They thrive in full sun and only need moderate watering. Just broadcast the seeds, and in 45-60 days, you’ll enjoy their beautiful fragrance and appearance. Although I’ve seen mixed reviews on germination rates, the stunning vines and flowers make it worth a try. Don’t forget to share your blooms in reviews!
Best For: Gardeners looking to add vibrant, fragrant flowers to their landscape with minimal maintenance.
Pros:
- Colorful Vining Plant: Offers a variety of large blooms in multiple colors, perfect for enhancing garden aesthetics.
- Fragrant Flowers: Known for their delightful fragrance, making them an excellent choice for cut flowers.
- Easy to Grow: Simple planting process with a quick bloom time of 45-60 days.
Cons:
- Germination Issues: Mixed reviews on seed germination rates, with some users reporting low success.
- Moderate Water Needs: Requires careful watering, which may be challenging for some gardeners.
- Annual Lifespan: As an annual, they only last one growing season, requiring replanting each year.
FLEXMAN Plants Trellis Netting for Climbing Plants
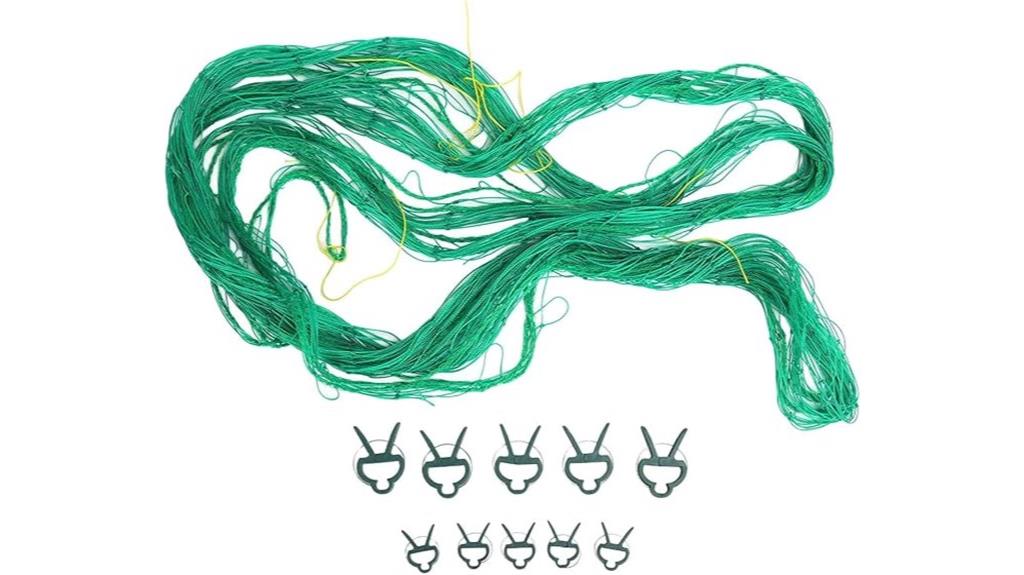
For gardeners looking to maximize their pea harvests, the FLEXMAN Plants Trellis Netting is an essential tool. This 5x2m netting is perfect for climbing plants like peas, beans, and cucumbers. Made from strong polyethylene, it offers excellent stability, ensuring even the toughest plants can thrive. The thick mesh provides ample climbing space, promoting growth and enhancing yield without sacrificing flavor. Plus, it facilitates steam release, which is great in greenhouse settings. I love that it can be easily customized and hung on various structures, making it versatile for any garden layout. You’ll see the difference in your harvest!
Best For: Gardeners looking to enhance their climbing plant yields and maximize space in their outdoor gardens.
Pros:
- Strong and durable polyethylene material ensures long-lasting support for climbing plants.
- Thick mesh design provides ample space for plants to climb, promoting healthy growth and high yield.
- Versatile usage allows for customization and easy installation on various structures.
Cons:
- Limited to a specific size (5x2m) which may not suit all garden layouts.
- May require additional support structures for optimal stability in windy conditions.
- Some users may find the cutting process to adjust sizes a bit cumbersome.
12 Jars Mushroom Growing Kit Ultimate Fast Automated Cultivation Equipment

The 12 Jars Mushroom Growing Kit is perfect for anyone looking to immerse themselves in mushroom cultivation, whether you’re a novice or an experienced grower. This innovative automated system takes the guesswork out of temperature and humidity control, thanks to its HEPA filter and climate control features. With a capacity for 18 jars, it maximizes your growing space effectively. The included step-by-step guide makes it easy to follow along, while access to online resources expands your knowledge. Many users rave about their successful harvests, though some suggest enhancing airflow for even better results. Overall, it’s a fantastic investment in your cultivation journey!
Best For: The 12 Jars Mushroom Growing Kit is best for both beginners and experienced growers seeking an automated and efficient solution for mushroom cultivation.
Pros:
- Fully automated system simplifies temperature and humidity control.
- Accommodates up to 18 jars, maximizing yield in minimal space.
- Comprehensive growing guide and online resources enhance the learning experience.
Cons:
- Some users report issues with airflow and contamination.
- Recommendations for additional sterilization may be necessary for optimal results.
- Substrate quality concerns noted by a few customers.
Home Comforts Harvest Cultivation Huerta Green Peas Laminated Poster
Brighten up your gardening space with the Home Comforts Harvest Cultivation Huerta Green Peas laminated poster. This stunning 20 by 30-inch piece showcases high-quality images that bring vibrant life to any room. I love how the crisp detail and clarity capture the essence of pea cultivation. Fully laminated, it’s protected from dust and spills, ensuring it stays beautiful over time. The vivid colors add character and charm to my home office, making it an inspiring space for gardening enthusiasts. Plus, it arrives carefully packaged and ready to hang, making framing a breeze. You won’t regret adding this to your collection!
Best For: Gardening enthusiasts and home decor lovers looking to enhance their spaces with vibrant imagery.
Pros:
- High-quality images ensure crisp detail and clarity that are visually appealing.
- Fully laminated for protection against dust and spills, maintaining its beauty over time.
- Easy to hang with standard sizing that facilitates framing options.
Cons:
- Limited to one design, which may not appeal to everyone’s aesthetic preferences.
- Size may be large for smaller spaces, potentially overwhelming a room.
- Lamination may reflect light, causing glare that could obscure the image in bright settings.
Factors to Consider When Choosing Pea Cultivation
When I think about choosing the right way to cultivate peas, several important factors come to mind. I need to take into account seed variety, soil quality, and the specific climate I’m working with. Plus, I can’t forget about pest management and the timing of my planting!
Seed Variety Selection
Choosing the right seed variety is essential for a successful pea cultivation, especially since each type offers unique benefits. I recommend selecting heirloom varieties, like Perfection Dark Seeded Garden Peas, for their non-GMO status and distinct flavors. Pay attention to growth height; some can reach 30 inches, which means you might need to provide support or trellising. Yield potential is another key factor—certain types bear multiple peas per pod, boosting your overall harvest. Additionally, consider the maturation period; some peas are ready in just 67 days, allowing for timely harvesting before the summer heat sets in. Finally, make sure the variety you choose thrives in your specific USDA hardiness zone for ideal germination and growth success.
Soil Type and Quality
Soil quality plays a crucial role in the success of your pea cultivation. I’ve found that peas thrive best in well-drained, loamy soil rich in organic matter, which helps retain moisture and allows for good drainage. Aim for a soil pH between 6.0 and 7.0 to guarantee optimal nutrient availability for your plants. Before planting, I recommend incorporating compost or well-rotted manure to enhance fertility and improve soil structure. Keep in mind that peas prefer soil temperatures between 45°F and 75°F, making them perfect for early spring or fall planting. Finally, good soil aeration is essential; avoid compacted or heavy clay soils, as they can hinder root development and ultimately reduce your yields.
Climate and Weather Conditions
After ensuring your soil is in top shape, it’s time to contemplate the climate and weather conditions that will impact your pea cultivation. Peas thrive in cool weather, ideally between 55°F and 70°F. I usually plant them in early spring or early fall to dodge the heat of summer, which can stunt their growth. It’s essential to monitor rainfall and irrigation, as well-drained soil that retains moisture is vital for healthy plants. I always keep an eye on frost dates, too, because young plants can be vulnerable to late spring or early fall frosts. While peas are adaptable to various climates, they grow best in USDA hardiness zones 3 through 12.
Pest and Disease Management
While managing pests and diseases might seem challenging, it’s essential for a successful pea harvest. I regularly inspect my plants for signs of pests like aphids, spider mites, and pea weevils, as early detection is imperative. I also practice crop rotation and companion planting to naturally deter pests and lower the risk of diseases. When pest populations rise, I turn to organic insecticides and neem oil, which protect beneficial insects and the environment. Monitoring soil moisture is critical, too; I keep an eye on drainage to prevent fungal diseases like root rot and powdery mildew. Finally, I maintain proper plant spacing to guarantee good air circulation, reducing humidity and minimizing disease development. With these strategies, I’ve seen great results!
Planting Techniques and Timing
Timing your pea planting is essential for a successful harvest. I usually plant peas in early spring or early fall to dodge the summer heat, allowing for multiple harvests. It’s vital to plant seeds about 1-2 inches deep, spacing them 2-4 inches apart to give them room to grow. I’ve found that peas thrive in hardiness zones 3 through 12, making them a versatile choice for different climates. With a maturity time of around 67 days, I can plan my plantings strategically for best yields. Don’t forget to provide adequate support for the vines, as they can reach up to 30 inches tall and produce numerous pods. This careful planning sets me up for a bountiful harvest!
Watering and Nutrient Needs
Understanding the watering and nutrient needs of peas is vital for achieving a robust harvest. I’ve found that peas generally require about 1 inch of water per week, especially during dry spells. It’s important to maintain consistent moisture in the soil, as they don’t thrive in overly dry or waterlogged conditions. For nutrients, I always make sure the soil is well-draining and enriched with organic matter. Using a balanced fertilizer with phosphorus and potassium supports root development and flowering. Before planting, I like to incorporate compost or well-rotted manure to enhance nutrient availability. Finally, keeping the soil pH between 6.0 and 7.0 is essential for ideal nutrient absorption and healthy growth. Happy planting!
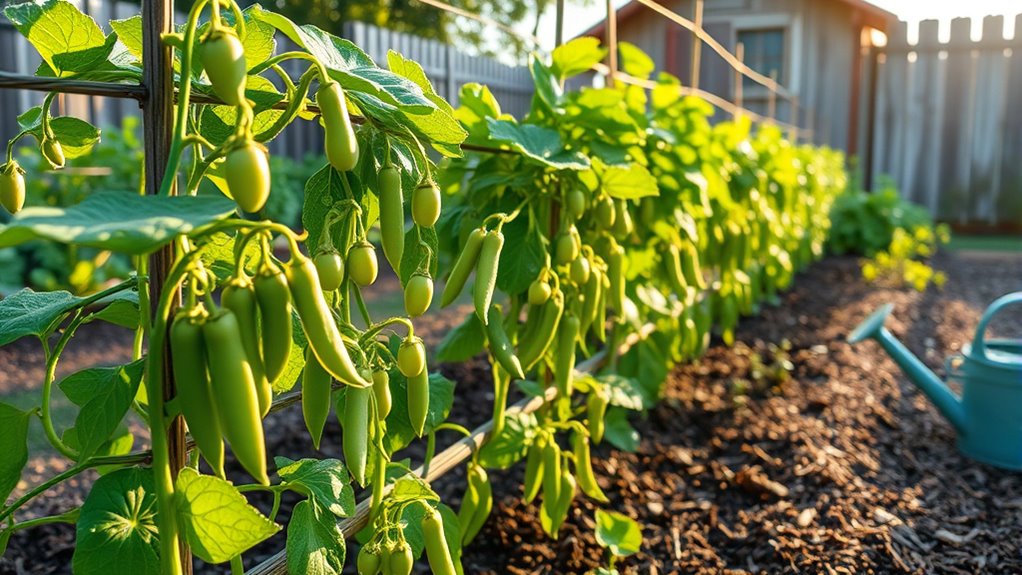
Support Structures for Growth
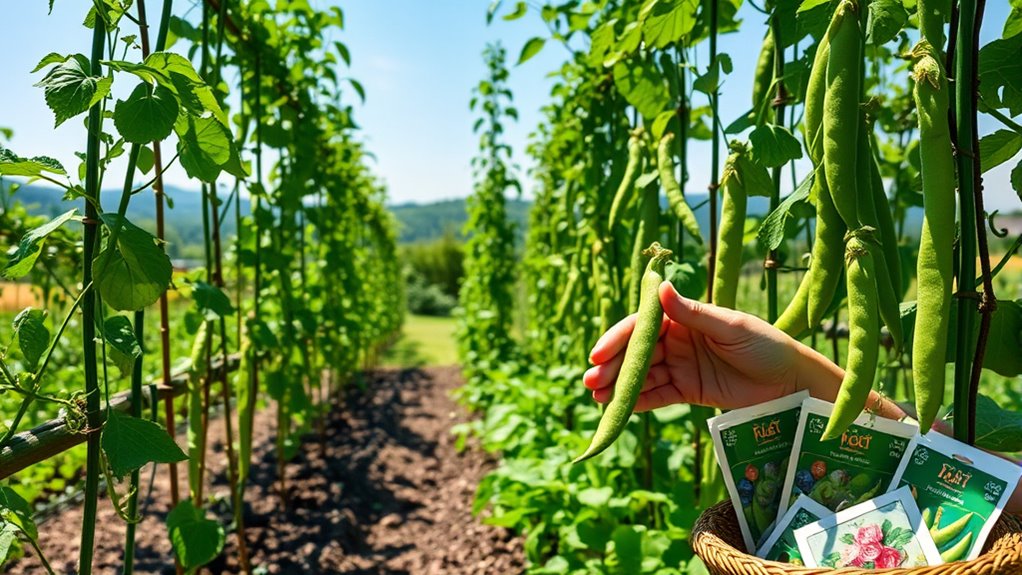
When it comes to cultivating peas, choosing the right support structures is essential for their growth and overall yield. I’ve found that trellis netting works wonders for climbing pea varieties, allowing them to grow vertically and maximizing my garden space. Peas generally need support that’s 24-36 inches high to promote air circulation and reduce disease risk. Using a trellis not only enhances light exposure but also improves access to nutrients by keeping the plants off the ground. I space my plants about 2-4 inches apart, which makes it easier to install support structures without overcrowding. Properly designed systems help manage the weight of the pods, ensuring they don’t break off before harvest, resulting in a more productive crop.
Harvesting and Storage Methods
As I’ve discovered, harvesting peas at the right moment is essential for achieving the best flavor and texture. For varieties like the Perfection Dark Seeded Garden Pea, I usually pick them around 67 days after planting when the pods are firm and well-filled. I use a gentle twisting motion to detach the pods from the vine, which helps avoid damaging the plant and promotes continued production. Once harvested, I store the peas in a cool, dry place or refrigerate them in a sealed container to maintain freshness for up to a week. For long-term storage, I blanch them briefly in boiling water before freezing to preserve their color, texture, and flavor. I always label and date my stored peas, using them within 6-12 months for the best quality.
Frequently Asked Questions
What Is the Best Soil Ph for Growing Peas?
I’ve found that the best soil pH for growing peas is between 6.0 and 7.0. This range helps them thrive and absorb nutrients effectively. If your soil’s pH is too low or too high, it can hinder their growth. I always test my soil before planting, adjusting it if necessary to guarantee ideal conditions. Trust me, a little effort in checking pH pays off with a bountiful pea harvest!
How Often Should I Water My Pea Plants?
When it comes to watering my pea plants, I’ve found that consistency is key. I usually check the soil moisture every few days. If it feels dry an inch down, I water them. During hot spells, I might water every day, but I always avoid waterlogging the soil. It’s important to keep the soil evenly moist for healthy growth, so I keep a close eye on them, especially in warmer weather.
Can I Grow Peas in Containers?
Absolutely, I’ve successfully grown peas in containers! I recommend choosing a deep pot, at least 12 inches, to give the roots room to spread. Use a lightweight potting mix and make sure it drains well. I usually plant my peas in early spring, ensuring they get enough sunlight. Don’t forget to provide a trellis or support, as they love to climb. With a little care, you’ll enjoy a bountiful harvest!
What Pests Commonly Affect Pea Plants?
When it comes to pests that plague pea plants, I sometimes feel like I’m in a battle royale! Aphids, spider mites, and root maggots are the usual suspects. I’ve found that keeping an eye out for these critters can save my harvest. If I see any, I act fast with organic solutions like neem oil or insecticidal soap. It’s all about staying vigilant and giving my plants the protection they deserve!
How Do I Know When Peas Are Ready to Harvest?
I always check my peas by looking for a few signs. First, I gently squeeze the pods; they should feel firm and filled. The color should be a vibrant green, and if I see some pods starting to yellow, it’s a good indication they’re ready. I harvest them when they’re plump but not overripe, which helps guarantee a sweet flavor. Timing’s key, so I keep a close eye on them!
Conclusion
So, there you have it—my top five tips for cultivating peas like a pro! It’s funny how something so simple can feel so complicated, right? With the right seeds, trellising, and a bit of patience, you’ll soon be knee-deep in fresh peas. Just remember, while I’m here sharing my wisdom, I’m still figuring out how to keep my cat from eating my seedlings. Happy gardening, and may your harvest be bountiful (and cat-free)!