
To prevent herbs from turning to dust, set your dehydrator between 95°F and 115°F and spread herbs in a single layer with good airflow. Avoid over-drying by monitoring their texture and removing them when they’re slightly pliable. Proper preparation, gentle handling, and even arrangement are key. If you follow these tips, you’ll keep your herbs vibrant and flavorful—continue exploring for more ways to perfect your drying setup.
Listen free for 30 days with Audible
Thousands of audiobooks and originals — cancel anytime.
As an affiliate, we earn on qualifying purchases.
Key Takeaways
- Set your dehydrator temperature between 95°F and 115°F to gently dry herbs without damaging cellular structure.
- Arrange herbs in a single layer with good airflow, avoiding overlap or stacking to ensure even drying.
- Use herb-specific preparation methods, washing gently and drying thoroughly to preserve color and aroma.
- Monitor herbs regularly and remove them when slightly pliable to prevent brittleness and over-drying.
- Maintain steady airflow, avoid opening the door frequently, and rotate trays if needed to prevent uneven dehydration.
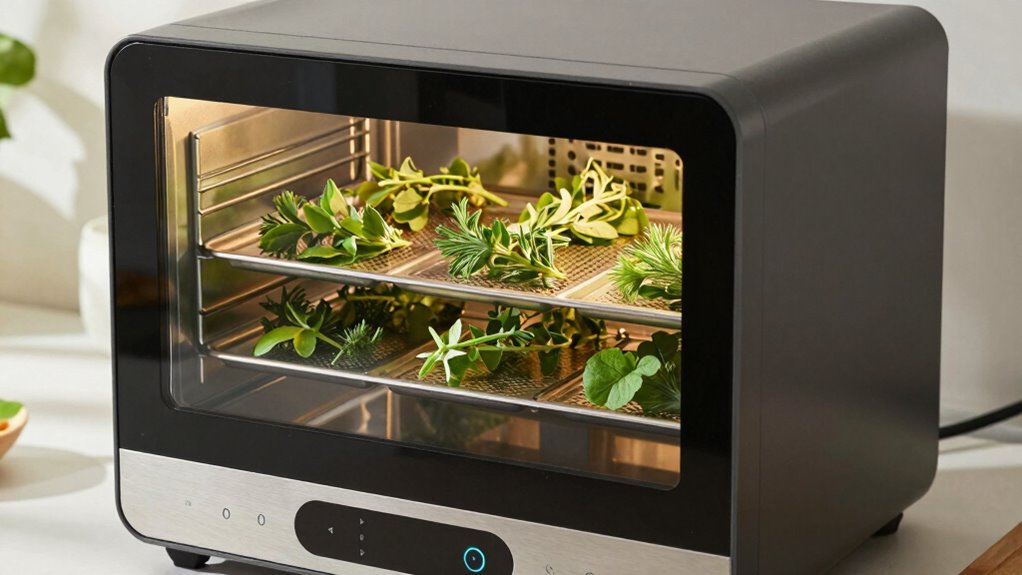
herb dehydrator with adjustable temperature
As an affiliate, we earn on qualifying purchases.
As an affiliate, we earn on qualifying purchases.
Why Do Herbs Turn to Dust When Dehydrating, and How Can You Prevent It?
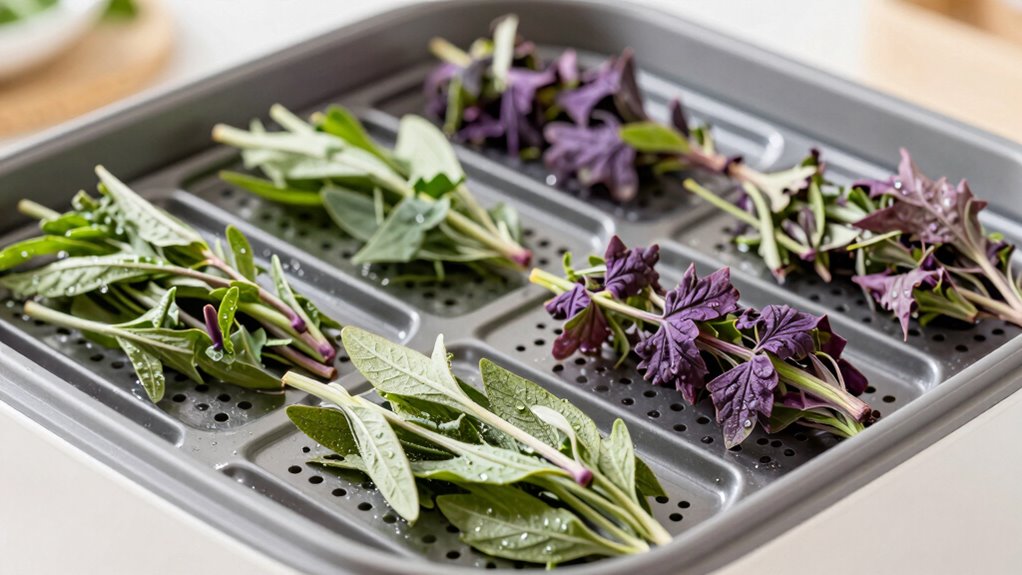
Herbs often turn to dust during dehydration because they are sliced too thin or dried at too high a temperature, causing their delicate cell structures to collapse. Proper herb preservation relies on gentle drying techniques that maintain texture and flavor. If you cut herbs into very thin pieces, they become fragile and prone to crumbling. Similarly, using high heat can quickly damage the cellular integrity, making herbs brittle and powdery. To prevent this, opt for even, moderate drying methods that preserve the herbs’ natural structure. Consistent airflow and avoiding excessive heat help retain herbs’ flavor, aroma, and texture. Additionally, understanding the cell structure of herbs can guide you in choosing the best drying methods. By paying attention to drying techniques, you ensure your herbs don’t become dust, and you maximize their storage life and culinary value.
How to Set Your Dehydrator for Perfect Herb Preservation
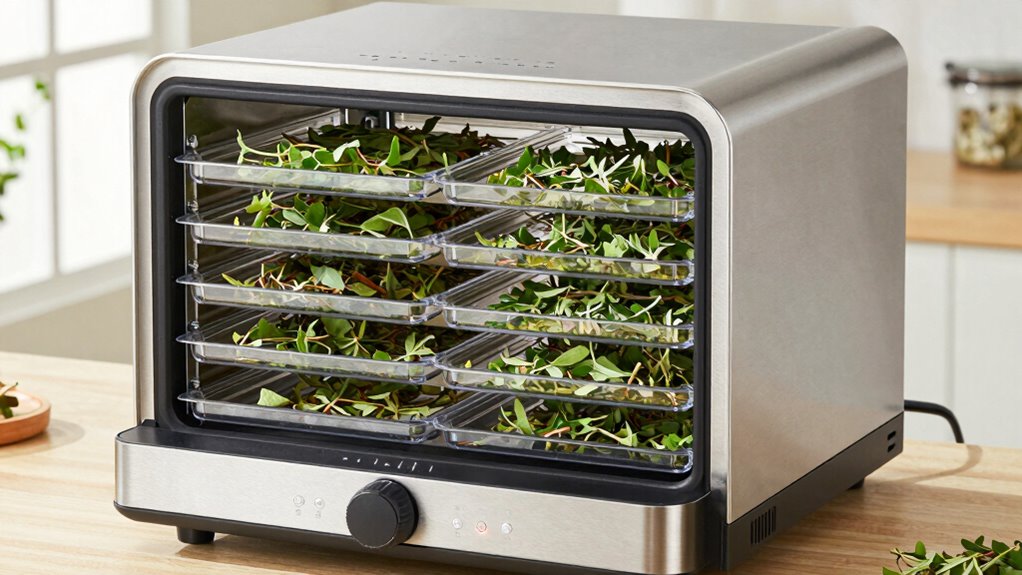
To achieve perfect herb preservation, it is vital to set your dehydrator correctly from the start. Proper temperature control ensures you retain herb potency and preserve flavor. Generally, set your dehydrator between 95°F and 115°F (35°C to 46°C); lower temperatures help maintain potency and prevent losing essential oils. Use consistent dehydration techniques, spreading herbs in a single layer without overlap to promote even drying. Keep the airflow steady and avoid opening the door frequently, which can cause temperature fluctuations. Monitoring your herbs regularly helps prevent over-drying or mold. Additionally, understanding indoor air quality can help you create an optimal environment for drying herbs by controlling humidity and airflow. By fine-tuning these settings, you’ll maximize herb potency and preserve their fresh aroma, flavor, and beneficial properties. Proper setup is key to achieving the best results in herb dehydration.
Preparing Your Herbs: The Key Steps to Maintain Flavor and Color
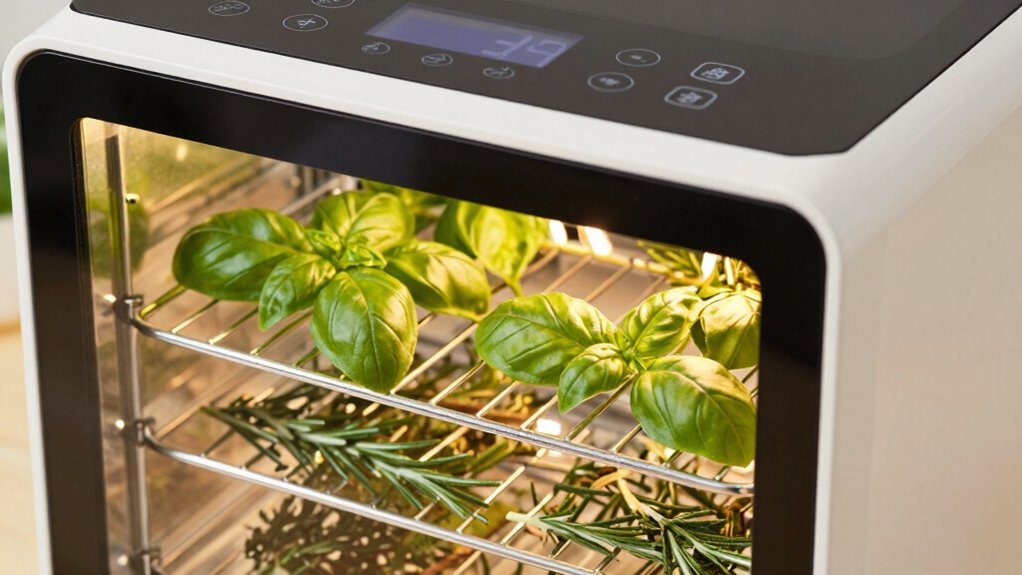
Before you begin drying, proper preparation of your herbs is vital to preserve their vibrant color and fresh flavor. Start by selecting herbs at peak herb freshness, avoiding wilted or yellowed leaves. Gently wash them in cool water to remove dirt, then pat dry thoroughly to prevent mold. Properly prepared herbs retain their color preservation and flavor. Additionally, understanding the herb-specific drying methods can help you achieve optimal results for each type of herb. Use the table below to understand how different herbs respond to drying methods:
| Herb Type | Best Preparation Method | Expected Outcome |
|---|---|---|
| Basil | Gentle wash, air dry, then trim | Bright color, intense flavor |
| Mint | Rinse, pat dry, remove stems | Vibrant green, fresh aroma |
| Oregano | Handpick, no washing necessary if clean | Deep green, robust taste |
| Parsley | Rinse, air dry, chop finely | Bright green, preserved aroma |
| Rosemary | Light rinse, then air dry | Fresh, fragrant aroma |
Arranging Herbs and Managing Airflow for Even Drying

Once your herbs are properly prepared, arranging them correctly is key to achieving even drying. Focus on herb layering to prevent overcrowding and ensure airflow can circulate freely. To optimize airflow and drying:
- Spread herbs in a single layer without overlap.
- Use herb racks or trays with good ventilation.
- Keep herbs spaced evenly to promote airflow optimization.
- Avoid stacking or crowding herbs, which can cause uneven drying and mold.
Common Herb Drying Problems and How to Fix Them
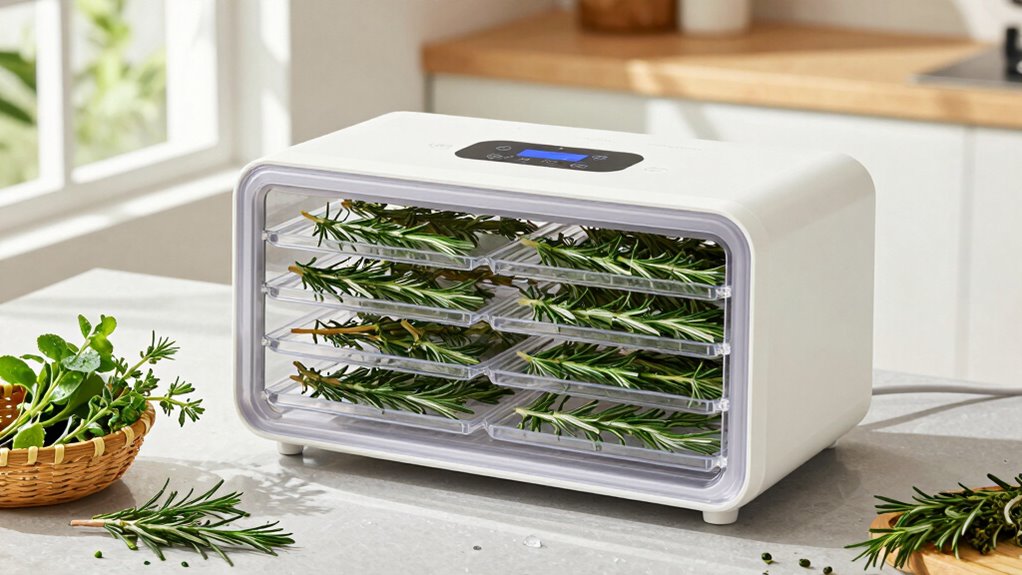
Even with careful preparation, you might encounter common herb drying issues that can affect quality. One problem is herbs becoming brittle or losing flavor due to improper dehydration timing. To prevent this, monitor herbs closely and avoid over-drying. Improper herb storage after drying can also cause mold or loss of aroma. Ensuring compliance with regulatory exposure considerations can help maintain herb quality and safety. | Problem | Solution |
| —————————— | ——————————————————– |
|---|---|
| Herbs turning brittle | Remove when they’re slightly pliable, not crisp. |
| Mold or musty smell | Store herbs in airtight containers after complete drying. |
| Uneven drying | Ensure airflow and rotate trays if needed. |
| Loss of flavor or aroma | Dry herbs in a cool, dark place, and avoid over-drying. |
Frequently Asked Questions
What Are the Best Herbs for Dehydrating at Home?
You should dehydrate herbs like basil, oregano, thyme, rosemary, and mint at home for the best flavor preservation. These herbs hold their aroma well when dried properly. After dehydrating, store them in airtight herb storage containers to keep their freshness and flavor. Proper drying prevents dusting or losing potency, ensuring your herbs remain vibrant and flavorful for cooking or tea.
How Long Does It Typically Take to Dry Herbs?
Think of drying herbs like watching a sunrise—patience reveals their true colors. It typically takes 1 to 4 hours in your dehydrator, depending on herb thickness and humidity. Use quality dehydration equipment and store your herbs properly to preserve flavor. For best herb storage tips, guarantee they’re fully dried and kept in airtight containers, so your herbs stay vibrant and potent, just like a sunrise that lasts all day.
Can I Reuse Herb Drying Trays or Racks?
Yes, you can reuse herb drying trays or racks. To guarantee proper herb preservation, always clean the trays thoroughly after each use. Remove any residue or dust, and wash with warm soapy water, then let them dry completely. Reusing trays helps maintain a clean environment for drying herbs, prevents mold, and extends your dehydrator’s lifespan. Regular tray cleaning keeps your herbs fresh and flavorful every time you dry new batches.
Is It Necessary to Rotate Herbs During Drying?
Yes, you should rotate herbs during drying to guarantee even exposure and ideal herb preservation. By flipping or shifting the herbs, you prevent uneven drying and avoid dust-like herbs. This simple step enhances your drying techniques, guaranteeing herbs dry uniformly without losing flavor or potency. So, make the move, rotate those racks or trays, and master the art of herb preservation with consistent, careful attention during the drying process.
How Do Humidity Levels Affect Herb Dehydration?
Humidity levels considerably impact your herb dehydration process. If humidity control isn’t maintained, high environmental humidity can slow drying or cause mold, while low humidity speeds it up but risks over-drying. Keep the dehydrator in a well-ventilated, low-humidity environment, and monitor ambient conditions regularly. Adjust your setup if needed, ensuring consistent airflow and temperature, so your herbs dry evenly without turning to dust or developing mold.
Conclusion
Now that you know how to set up your dehydrator, you’ll preserve your herbs like a seasoned apothecary. Remember, patience and proper airflow are your allies—think of it as tending a delicate garden in your own kitchen. With these tips, your herbs won’t turn to dust, but stay vibrant and full of flavor. So, embrace this modern magic, and let your herb drying journey be as rewarding as a knight’s quest for treasure.
College move-in / dorm season Picks
dorm essentials
As an affiliate, we earn on qualifying purchases.