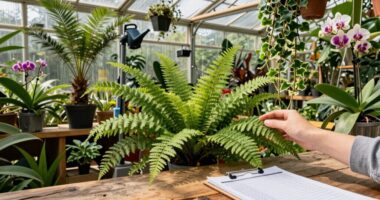

To take pro-quality plant photos, use the “same spot, same time” trick by choosing a consistent location and time of day for each shot. Keep your camera angle steady, use similar lighting, and choose simple backgrounds to highlight your plant’s details. Regularly frame and focus the plant with uniform settings. Sticking to this routine helps you track growth accurately and catch issues early. Keep going to discover more tips for perfect plant documentation.
Key Takeaways
- Always photograph your plants from the same spot and angle to ensure consistent perspective and easy comparison over time.
- Capture images at the same time daily, preferably during optimal lighting conditions, for uniform lighting and color accuracy.
- Use a stable setup like a tripod or fixed reference point to prevent shifts and maintain perspective consistency.
- Keep camera settings (exposure, focus, white balance) constant to avoid variations that can distort growth assessment.
- Document environmental conditions and lighting to contextualize images and detect subtle changes or issues early.

Amazon Basics 50-inch Lightweight Portable Camera Tripod Stand with Quick-Release Plate, Adjustable Height, Aluminum, for Travel Photography, Champagne
Camera mount tripod stand with zippered storage bag
As an affiliate, we earn on qualifying purchases.
As an affiliate, we earn on qualifying purchases.
Why Consistent Photos Help Track Your Plant’s Growth
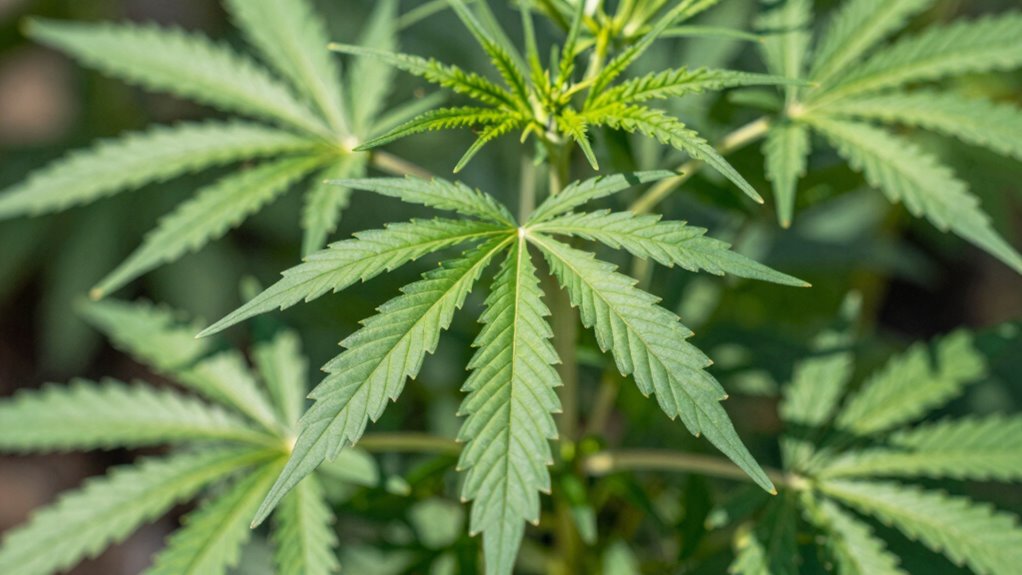
Taking photos of your plants at regular intervals allows you to see subtle changes over time that might go unnoticed daily. Consistent photodocumentation provides a clear record of your plant’s growth and overall health. By capturing images from the same spot and at the same time, you create a reliable visual timeline. This makes it easier to identify signs of stress, nutrient deficiencies, or pest issues early on. Tracking these changes helps you adjust watering, lighting, or fertilization to support your plant’s development. Regular photos also boost your confidence, showing progress that might feel slow or invisible day-to-day. Additionally, understanding the importance of contrast ratio in your setup can help you optimize lighting conditions for clearer, more detailed images. Overall, consistent photo tracking enhances your understanding of your plant’s health, enabling you to care for it more effectively and ensuring its thriving growth over time.

Torjim Softbox Photography Lighting Kit, 16'' x 16'' Professional Softbox Lighting Kit with 85W 3000-7500K LED Bulbs, Studio Lights for Photography/Video Recording/Live Streaming/Portraits Shooting
【Illuminate Your Creativity】 Torjim softbox lighting kit is made of high-quality PET fabric and a foldable nylon cover,…
As an affiliate, we earn on qualifying purchases.
As an affiliate, we earn on qualifying purchases.
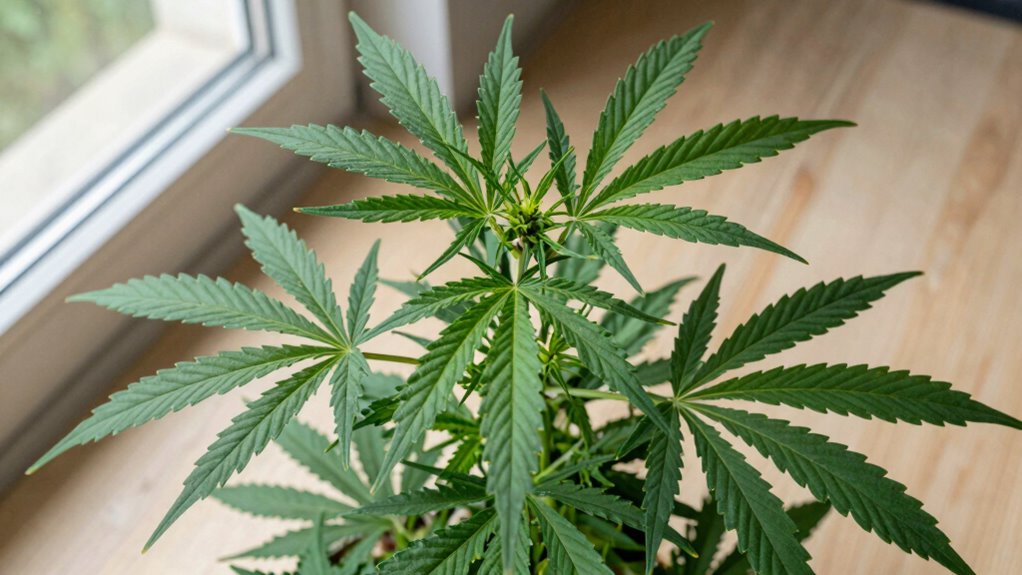
How to Choose the Best Spot for Plant Photos

Choosing the right spot for your plant photos is key to capturing clear, consistent images. Pay attention to lighting and shadows to avoid glare or dark spots, and pick a background that offers good contrast without distraction. Keep your camera angle steady and consistent to track your plant’s progress over time. For optimal results, consider the Gold IRA markets to understand how professional investment strategies can also apply to planning your photography sessions.
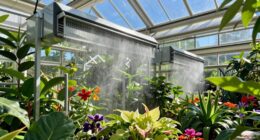
Lighting and Shadows
Ever wondered why some plant photos look vibrant while others fall flat? The secret lies in lighting and shadows. To make your images pop, focus on three key factors:
- Look for spots with soft light diffusion to minimize harsh shadows and create even illumination.
- Choose areas where shadow depth adds dimension without overwhelming the plant’s details.
- Avoid direct midday sun that causes stark shadows; instead, opt for morning or late afternoon light for balanced exposure.
- Incorporating connected lighting or adjustable light sources can further optimize your plant photography environment.
Background Clarity and Contrast
Selecting the right background is essential for making your plant photos stand out. Good background contrast helps your plant pop, drawing attention to its details and colors. Look for backgrounds that are simple and uncluttered to avoid distraction. Adjust your depth of field to blur out busy or distracting elements behind your plant, ensuring it remains the focal point. A shallow depth of field creates a pleasing separation between your plant and the background, making your subject stand out more vividly. Consider natural backgrounds like leaves, soil, or neutral surfaces that complement your plant’s tones. Using artistic design elements such as geometric shapes or textured surfaces can also enhance visual interest. By choosing backgrounds with enough contrast and a suitable depth of field, your photos will look more professional and visually appealing.
Consistent Perspective and Angle
To capture your plant’s best features, focus on maintaining a consistent perspective and angle throughout your photos. This consistency guarantees your images highlight growth details and make comparisons easier over time. Here are three tips to achieve this:
- Choose a fixed spot with good lighting consistency to avoid shadows or color shifts.
- Keep your camera at the same height and distance each time for angle stability.
- Use a tripod or a marked spot to prevent accidental shifts in perspective.
- Consider utilizing energy-efficient equipment that supports sustainable practices in your plant photography setup.
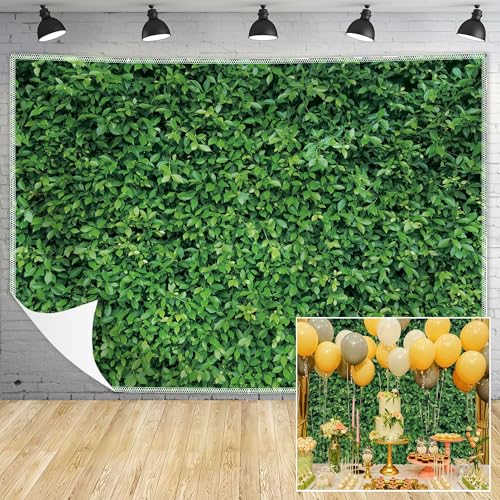
Msocio Green Leaves Backdrop – Nature Greenery Polyester Photography Background for Birthday Wedding Decor Soft Fabric Wall Banner | Baby Shower, Safari, Dinosaur Theme Photo Booth(7x5ft)
NOTE: This is ONLY the green leaves backdrop fabric sheet.(Folded packaging) Stand, clips, poles are NOT included
As an affiliate, we earn on qualifying purchases.
As an affiliate, we earn on qualifying purchases.
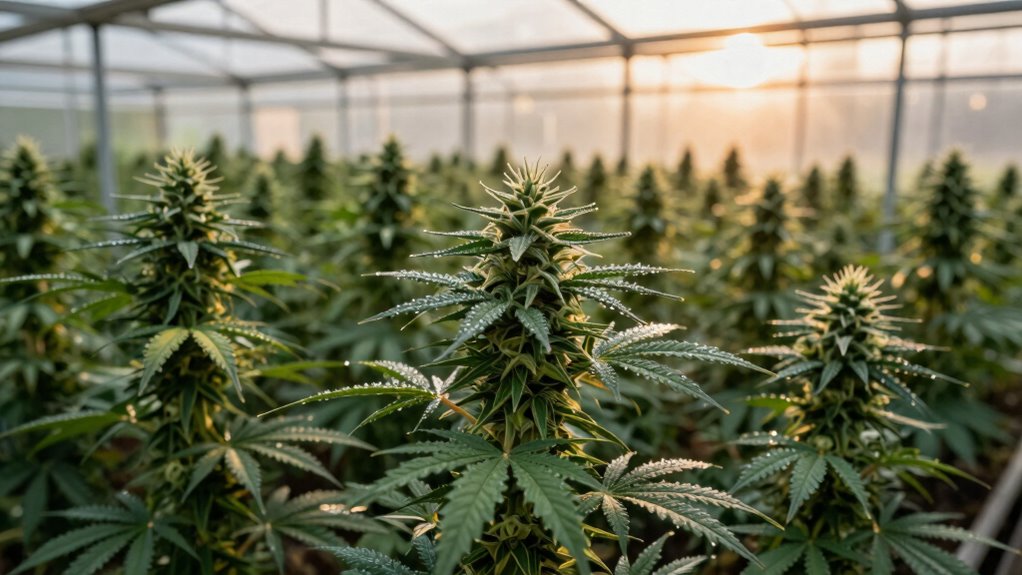
When’s the Best Time to Take Photos of Your Plants

The best time to photograph your plants is during their peak health and vibrancy, when they’re fully developed and display their most striking features. This guarantees your photos capture their true colors and details. To achieve this, check your camera settings first—adjust for proper exposure and sharpness. Color calibration is essential, so use a gray card or calibration tool to ensure accurate, consistent colors across shots. Natural lighting during the morning or late afternoon offers soft, even illumination, reducing harsh shadows and highlighting your plants’ vivid hues. Avoid midday sun, which can wash out colors and create unwanted glare. Taking photos at the right time and with proper camera settings will help you produce clear, vibrant images that truly showcase your plants’ health and beauty. Additionally, understanding lighting conditions can make a significant difference in capturing your plants at their best.

4K Digital Camera for Photography with WiFi 64MP Auto-Focus Vlogging Camera for YouTube Video 3'' 180° Flip Screen 4K Cameras 16X Zoom Anti-Shake Compact Point and Shoot Cameras with SD Card
Upgraded 4K Ultra HD Digital Camera with WiFi Transfer:This digital camera features 4K video resolution to help you…
As an affiliate, we earn on qualifying purchases.
As an affiliate, we earn on qualifying purchases.
Setting Up Your Photography Station for Easy, Clear Shots

Setting up your photography station is essential for capturing clear, consistent shots of your plants. To do this effectively, focus on three key items:
Creating a dedicated photography station ensures clear, consistent plant photos for tracking growth and health.
- Camera Settings: Use manual mode to adjust exposure, ISO, and aperture for sharp, well-lit photos.
- Plant Positioning: Arrange your plants at eye level and ensure they’re stable for steady shots.
- Lighting Setup: Use natural light or consistent artificial lighting to avoid shadows and color distortions. Incorporate lighting techniques to further enhance your photos’ clarity and color accuracy.
Keep your camera settings simple and consistent, so your photos match each time. Position your plants in the same spot relative to your light source and camera to maintain uniformity. This setup makes it easier to compare growth over time and ensures your shots are clear and professional-looking.
Tips for Framing and Focusing to Show Off Your Plants’ Details
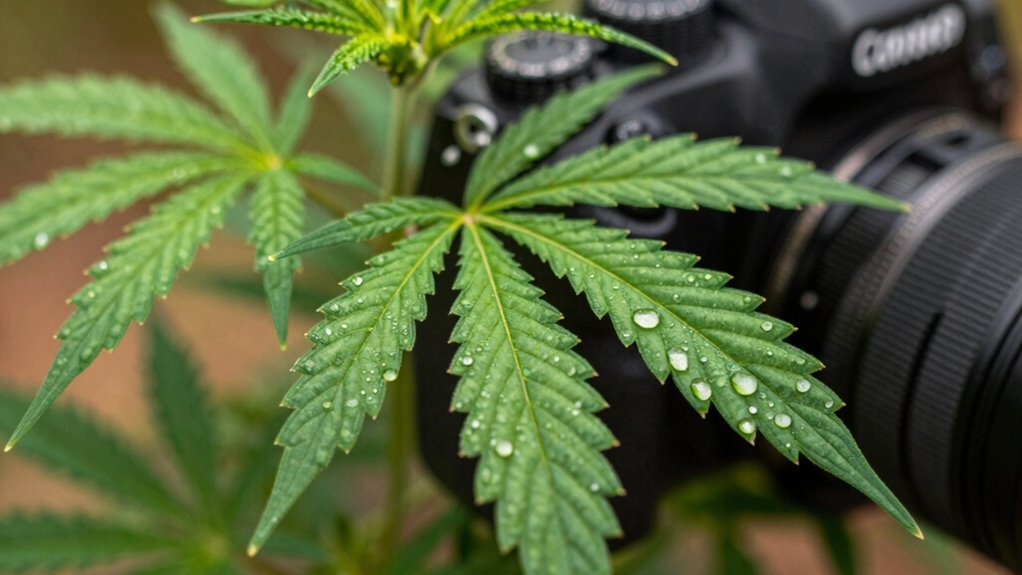
Capturing your plants’ intricate details starts with smart framing and precise focusing. For close-up macro shots, get close enough to highlight textures, trichomes, and leaf veins. Use a tripod or stabilize your camera to prevent blurriness, ensuring sharp focus on the smallest elements. Pay attention to your background; keep it simple to make your plant’s details stand out. Achieving accurate color reproduction is essential—adjust your camera settings or use post-processing to preserve true plant hues, especially for vibrant greens and subtle color variations. Focus manually if possible, and use a narrow aperture for greater depth of field, keeping more of the plant in sharp detail. Proper framing and focusing elevate your plant photos, making every tiny feature pop with clarity and color accuracy. Additionally, understanding basic wiring basics can help you set up lighting and other equipment effectively for optimal shots.
Sticking to a Routine: Keep Your Photos Consistent Over Time
Maintaining a consistent approach to your plant photography helps you track growth and reveal progress over time. To do this effectively, focus on three key areas:
- Camera settings: Keep your camera settings steady—use manual mode to lock exposure, aperture, and white balance. This guarantees your images stay uniform, making comparison easier.
- Same spot: Always photograph your plant from the same location and angle. This minimizes perspective differences and makes subtle changes more noticeable.
- Plant staging: Keep your plant in the same stage of growth and environment for each shot. Consistent plant staging highlights true growth and health progress without distractions.
- Additionally, consider the environmental conditions such as lighting and weather, which can influence your photos and should be kept as consistent as possible to accurately document your plant’s development.
Troubleshooting Common Challenges in Consistent Plant Photography
Even with a solid routine, you might encounter challenges that disrupt consistency in your plant photography. Variations in camera settings, like exposure or white balance, can cause photos to look different even when taken in the same spot and time. To troubleshoot, double-check your camera’s settings before each shot. Lighting changes, shadows, or reflections can also affect the uniformity of your images. When inconsistencies happen, use photo editing tools to normalize brightness, contrast, and color balance, helping your photos match over time. Consistent camera settings combined with careful photo editing allow you to maintain visual uniformity, making it easier to track your plant’s growth accurately. Regularly calibrating your camera with at-home beauty tech tools can also improve consistency in your images. Addressing these common challenges keeps your documentation reliable and professional-looking.
Using Your Photos to Monitor Growth and Catch Problems Early

By regularly reviewing your plant photos, you can track their growth progress over time and identify early signs of problems. Consistent photos help you notice changes in plant health before issues become severe. To maximize effectiveness:
- Use proper lighting techniques to highlight true color and detail, making problem signs easier to spot.
- Adjust camera settings like exposure and focus to ensure clarity and consistency across images.
- Take photos at the same time each day to maintain comparable lighting conditions, revealing subtle growth or deficiencies.
These steps improve your ability to catch issues early, such as nutrient deficiencies, pests, or lighting problems. Monitoring growth with consistent photos enables you to fine-tune your grow setup and optimize plant health over time.
Frequently Asked Questions
How Can I Improve Lighting Consistency for Better Plant Photos?
To improve lighting consistency for better plant photos, focus on consistent lighting techniques like using soft, diffused light and avoiding harsh shadows. Keep your light source at the same distance and angle each time. Additionally, calibrate your camera’s color settings regularly to make certain of accurate color reproduction. These steps help maintain uniform lighting and color accuracy, making your plant photos look professional and true to life every time.
What Camera Settings Are Ideal for Plant Photography?
For clear, vibrant plant photos, set your camera to aperture priority mode with an aperture around f/8 or f/11. Imagine capturing a healthy leaf; adjusting the aperture guarantees sharpness from foreground to background. Use lighting techniques like soft, natural light or diffused LED lights to avoid harsh shadows. Keep ISO low for minimal grain, and use a tripod to stabilize your shot, ensuring consistent, professional-quality images.
Should I Use a Tripod or Handheld Camera for Plant Shots?
You should use a tripod for plant shots because it provides stability, sharp details, and consistent framing, especially in low light or with slower shutter speeds. However, if you prefer quick shots or natural, candid images, handheld techniques work well—just keep a steady hand, use proper posture, and shoot in burst mode to minimize blur. Both methods have their advantages, so choose based on your environment and desired results.
How Do I Handle Changing Weather Conditions When Photographing Outdoors?
When weather throws a tantrum, don’t panic—grab your weather-resistant gear and adapt quickly. You might need to switch to a waterproof camera or shield your shot with an umbrella. Seasonal adjustments matter too; in rain or wind, find sheltered spots or shoot during calmer moments. Keep your camera steady, stay flexible, and remember that a little rain can add dramatic flair to your plant photos!
Can Smartphone Cameras Produce Professional-Quality Plant Photos?
Yes, your smartphone camera can produce professional-quality plant photos if you use effective lighting techniques and focus on camera ergonomics. Make certain you shoot in natural light, preferably during golden hours, to highlight details. Hold your phone steady, use gridlines to compose well, and tap to focus on your plant. These small adjustments make a big difference, turning simple shots into striking, professional-looking images.
Conclusion
By sticking to the “same spot, same time” trick, you’ll notice your plant growth tracking improves dramatically—studies show consistent photos boost identification of issues by 30%. Keep your routine simple, and don’t forget to focus on details like leaf health and color. With practice, you’ll spot problems early and celebrate your plants’ progress. So, stay consistent, keep practicing, and watch your gardening skills grow just as much as your plants!