Starting your seeds early in February gives you a head start on the growing season and prevents spring chaos. Choose the right seeds, prepare a warm, well-lit indoor space, and gather essential supplies like quality soil, containers, and grow lights. Keep the environment consistent with proper light, temperature, and moisture. Avoid common mistakes and harden off seedlings before transplanting outdoors. Follow a detailed calendar to stay organized and guarantee a smooth shift to your outdoor garden—more tips await if you continue.
Key Takeaways
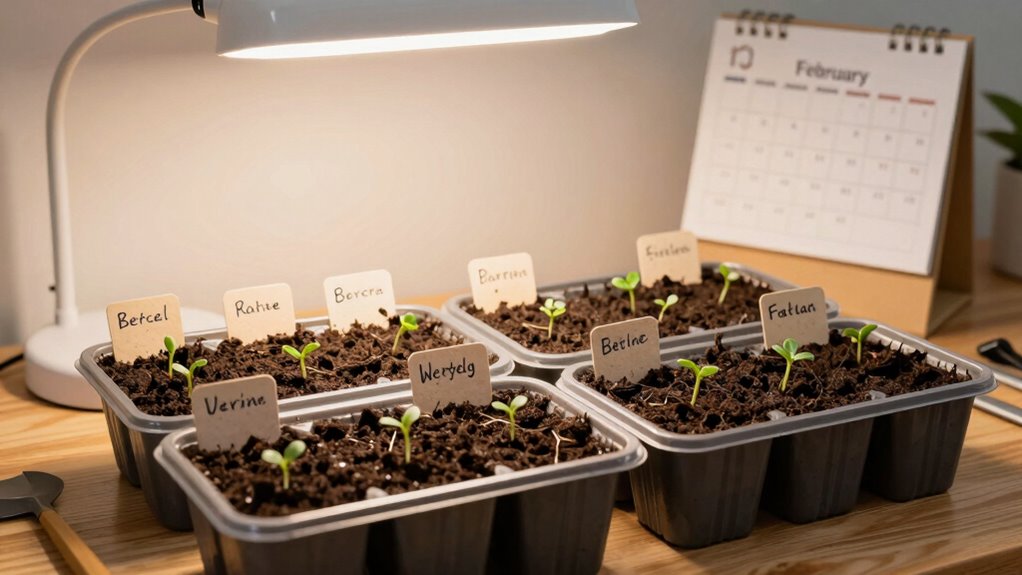
- Start seeds indoors in early February to gain a head start on the growing season.
- Choose short-season, early, or proven seeds for reliable germination and growth.
- Use grow lights, well-draining soil, and proper temperature control to ensure healthy seedling development.
- Harden off seedlings gradually over 1-2 weeks before outdoor transplanting to prevent shock.
- Create a detailed calendar for sowing, transplanting, and garden organization to avoid spring chaos.
Why Starting Seeds Early in February Sets Your Garden Up for Success

Starting your seeds early in February gives your garden a head start on the growing season. This approach allows your seedlings to develop strong roots and healthy foliage before transplanting. Proper seedling nutrition is essential during this stage; using a balanced, water-soluble fertilizer guarantees your plants get the nutrients they need to thrive. By starting early, you can better manage transplant timing, avoiding the rush of last-minute planting. This gives your plants ample time to establish in the soil and reduces the risk of setbacks caused by late frosts. Additionally, early seedlings often produce more vigorous growth, leading to a more productive garden. Ensuring optimal lighting conditions is crucial because color accuracy in seedling lighting conditions can also influence healthy growth and true plant coloration. Providing the right growing environment helps prevent common issues like damping-off disease and promotes stronger seedling development. Creating a controlled environment with consistent temperature and humidity levels can further support healthy seedling growth. Moreover, using seedling-specific lighting can enhance photosynthesis and overall plant development. Overall, beginning your seeds in February sets a solid foundation for a successful, bountiful spring harvest.
How to Choose the Best Seeds for Your February Garden

Choosing the right seeds for your February garden sets the stage for a successful growing season. Start by browsing seed catalogues, which offer a variety of options suited for early planting. Look for seeds labeled as “early” or “short-season,” making sure they’ll thrive in your climate’s timeline. Consider your space and preferences—whether you want vegetables, herbs, or flowers. If you save seeds from previous seasons, select those with proven germination success and healthy traits to ensure good results this year. Also, check for organic or non-GMO options if that aligns with your gardening goals. Understanding seed germination and proper storage techniques can improve your chances of successful sprouting. Proper seed selection and climate considerations help prevent early setbacks and extend your growing window. Being aware of regional planting guides can further tailor your choices to your specific location. Picking quality seeds now helps you avoid disappointment later, giving you a solid foundation for a productive, stress-free spring garden.
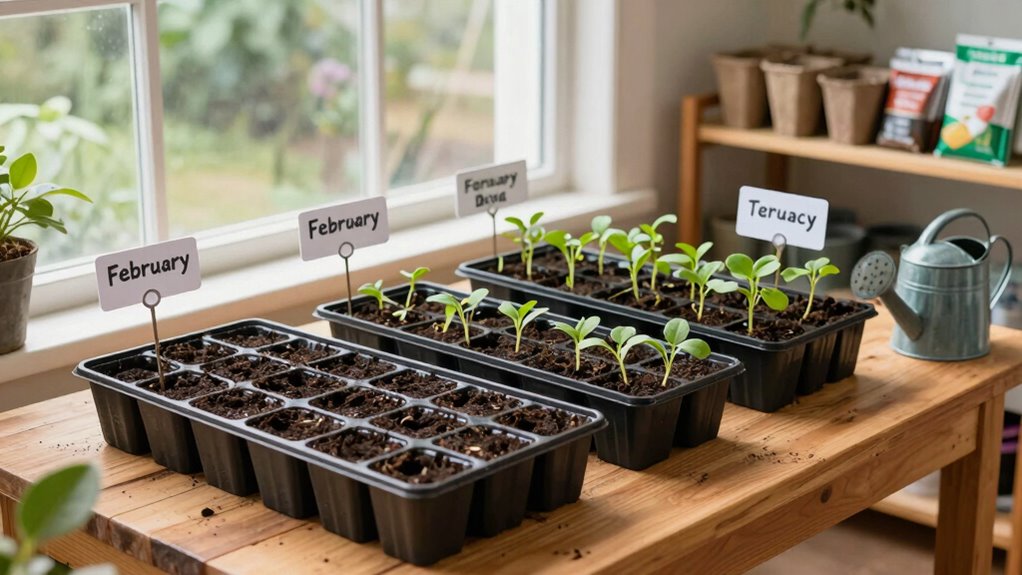
Preparing Your Indoor Space for Seed Starting in February

You need to select a warm, well-lit spot in your home to start your seeds successfully. Guarantee the space maintains a consistent temperature and provides ample light, either from windows or grow lights. Managing these factors now sets a strong foundation for healthy seed growth. Additionally, consider safe installation practices when setting up any grow lights or electrical outlets to prevent hazards and ensure reliable operation. Properly secure electrical cords and verify that your setup complies with safety standards to avoid potential risks. Ensuring your setup is electrically safe helps protect both your plants and household. To further safeguard your indoor gardening space, regularly inspect your electrical connections and stay informed about electrical safety guidelines. Incorporating proper grounding methods can further reduce the risk of electrical issues and create a safer environment for your seed-starting setup.
Choosing the Right Space
Selecting the right indoor space is essential for successful seed starting in February. You want a spot that offers ample room for your plant selection and allows for effective space optimization. Choose a location away from drafts and direct heat sources to maintain stable temperatures. Look for an area with good airflow and access to a nearby electrical outlet if you plan to use grow lights or heating mats. Keep in mind, the space should be easy to monitor and keep organized, reducing clutter that can hinder your efforts. By carefully selecting a dedicated spot, you’ll create an environment that promotes healthy seed germination and growth, setting the stage for a thriving spring garden. Proper space choice makes all the difference in your seed-starting success, especially when creating a calm and organized environment that minimizes chaos. Ensuring your space has appropriate climate control is vital for maintaining consistent conditions for your seedlings. Additionally, considering ventilation helps prevent issues like mold and damping-off disease, supporting healthier seedlings. Incorporating proper lighting conditions can further enhance germination and growth rates.
Managing Light and Temperature
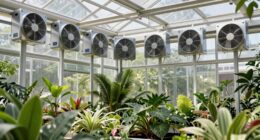
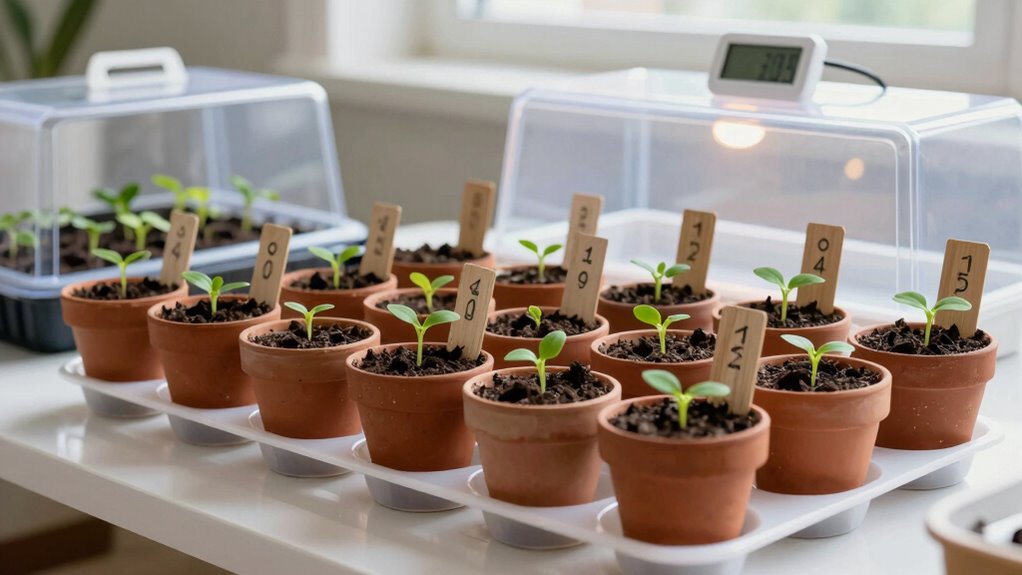
Managing light and temperature is essential for healthy seed germination and growth indoors during February. Proper artificial lighting guarantees seeds receive enough energy, especially when natural sunlight is limited. Position grow lights 2-3 inches above seedlings and keep them on 12-16 hours daily. Temperature regulation is equally critical; aim for 65-75°F for ideal germination. Use a thermometer to monitor indoor conditions and adjust heating sources as needed. Incorporating smart home automation can help maintain consistent light and temperature levels effortlessly. Additionally, utilizing environmental sensors allows for real-time adjustments to prevent fluctuations that could stress seedlings. Maintaining consistent environmental control helps prevent seedling stress and ensures uniform growth. Implementing air circulation can also improve airflow, reducing the risk of mold and fungal issues that may hinder seedling development.
When and How to Sow Seeds Indoors in February
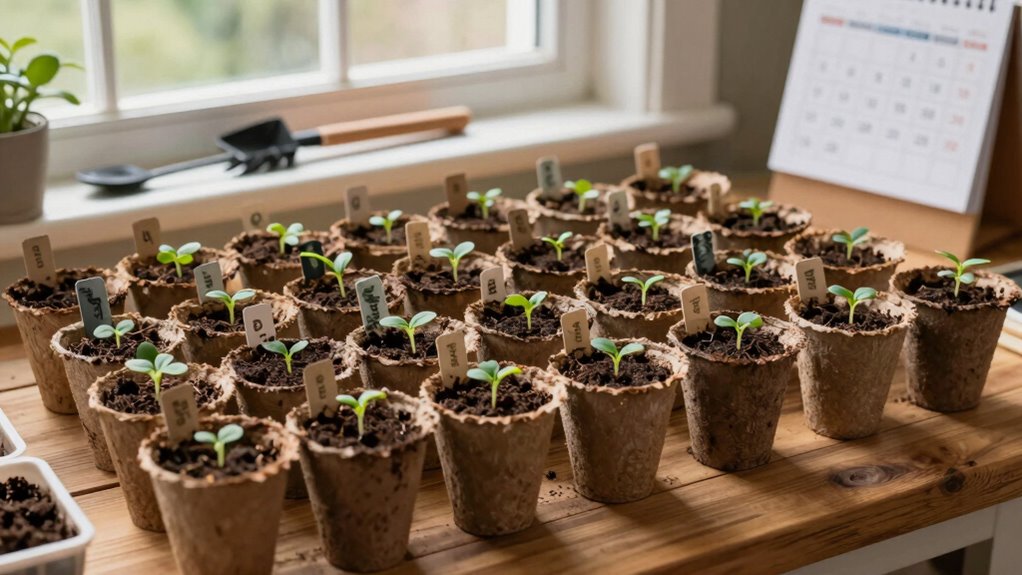
Since February marks the ideal time to start sowing seeds indoors, preparing your planting space now can give your plants a strong head start. Begin by selecting appropriate seedling containers with drainage holes to prevent overwatering. Fill them with quality soil amendments, such as compost or peat-based mixes, to ensure nutrient-rich soil for healthy growth. Sow your seeds according to their specific depth requirements, usually listed on the packet, and cover lightly with soil if needed. Maintain consistent moisture and keep the containers in a warm, well-lit area to promote germination. Using the right seedling containers and enriching your soil with amendments sets a strong foundation for robust seedlings ready to transplant once the weather warms. Proper seedling care during this stage can significantly influence your garden’s success. Additionally, monitoring soil temperature helps optimize germination rates and healthy seedling development.
Taking note of your local frost dates can help determine the best time to transplant your seedlings outdoors for optimal growth.
Essential Supplies for Seed Starting in February
Getting your seed-starting setup ready is the first step toward successful indoor gardening in February. To do this, gather essential supplies like seed starting tools—containers, trays, and labels—that help organize your seeds. Make sure you have high-quality soil prepared specifically for seed starting; this soil should be lightweight, well-draining, and rich in nutrients. You’ll also need a watering can or spray bottle for gentle moisture, and a heat source or grow lights to provide consistent warmth and light. Having a thermometer to monitor temperature and humidity levels will help create ideal conditions. With these supplies in place, you set a strong foundation for healthy seed germination and early growth, minimizing surprises and setting yourself up for a smooth start to your indoor garden.
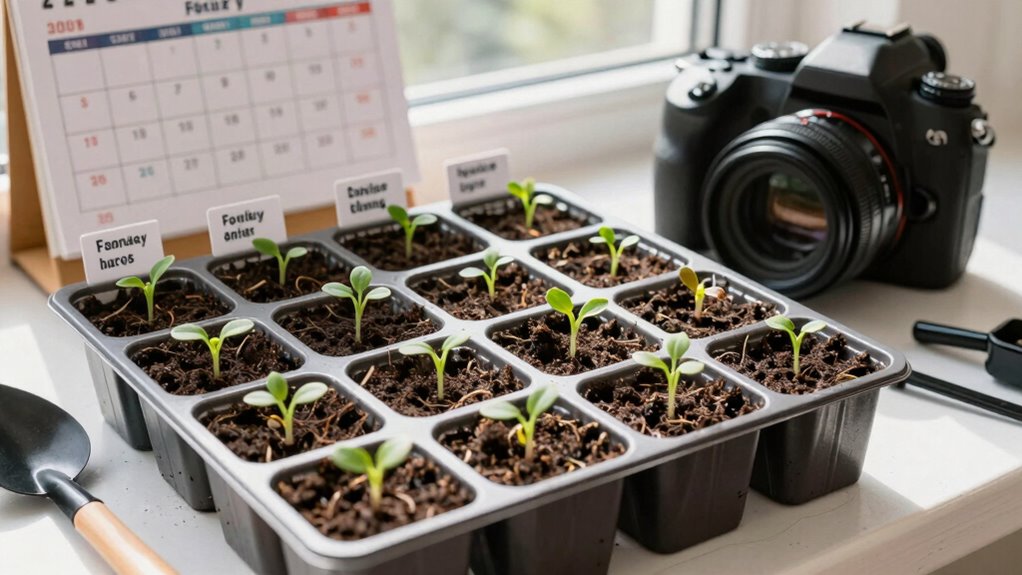
Step-by-Step: Planting Seeds Indoors in February
Start by choosing seeds that can thrive indoors at this time of year, like tomatoes or peppers. Prepare your containers and soil, ensuring everything is ready before planting. Then, determine the right timing to sow your seeds so they have enough time to grow before transplanting outdoors.
Selecting Suitable Seeds
Choosing the right seeds is essential for a successful indoor planting start in February. Start by consulting a seed catalog to identify varieties suited for your region. Knowing your planting zone helps narrow down options, as some seeds thrive in specific climates. Select seeds that are appropriate for early indoor growth and have a short to medium growing season, ensuring they’ll mature before outdoor conditions improve. Focus on vegetables and herbs like lettuce, spinach, and basil, which are suitable for indoor starting this time of year. Avoid seeds that require outdoor pollination or long growing periods. By selecting seeds tailored to your zone and indoor environment, you set yourself up for a smooth progression to spring planting and a bountiful harvest later.
Preparing Growing Supplies
Before planting your seeds indoors in February, gather all necessary supplies to guarantee a smooth setup. Start by testing your soil if you’re reusing old potting mix; soil testing reveals nutrient levels and pH, ensuring best seed growth. If needed, amend the soil or prepare fresh seed-starting mix. Organize your seed storage; check that your seeds are properly labeled and stored in a cool, dry place to maintain viability. Collect containers such as seed trays, pots, or recycled containers with drainage holes. Have your grow lights, heating mats, and timers ready to create the most favorable environment. Keep your tools, labels, and watering cans nearby for easy access. Proper preparation now sets the foundation for healthy seedlings and a successful start to your gardening season.
Timing Your Planting
Since February is an ideal time to begin indoor seed planting, it’s important to follow a timely schedule to guarantee healthy seedlings. Understanding your planting zone helps determine the right timing for different crops, ensuring you don’t start too early or too late. Focus on seed diversity, selecting a variety of vegetables, herbs, and flowers suited for indoor germination at this stage. Check seed packets for specific sowing dates and adjust for your zone’s last frost date. By planning your planting schedule carefully, you prevent overcrowding and ensure each plant has enough time to develop before transplanting outdoors. Staying organized and aware of your zone’s guidelines allows you to maximize your indoor growing season and set a strong foundation for a successful spring garden.
How to Care for Seedlings: Light, Temperature, and Humidity Tips

Proper care of seedlings hinges on providing the right light, temperature, and humidity conditions. Adequate light ensures healthy seedling nutrition, promoting strong growth and vibrant leaves. Place your seedlings where they receive bright, indirect sunlight or use grow lights for 12-16 hours daily. Keep temperatures steady around 65-70°F during the day and slightly cooler at night to prevent stress. Maintain humidity levels between 50-70% to prevent wilting and fungal issues. Consistent conditions foster robust seedlings, which are vital for successful transplant timing later. Avoid overwatering, which can cause damping-off, or insufficient light, leading to leggy plants. Regularly monitor your environment, adjusting as needed, so seedlings develop sturdy stems and healthy roots ready for transplanting when the time comes.
Common Mistakes When Starting Seeds in February and How to Avoid Them
One common mistake is overwatering or using poor soil, which can lead to rotting seedlings. Ignoring the light needs of your plants can cause them to stretch and weaken. Starting seeds too early can result in leggy plants that won’t survive transplanting, so timing is key.
Overwatering and Soil Issues
Overwatering is a common mistake when starting seeds in February because it can lead to root rot and damping-off disease, which threaten healthy seedling development. To prevent this, focus on proper soil drainage by choosing a well-draining seed-starting mix. Avoid overly compacted soil that retains excess moisture. Keep watering frequency in check—only water when the top layer feels dry to the touch. Overwatering creates soggy conditions that suffocate roots and promote fungal growth. Use containers with drainage holes to allow excess water to escape. Monitor your seedlings carefully, and resist the urge to water on a fixed schedule; instead, base watering on soil moisture levels. Proper soil drainage and controlled watering are essential to healthy, vigorous seedlings.
Ignoring Light Requirements
Many new seed starters focus on watering and soil quality but forget to give their seedlings enough light. Proper lighting is essential for healthy seed germination and strong growth. Seedlings need a full light spectrum, including blue and red wavelengths, to develop properly. Without adequate light, seedlings become leggy, weak, and prone to disease. If you don’t provide enough light, they may stretch toward a window or grow spindly, wasting energy and delaying maturity. Using grow lights ensures your seedlings get the right spectrum and intensity, especially during shorter winter days. Position your lights close enough to prevent stretching, but not so close that they burn. Ignoring light requirements hampers growth from the start, so prioritize proper lighting to set your seedlings up for success.
Starting Too Early
Starting seeds too early in February can backfire if your seedlings outgrow their space or become weak before the outdoor planting season. Rushing the process often leads you to buy from seed catalogues prematurely or use soil amendments that aren’t suited for early-starting seeds. When you start too early, seedlings may become leggy or stressed, making them vulnerable to disease. It’s vital to wait until conditions are right and your seedlings have enough room to grow strong. Proper timing helps you avoid transplant shock and reduces the need for additional soil amendments later on. By respecting the recommended start dates, you guarantee your seedlings develop healthy roots and sturdy stems, setting the stage for a successful spring garden.
How to Harden Off Seedlings Before Transplanting Outdoors
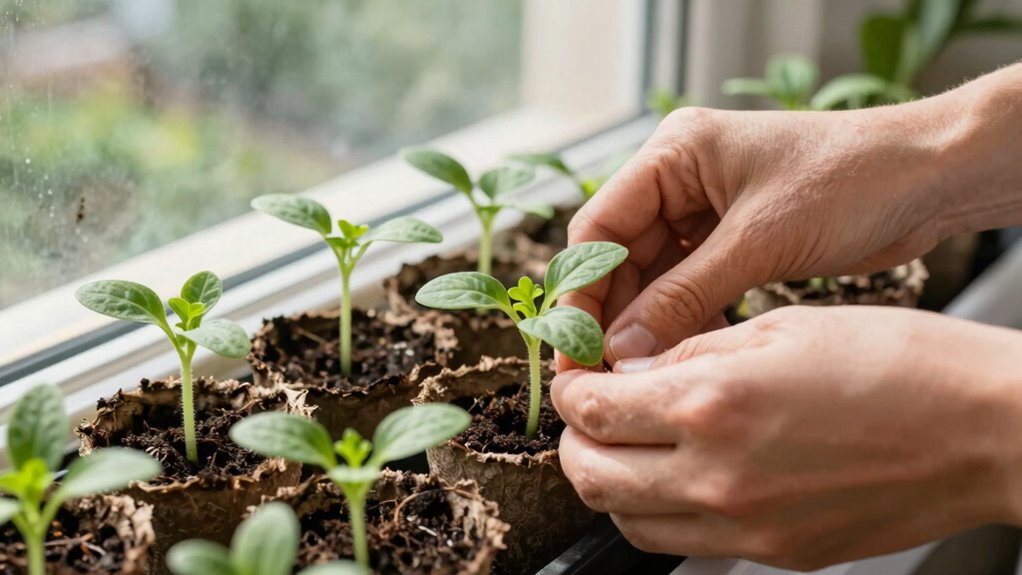
Before transplanting your seedlings outdoors, it’s crucial to gradually expose them to the outside environment to prevent shock and facilitate a smooth transition. This process, called hardening off, helps your seedlings adapt to outdoor conditions like wind, sunlight, and temperature fluctuations. During this period, pay attention to seedling nutrition; avoid overwatering or fertilizing excessively, as healthy, strong plants adapt more easily. Start by placing seedlings outside in a sheltered spot for a few hours daily, gradually increasing exposure over a week or two. Timing is key—wait until your seedlings have developed sturdy stems and a healthy root system before transplanting. Proper hardening off ensures your plants are resilient, giving them the best chance to thrive once they’re in their permanent outdoor spots.
Creating a Spring Seed Starting Calendar to Keep Your Garden on Track
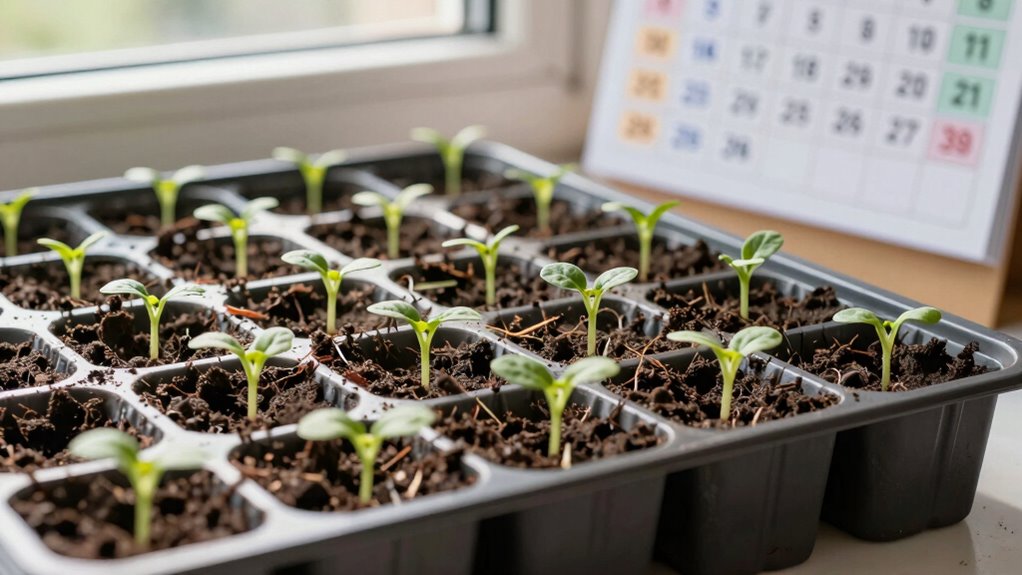
Creating a spring seed starting calendar is essential for ensuring your garden stays organized and productive. It helps you plan when to sow seeds, transplant seedlings, and incorporate companion planting strategies for healthier plants. Use a calendar to map out key dates, avoiding last-minute rushes. To visualize your plan, consider this sample:
| Week | Task | Notes |
|---|---|---|
| Week 1 | Start tomatoes and peppers | Use grow lights indoors |
| Week 2 | Plan garden layout | Include companion planting |
| Week 3 | Transplant seedlings outdoors | Check last frost dates |
| Week 4 | Sow cool-season crops | Leaf lettuce, spinach |
| Week 5 | Prepare beds for planting | Add compost, mulch |
This calendar keeps your garden on track, promotes effective garden planning, and maximizes space through companion planting.
Frequently Asked Questions
Can I Start Seeds Outdoors in February in Colder Climates?
You can try winter planting outdoors in February if your colder climate has milder winter days and the soil isn’t frozen. Make sure proper soil preparation by removing debris and amending it with compost. Use cold frames or mulch to protect seedlings from harsh weather. Keep in mind that some plants need warmer soil temperatures, so monitor conditions closely and be ready to bring plants indoors if a late freeze occurs.
What Are the Signs My Seedlings Are Ready to Transplant?
Your seedlings are ready to transplant when they show sturdy, thick stems and healthy, vibrant leaves. Look for a few sets of true leaves, not just the initial seed leaves. Before transplanting, harden them off gradually to prevent shock, exposing them to outdoor conditions incrementally. Keep an eye on the weather and wait for the right transplant timing—don’t put all your eggs in one basket.
How Do I Prevent Damping-Off Disease in Seedlings?
To prevent damping-off disease in seedlings, you should start with sterile soil and avoid overwatering. Soil sterilization helps eliminate pathogens, reducing disease risk. Applying a fungicide labeled for damping-off can offer extra protection, especially if you’re growing in a humid environment. Make certain of good air circulation and avoid overcrowding your seedlings. Regularly inspect your plants, and remove any that show signs of illness promptly.
Which Lighting Options Are Most Energy-Efficient for Indoor Seed Starting?
Think of LED lighting as the highway of indoor seed starting—fast, efficient, and cost-effective. You’ll save energy with LED options, which use up to 75% less power than traditional bulbs. I switched to LED grow lights last year, and my seedlings thrived while my electricity bill dropped. For energy savings and longevity, LED lighting is your best choice, helping you grow healthy plants without wasting energy or money.
How Can I Extend My Growing Season With Seed Starting?
To extend your growing season with seed starting, focus on season extension techniques like using grow lights, row covers, and mini-greenhouses. Start seeds early indoors to allow for crop succession, giving you a head start before outdoor planting. Keep your seedlings healthy with proper watering and light, then transplant them outdoors when conditions improve. This approach helps maximize harvests and prolongs your gardening success well into the season.
Conclusion
Getting an early start in February might seem like a small step, but it can make all the difference when spring arrives. As you follow your seed-starting timeline, you’ll notice how your garden begins to flourish just when you need it most. Coincidentally, those early seedlings often lead to healthier plants and bountiful harvests. Stay consistent, and you’ll be surprised how smoothly your gardening season unfolds—proving that a little planning today pays off tomorrow.