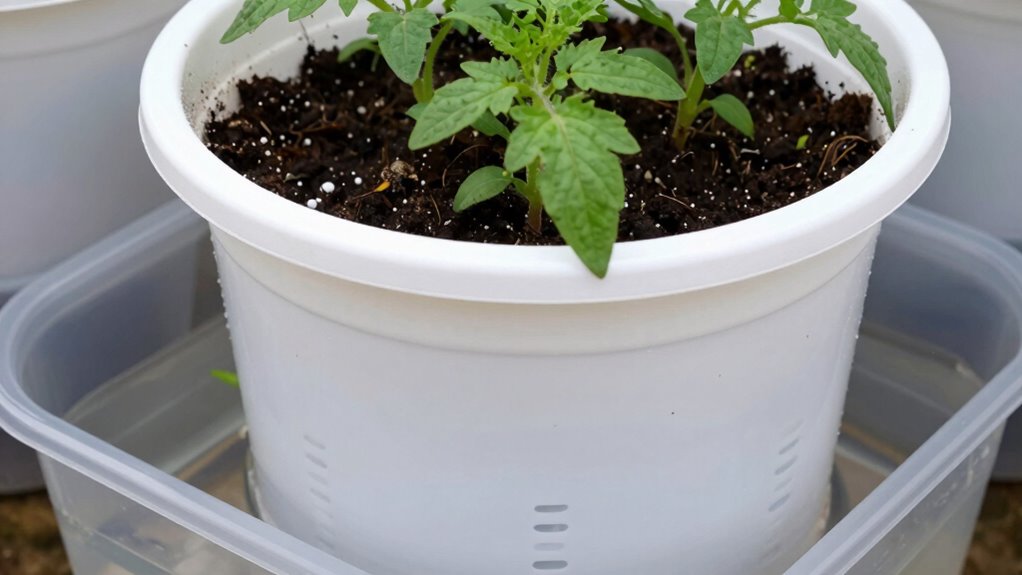
To set up drainage so your plants don’t drown, guarantee each Dutch bucket has a main drain at the bottom, sloped for smooth water flow. Use durable, non-corrosive components like PVC or flexible hoses, and include mesh screens to prevent blockages. Regularly check and clear clogs, and avoid overwatering by adjusting based on plant needs. Keep your system well-maintained, and you’ll create a healthy environment for strong root growth. Learn more to perfect your setup.
Key Takeaways
- Install a main drain outlet at the bottom of each bucket to ensure efficient water removal.
- Use a slightly sloped drain pipe for smooth, gravity-assisted water flow away from the plant roots.
- Incorporate small holes or slots near the bottom for root aeration and excess water drainage.
- Cover drain openings with mesh or screens to prevent debris from clogging the drainage system.
- Regularly test and maintain the drainage setup to prevent blockages and avoid waterlogging.
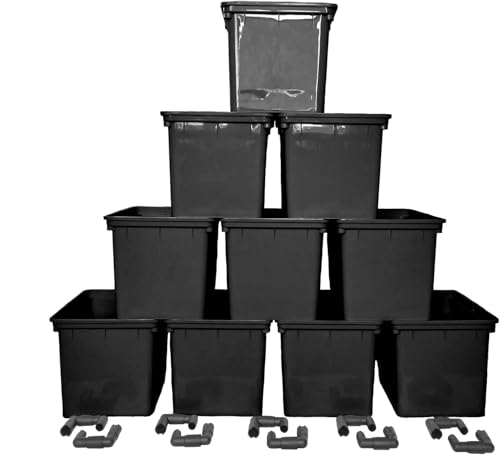
10-Pack Dutch Bucket Hydroponic System – Bato Buckets with Siphon Elbows – 11L (12" x 10" x 9") – Tan or Black (Black)
- Hydroponic System Type: Recirculating water system for efficiency
- Adjustable Plant Spacing: Customize distance between plants
- Suitable for Large Crops: Ideal for tomatoes, cucumbers, peppers
As an affiliate, we earn on qualifying purchases.
As an affiliate, we earn on qualifying purchases.
Why Proper Drainage Is Key to Healthy Dutch Buckets
Have you ever wondered why proper drainage is essential for healthy Dutch buckets? It’s because good drainage prevents water from pooling around plant roots, which can cause root rot and attract pests. When drainage is adequate, excess water escapes, maintaining a proper nutrient balance. This ensures your plants receive the right amount of water and nutrients without drowning. Proper drainage also reduces the risk of pests that thrive in damp environments, like fungus gnats and mold. Without it, your plants become vulnerable to disease and nutrient deficiencies, stunting growth. By establishing effective drainage, you create a healthier environment that supports robust root development, pest prevention, and balanced nutrient uptake. Ultimately, good drainage keeps your Dutch bucket system thriving and your plants happy.
How to Choose the Right Drainage Components for Your Setup
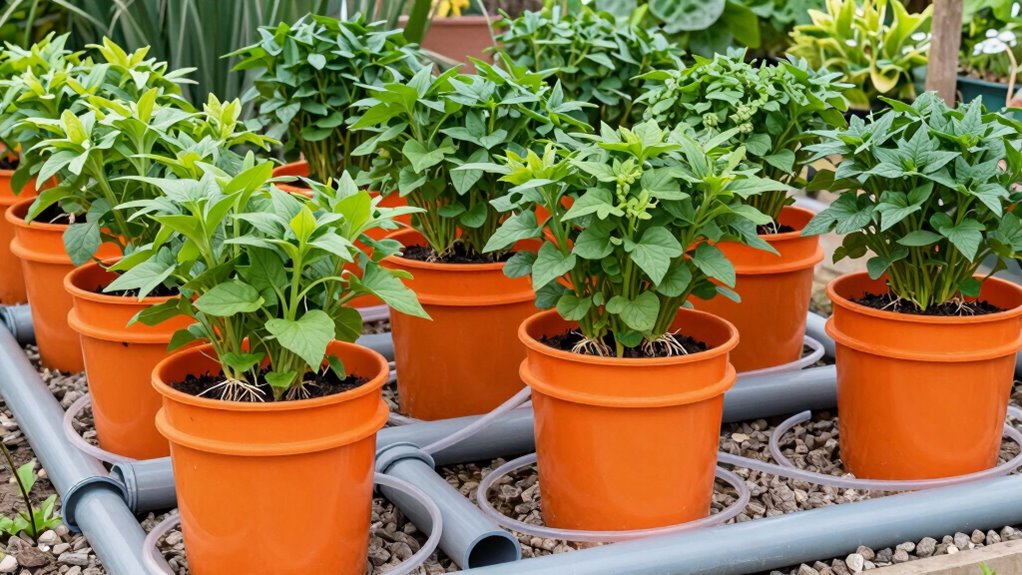
Choosing the right drainage components is essential to guarantee your Dutch bucket system functions properly. Start by considering material selection—make certain components are durable, non-corrosive, and safe for plant roots. Common options include PVC, polyethylene, or flexible hoses, each offering different benefits. Next, focus on component compatibility; all parts should fit securely together to prevent leaks and blockages. Check measurements carefully, especially for connectors, elbows, and drains, so they match your system’s setup. Using compatible components reduces installation issues and promotes a steady flow of excess water. Prioritizing quality and compatibility minimizes maintenance and assures your plants won’t drown, keeping your Dutch buckets healthy and productive over time. Additionally, selecting components with corrosion resistance ensures longevity and reliable performance in your drainage system.
Step-by-Step: Installing Effective Drainage in Dutch Buckets
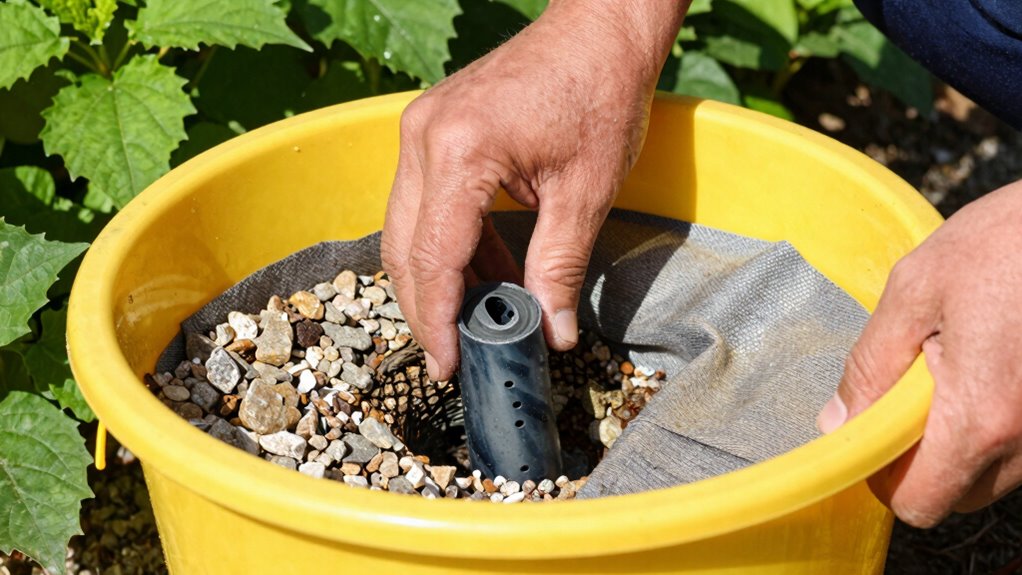
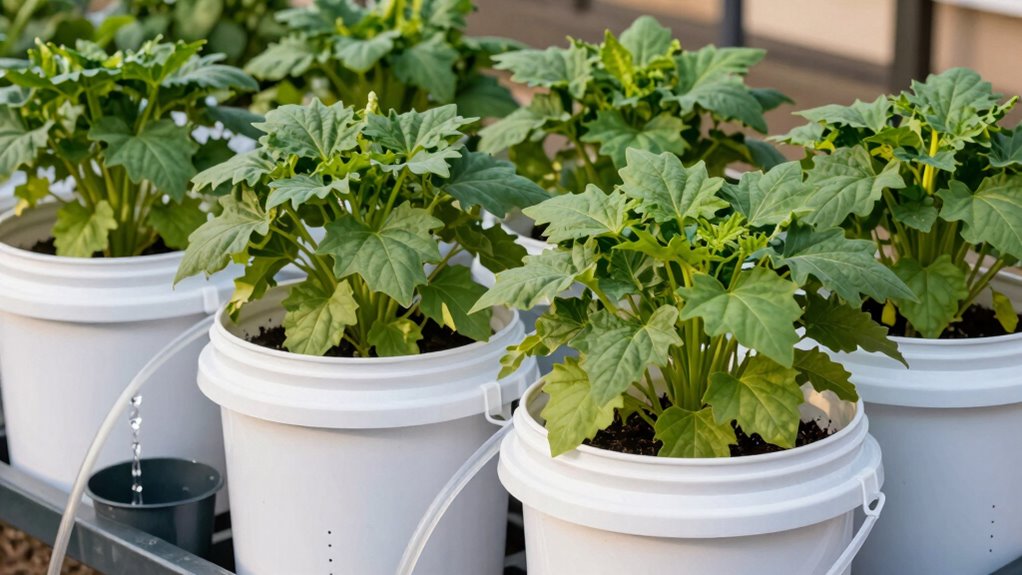
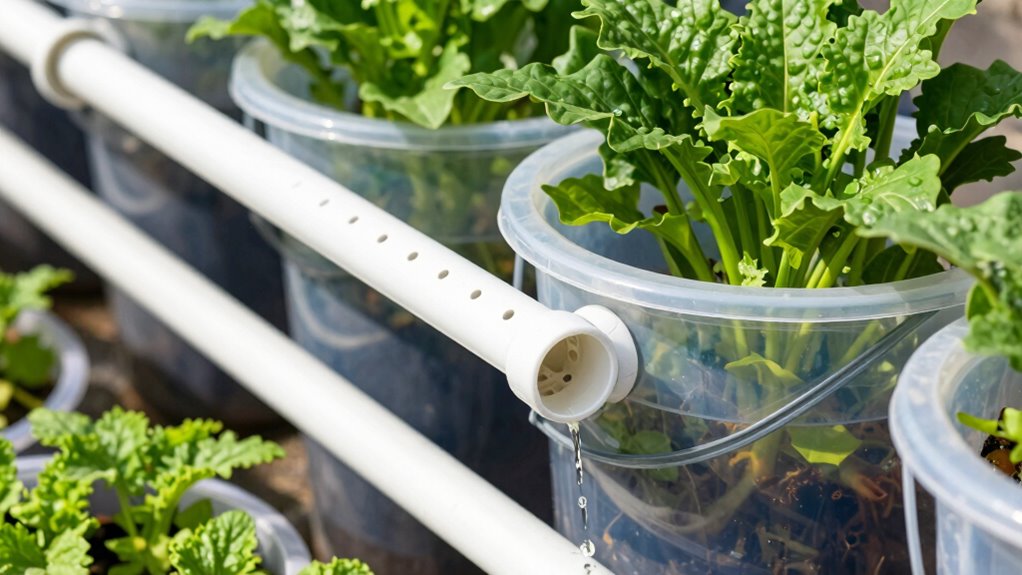
To install effective drainage in your Dutch buckets, start by setting up the main drain outlet at the bottom of each bucket. Confirm the outlet is large enough to prevent water buildup, which is essential for waterlogging prevention. Incorporate a drain pipe that slopes slightly downward to facilitate smooth water flow. Add small holes or slots near the bottom to promote root aeration, preventing roots from suffocating in stagnant water. Use a mesh or screen over the drain opening to keep debris out. Test the setup by pouring water into the bucket and observing how quickly it drains. Proper drainage not only prevents waterlogging but also supplies oxygen to roots, promoting healthy plant growth. Additionally, understanding how water movement affects plant health can help optimize your drainage system. Regularly check and clear the drainage system to maintain peak performance.
Common Drainage Problems in Dutch Buckets and How to Fix Them
Even with a well-designed drainage system, Dutch buckets can encounter common issues that hinder proper water flow. One problem is root rot, often caused by poor drainage or waterlogging, which creates a damp environment for roots to decay. To fix this, verify your drainage holes are unobstructed and that excess water can freely escape. Nutrient buildup is another issue, where salts and minerals accumulate, clogging drainage paths and leading to poor water flow. Regular flushing of your system helps prevent this buildup. Additionally, inspect your drainage lines regularly for blockages or leaks. Proper maintenance keeps water moving smoothly, reducing the risk of root rot and nutrient accumulation, and keeps your plants healthy and thriving. Maintaining appropriate air circulation around your system can also help prevent issues related to excess humidity and promote healthy root development.
Tips for Maintaining Good Drainage Over Time
Maintaining good drainage in Dutch buckets requires regular attention and proactive care. To do this, stick to a consistent watering schedule that avoids overwatering or letting the medium dry out completely. Proper timing ensures roots stay healthy and prevents waterlogging. Also, prioritize root zone aeration by gently loosening or fluffing the growing medium periodically. This promotes airflow around the roots, reducing the risk of root rot and encouraging healthy growth. Check drainage outlets regularly to make sure they aren’t clogged and that excess water flows freely. Adjust your watering habits based on plant needs and environmental conditions. Incorporating appropriate container choices can further support effective drainage. With consistent monitoring and care, you’ll keep drainage ideal, ensuring your plants have a healthy, oxygen-rich root zone for sustained growth.
Frequently Asked Questions
Can I Use Recycled Materials for Drainage Components?
Yes, you can use recycled materials for drainage components to create eco-friendly drainage systems. Items like old plastic bottles, broken pottery, or scrap PVC pipes work well, as long as they allow proper water flow and don’t clog. Recycled materials help reduce waste and are cost-effective. Just make sure they’re clean and safe for plant roots. This way, you support sustainable gardening while maintaining effective drainage for your Dutch buckets.
How Often Should I Check Drainage for Optimal Performance?
You should check your drainage at least weekly to guarantee peak performance. Did you know that clogged drainage can reduce watering efficiency by up to 30%? Regular inspections help you spot issues early, preventing overwatering or root rot. Stick to a consistent watering schedule and perform clog prevention measures during your checks. This proactive approach keeps water flowing smoothly, promoting healthy plant growth and avoiding costly problems down the line.
What Are Signs of Poor Drainage in Dutch Buckets?
You’ll notice root zone issues like yellowing leaves, stunted growth, or wilting despite adequate watering. Waterlogging symptoms, such as overly saturated soil and foul odors, also signal poor drainage. If your plants are struggling or showing these signs, it’s time to check your Dutch buckets’ drainage. Improving airflow and ensuring proper outlet placement can prevent these issues, helping your plants thrive without drowning in excess water.
Is There a Difference Between Drainage for Vegetables and Herbs?
You might think vegetables and herbs need different drainage, but both thrive with proper setup to support plant root health. Vegetables often require more frequent watering, so their drainage system should prevent water from pooling, avoiding root rot. Herbs usually prefer less water, so their drainage can be slightly tighter. Adjusting your watering frequency based on plant type ensures the best health, whether you’re growing lush greens or fragrant herbs.
How Do Weather Conditions Affect Dutch Bucket Drainage Systems?
Weather conditions substantially impact your Dutch bucket drainage system. During heavy rains or high humidity, you should implement climate adaptation strategies, like increasing drainage capacity or adding extra outlets, to prevent overflows. Seasonal adjustments, such as modifying the slope or adding covers, help maintain proper drainage and avoid waterlogging. By staying attentive to weather patterns, you guarantee your system functions efficiently year-round, protecting your plants from drowning or root rot.
Conclusion
Think of your Dutch bucket system as a delicate garden, where proper drainage is the steady stream that keeps everything flowing smoothly. When you set it up right, you’re nurturing a resilient tree that stands tall and healthy. Keep an eye on those roots, clear any blockages, and let your system breathe. With mindful care, your plants will flourish like a vibrant forest—strong, vibrant, and full of life.