
To successfully shift your plants from the greenhouse to your garden in spring, start by gradually hardening them off. Slowly expose seedlings to outdoor conditions over a week, protecting them from harsh weather and direct sunlight initially. Prepare well-draining, nutrient-rich soil, and gently transplant your plants at the same depth they grew before. Keep an eye on their moisture needs and watch for signs of stress. For more tips on making this process smooth, continue exploring essential steps.
Key Takeaways
- Gradually harden seedlings outdoors by increasing exposure over a week, avoiding harsh sun and wind.
- Prepare garden soil with proper drainage, nutrients, and pH balance to ensure healthy plant establishment.
- Gently transplant seedlings, maintaining consistent depth and watering thoroughly to reduce transplant shock.
- Monitor plants closely after moving outdoors, providing extra water and protection during initial days.
- Ensure outdoor conditions are mild, free of frost, and suitable for your specific plants before full transition.
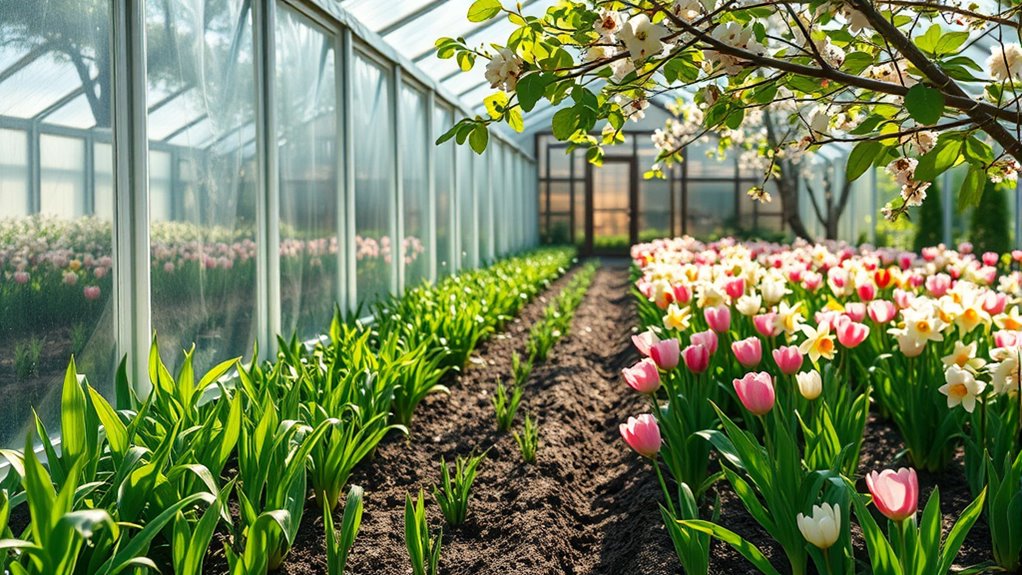
As spring arrives and the weather warms, it’s time to shift your plants from the protected environment of the greenhouse to the outdoor garden. This transition is crucial to ensure your plants adapt smoothly to the outside world, and proper planning makes all the difference. Before you start, focus on indoor propagation to give your plants a strong start indoors. This process allows you to control conditions like temperature, light, and humidity, which helps seedlings develop healthy root systems before they face the outdoor elements. Once your plants are robust enough, you can begin the transition with confidence.
Start your outdoor garden transition by ensuring healthy indoor seedlings and controlled propagation conditions.
One of the most important steps before moving your plants outside is soil preparation. Your garden soil needs to be well-drained, rich in nutrients, and loose enough to encourage healthy root growth. Start by testing the soil’s pH and nutrient levels, then amend it accordingly with compost, organic matter, or other soil conditioners. This ensures your plants will receive the nutrients they need to thrive after transplantation. If your soil is heavy or clayey, consider adding sand or organic matter to improve drainage and aeration. Proper soil preparation reduces transplant shock and helps your plants establish quickly in their new environment.
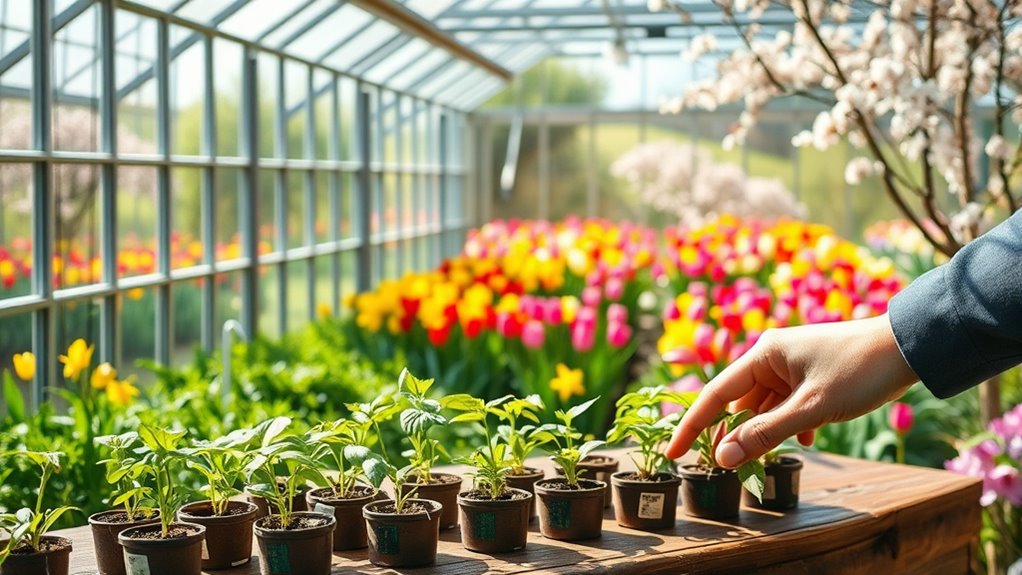
When you’re ready to move your plants, do so gradually. Begin by hardening them off—exposing them to outdoor conditions for a few hours each day, gradually increasing the duration over a week. This process helps your plants acclimate to temperature fluctuations, wind, and direct sunlight, reducing the risk of transplant shock. Make sure the weather forecast predicts mild temperatures and no risk of frost before you plant them outside permanently.
When transplanting, gently remove your seedlings from their containers, taking care not to damage the roots. Dig a hole in your prepared soil that’s slightly larger than the root ball, and place the plant at the same depth it was growing indoors. Fill the hole with soil, firming it gently around the roots to eliminate air pockets. Water thoroughly after planting to settle the soil and provide immediate moisture to the roots. Keep a close eye on your plants during the first few days, providing additional water if necessary, especially during warm or windy days.
This entire process demands attention to detail, from indoor propagation to soil preparation and careful transplanting. With patience and proper care, you’ll help your plants transition successfully from protected greenhouse conditions to thriving in your outdoor garden. The reward is seeing your hard work grow into a lush, vibrant garden that flourishes throughout the season.
Frequently Asked Questions
When Is the Best Time to Fully Transition Outdoors?
You should fully switch outdoors when the danger of frost has passed, typically after last frost date in your area. This is the best time to move your outdoor container gardening and start companion planting. Make sure to harden off your plants gradually over a week to prevent shock. By doing so, your plants adapt well and thrive in their new environment, giving you a lush, productive garden.
How Do I Prevent Pests During the Transition?
To prevent pests during your changeover, start with pest prevention by inspecting plants thoroughly for signs of pests and removing any affected leaves. Use integrated pest management techniques, like introducing beneficial insects or applying organic insecticides, to keep pests at bay. Keep your garden clean by removing debris and weeds, which attract pests. Regular monitoring and early intervention are key to safeguarding your plants during this critical changeover period.
What Soil Amendments Are Recommended for Spring Planting?
Your garden’s future depends on the perfect mix of soil amendments. Start by soil testing to understand your soil’s true needs, then add organic amendments like compost, aged manure, or kelp meal to boost fertility. These enrich your soil, making it more vibrant and resilient, supporting healthy plant growth. Don’t forget, well-amended soil can turn even the most modest garden into a flourishing paradise, ready for spring’s bounty.
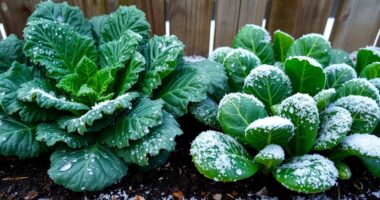
How Can I Protect Young Plants From Spring Frosts?
To protect your young plants from spring frosts, use frost protection methods like row covers, cloches, or blankets. Make sure to cover your plants overnight when frost is forecasted, removing covers during the day to prevent overheating. Keep an eye on weather updates for frost warnings. Proper young plant care includes consistent watering and avoiding fertilization late in the season, which helps them stay healthy and resilient against cold snaps.
Should I Water More Frequently After Moving Plants Outside?
Yes, you should water more frequently after moving plants outside. As your plants adapt to the outdoor environment, their watering frequency needs to guarantee proper plant hydration. Keep a close eye on soil moisture levels, watering when the top inch feels dry. This helps prevent stress and supports healthy growth, especially during warmer days. Adjust your watering schedule as needed to match weather conditions and your plants’ specific needs.
Conclusion
As spring unfolds, shifting from your greenhouse to the garden marks a exciting milestone. Imagine planting your first outside tomato and watching it flourish, just like Sarah did last year. She felt a surge of pride when her seedlings thrived outdoors, proof that your careful prep pays off. Embrace the process, stay patient, and soon you’ll enjoy the vibrant colors and fresh flavors of your own garden—an achievement that’s truly worth celebrating.