To fix drafts in your greenhouse door like a pro, start by inspecting for gaps or leaks around the frame using tissue or a dollar bill. Choose durable weatherstripping materials like rubber, vinyl, or silicone for an effective seal. Properly install the strip along the door edges, ensuring a snug fit and smooth operation. Regularly check and replace damaged weatherstripping to maintain a sealed environment that promotes healthy plant growth and conserves energy—learn more about perfect sealing techniques ahead.
Key Takeaways
- Inspect door gaps regularly with tissue or dollar bills to identify leak points needing weatherstripping.
- Choose durable materials like rubber, vinyl, or silicone for effective, long-lasting greenhouse sealing.
- Ensure proper door alignment before installing weatherstripping to achieve a tight, effective seal.
- Clean surfaces thoroughly before application to enhance adhesion and prevent future drafts.
- Regularly maintain and replace damaged weatherstripping to sustain a stable, draft-free greenhouse environment.
Why Drafts in Your Greenhouse Door Hurt Plant Growth and Save Energy
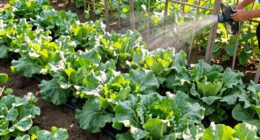
Drafts in your greenhouse door can considerably disrupt the ideal environment for your plants. When unwanted air enters, it reduces solar efficiency, making it harder for your plants to get consistent warmth and light. This fluctuation stresses your plants, slowing growth and increasing vulnerability to diseases. Additionally, drafts compromise pest prevention by creating openings that pests can exploit, making it easier for insects and critters to invade your space. The constant temperature swings also cause your heating and cooling systems to work harder, wasting energy and increasing costs. Sealing gaps with proper weatherstripping ensures a stable climate inside your greenhouse. Proper insulation techniques can further enhance your greenhouse’s energy efficiency. By preventing drafts, you protect your plants, improve energy efficiency, and create a more secure environment against pests.
How to Check Your Greenhouse Door for Gaps and Leaks

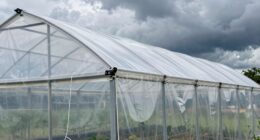
To guarantee your greenhouse stays sealed and maintains a stable environment, it’s important to regularly check your door for gaps and leaks. Start by inspecting the door frame closely for any visible cracks or misalignments that could compromise seal integrity. Next, gently close the door and listen for drafts or air sounds around the edges. Use a piece of tissue or a dollar bill: if it moves easily when placed near the frame, there’s a leak. Also, examine the weatherstripping itself for cracks, tears, or compression that could reduce effectiveness. Finally, perform a quick visual scan during different times of the day to catch leaks caused by temperature changes. Regular checks ensure your greenhouse remains properly insulated, protecting your plants and energy, and utilizing smart appliance technology can further help monitor and maintain an optimal environment.
How to Choose the Best Weatherstripping for Your Greenhouse Door

Choosing the right weatherstripping for your greenhouse door is essential to guarantee a tight seal and maintain a stable environment. Your selection depends on material options and compatibility considerations. For durability, rubber or vinyl are excellent choices, offering flexibility and weather resistance. Silicone provides a long-lasting seal and works well in high humidity, while foam tape is budget-friendly for less demanding conditions. Consider the door’s frame material to ensure compatibility; for example, adhesive-backed foam works best on smooth surfaces. Proper installation techniques can also significantly improve sealing effectiveness. Use the table below to visualize options:
| Material | Durability | Best Use Case |
|---|---|---|
| Rubber | High | Heavy-duty sealing |
| Vinyl | Moderate | Weather resistance |
| Silicone | Very high | High humidity environments |
| Foam Tape | Low to moderate | Budget-friendly, light sealing |
How to Install Weatherstripping on Your Greenhouse Door
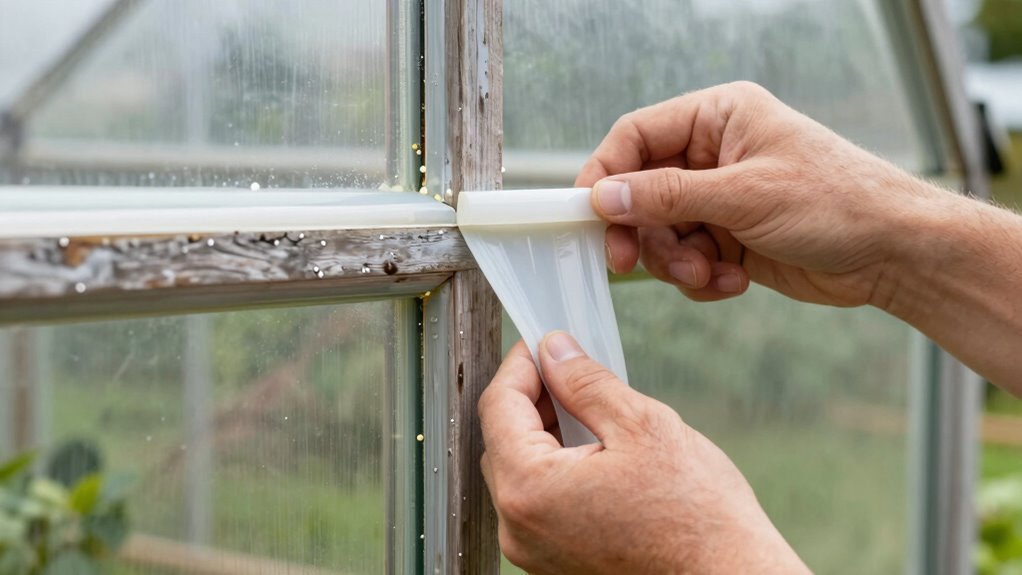
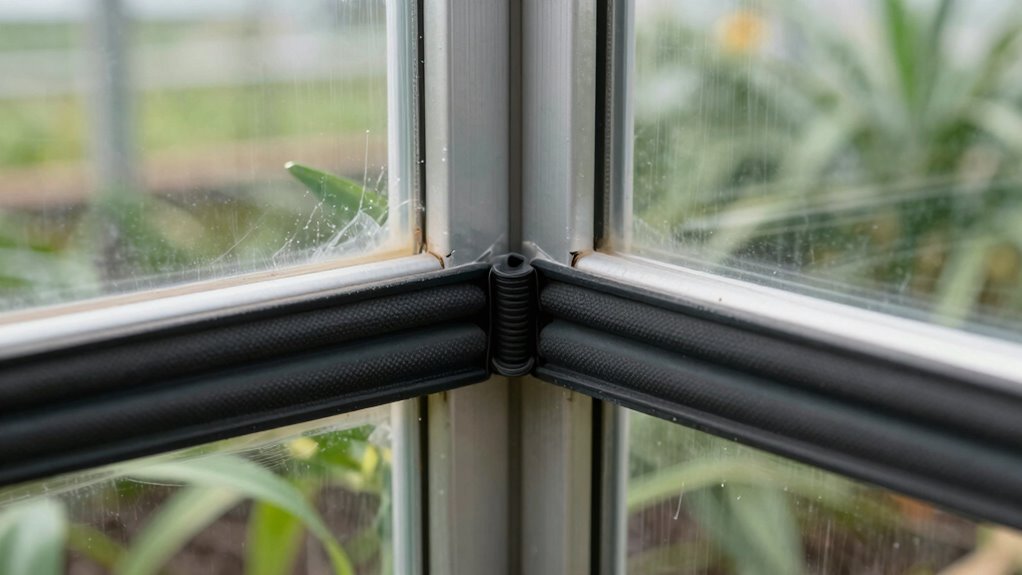
Installing weatherstripping on your greenhouse door guarantees a snug fit and helps maintain a stable environment. First, ensure the door is properly aligned; misalignment makes sealing difficult. Next, clean the surface thoroughly to remove dirt and old sealant. Then, apply a suitable sealant to any gaps or uneven areas around the door frame for extra protection. Afterward, carefully install the weatherstripping along the door edges, pressing firmly to ensure adhesion. Check the door’s operation to confirm it closes tightly without gaps. Adjust the weatherstripping if needed before the sealant sets. Remember, good door alignment and proper sealant application are key to preventing drafts and maintaining your greenhouse’s temperature. Proper installation techniques and the right materials are essential for an effective weatherproofing job. Follow these steps for a professional-looking, effective weatherproofing job.
Maintaining and Replacing Weatherstripping: Tips to Keep It Sealing Properly

Regular maintenance is essential to guarantee your weatherstripping continues sealing effectively. Establish a routine maintenance schedule to inspect your door’s sealing techniques regularly. Look for cracks, tears,, or gaps that can compromise insulation. Clean the weatherstripping with mild soap and water to remove dirt and debris that can prevent a proper seal. Replace any damaged strips promptly to prevent drafts and energy loss. When replacing, choose weatherstripping that matches your door’s material and size for a snug fit. Keep an eye on the condition of the seals, especially after severe weather. Proper maintenance ensures your greenhouse stays warm and efficient. Consistently checking and replacing weatherstripping keeps it sealing properly, saving you money and reducing drafts year-round. A well-maintained workspace is essential for comfort and productivity.
Frequently Asked Questions
How Often Should I Replace Weatherstripping on My Greenhouse Door?
You should replace your greenhouse door weatherstripping annually during seasonal maintenance to guarantee peak insulation. Materials comparison shows that rubber and vinyl last longer and resist weathering better, while foam may need more frequent replacement. Inspect your weatherstripping regularly for cracks or gaps, especially after harsh weather. Replacing it promptly keeps your greenhouse draft-free, maintains temperature, and prolongs your structure’s lifespan. Regular checks help you avoid unnecessary drafts and energy loss.
Can Weatherstripping Be Used on Other Greenhouse Openings Besides Doors?
Absolutely, you can use weatherstripping on other greenhouse openings like windows and vents—it’s a game-changer! Imagine sealing every tiny gap to create an airtight fortress, keeping pests out and heat in. Use it to seal windows for perfect climate control and vents to prevent drafts. This simple fix dramatically boosts your greenhouse’s efficiency, turning it into a warm, cozy haven that protects your plants all year round.
What Are the Signs That Weatherstripping Has Failed?
You’ll notice signs of wear like cracks, gaps, or tears in your weatherstripping, which indicate it’s failing. Draft infiltration becomes evident when cold air sneaks in around the door, making your greenhouse less efficient. You might also feel increased temperature fluctuations inside or see condensation buildup. If these signs appear, it’s time to replace or repair your weatherstripping to keep your greenhouse warm and protected.
Is There a DIY Method to Repair Damaged Weatherstripping?
Think of your weatherstripping as the greenhouse’s shield—when it’s damaged, you can patch it up yourself. For DIY repairs, gather weatherstripping materials like foam tape, V-strip, or adhesive-backed foam. Remove the old, cracked sections, clean the surface, and then cut and apply the new weatherstripping. This quick fix seals gaps and keeps your greenhouse cozy, just like a pro would do.
How Does Weatherstripping Impact Greenhouse Pest Control?
Weatherstripping plays a vital role in greenhouse pest control by providing effective pest exclusion, preventing insects and pests from entering through gaps. It also helps maintain consistent humidity regulation, creating an environment less attractive to pests. Properly sealed doors reduce entry points, keeping your greenhouse healthier. Regularly inspecting and repairing weatherstripping guarantees ongoing pest exclusion and ideal humidity levels, helping you protect your plants more efficiently.
Conclusion
By sealing your greenhouse door properly, you create a more stable environment for your plants. For example, when Sarah added weatherstripping, she noticed her seedlings thrived even during a chilly spring. Regular checks and maintenance guarantee your seal stays tight, saving energy and preventing drafts. Take control of your greenhouse’s climate—seal those gaps today, and watch your plants flourish with less effort and more success.